Facebook has its zeal, and when it comes to live videos, they have already taken over 80% of the Internet. Live streaming is now one of the most popular media to connect to audiences and interact with them in real-time. But, when some emergency pops up, and you have no choice other than leaving, unless you opt for Facebook live capture.
Well, this article is all about that - the best tools to record live, to know how to record video on Facebook, and the in-built recorders you have on your device. So, without lingering anymore, let's begin.
Part 1. How to Record A Facebook Live Video on Windows/Mac?
Wondershare UniConverter
URL: https://www.media.io/video-converter-desktop.html
Supported Platform: Windows and Mac.
Wondershare UniConverter is an all-in-one video toolbox that helps you convert, edit, and download videos at 30X faster speed than any other tools alike. You can burn DVDs, transfer videos, and do many more editing tasks as a pro with this software on your device. And screen capture for live streaming is one of its coolest features.
- · Simple to use screen recorder software for Windows and Mac with high-quality.
- · More than 1000+ video formats can be converted.
- · UniConverter allows you to transfer videos and images from computer to iPhone or Android mobiles without using iTunes.
- · The toolbox of UniConverter is powerful, includes image converter, GIF maker, fix Meta tags, and others.
- · UniConverter supports you to edit, compress, and convert in multiple files at one time.
Pros:
- This tool is amazingly fast in its functions.
- It supports an array of file formats; thus, working on this tool is smooth and effortless.
Con:
- The only con is that this software is not totally free. Its free trial version has basic and powerful features, while the paid version contains much more stunning media files editing functionalities. So, to enjoy the full of it, you could consider purchasing it.
How to Record Facebook Live with Wondershare UniConverter
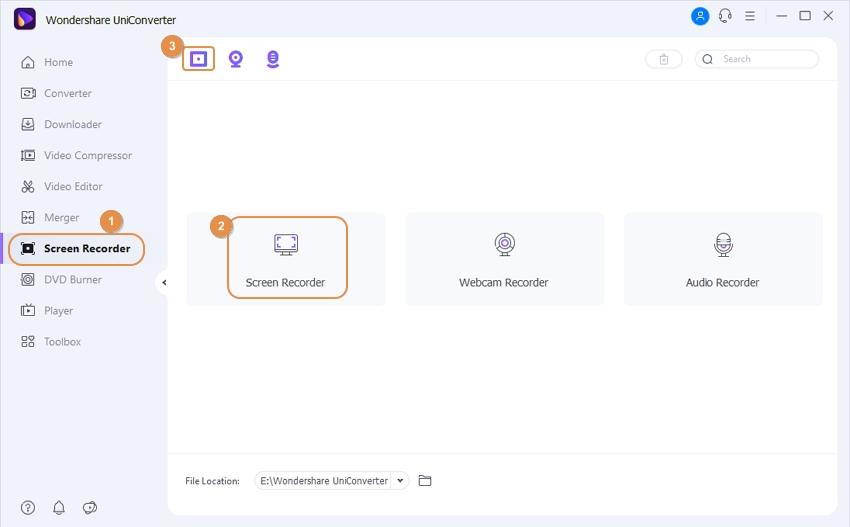
Step 1. Find the Screen Recorder
Open Wondershare UniConverter on your device and go to Screen Recorder on the left pane of the interface.
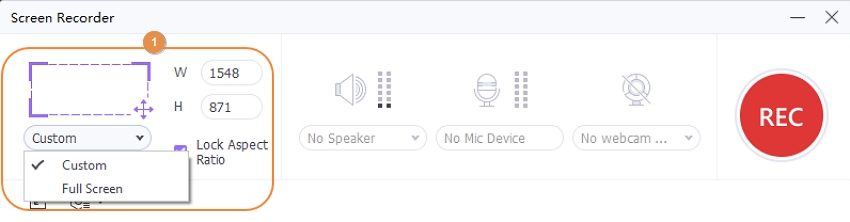
Step 2. Adjust Your Preference
According to your preference, change the recorder settings from the window, as shown in the images.
1. Select the area you want to record by placing the Cross icon in the middle and then adjust the frame. Then, change the size of the frame either by pinching the edges or by manually entering width and height values.
2. Go to the drop-down menu, and click to find the Custom or Full Screen option. With the former option, you can customize the area of your screen, whereas the latter one will enable you to record your entire PC screen.
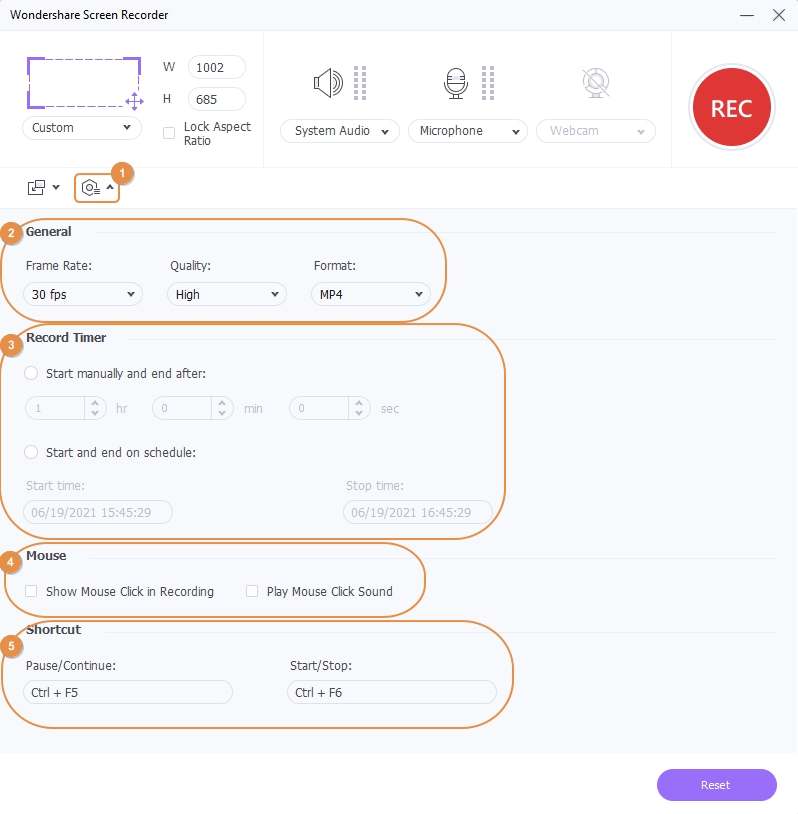
3. The Settings icon at the right-corner will further open a drop-down menu for selecting more recording settings like location, quality, timer, and more.
Step 3. Record Facebook Live Stream Now
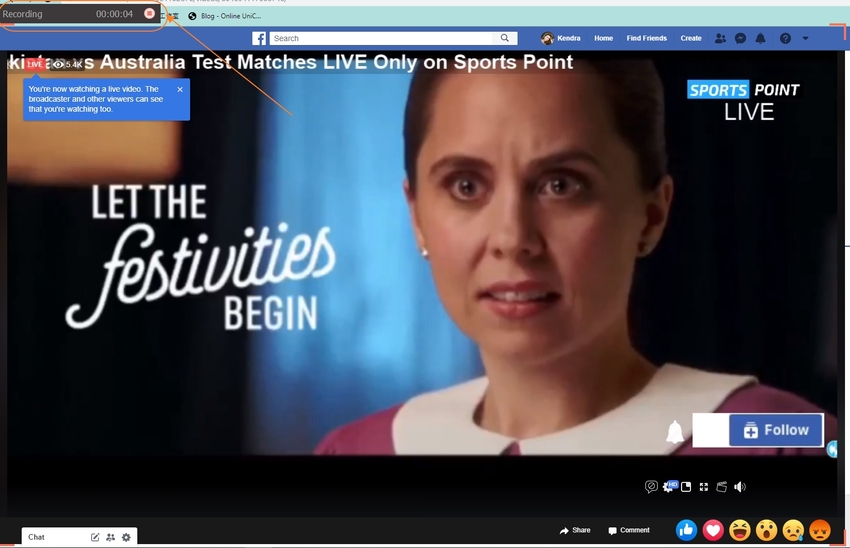
Click on REC to start the Facebook live capture. After a countdown of 5 seconds, the recording will begin.
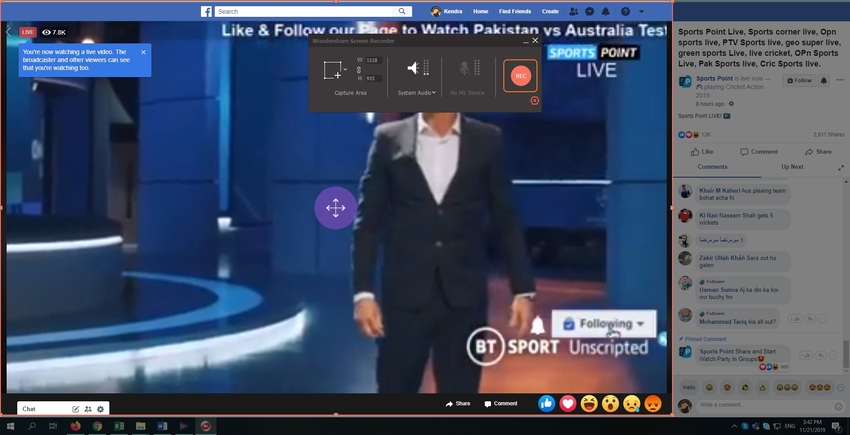
Step 4. Finish Facebook Live Video Recording
Click the Stop icon from the right of the recorder to finish your recording.
Want to know more about Wondershare UniConverter, check the below.
Bandicam
URL: https://www.bandicam.com/
Support Platform: Windows.
Solely, being a screen recorder, it captured the eyes of a lot of users. Be it recording live video from Facebook on your PC, or game recording, or capturing devices for live streaming - you can record them all with Bandicam.
Pros:
- It is an all-in-one screen recorder tool. You can record anything and everything with this software.
- This tool is amazingly easy to use.
Cons:
- It is available only for the Windows platform.
- It often crashes or freezes in the middle of recording a video.
How to Record Facebook Live with Bandicam
Step 1. Select the Right Option Before Recording
Launch Bandicam on your device and click on Rectangle on a screen to record a particular frame size from the Facebook live.
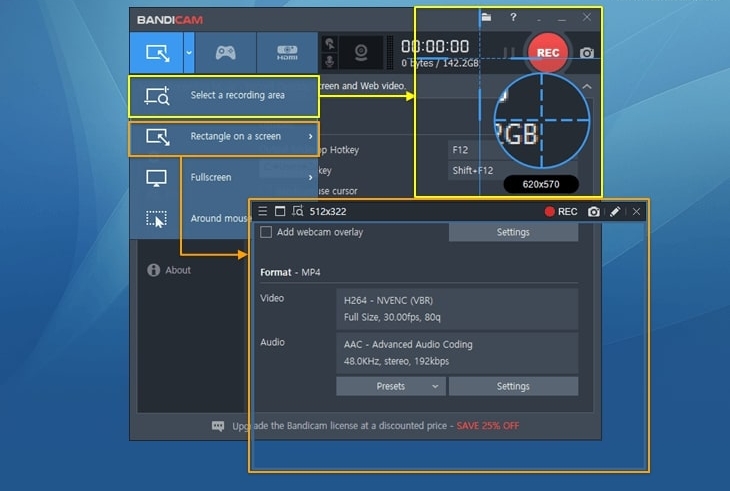
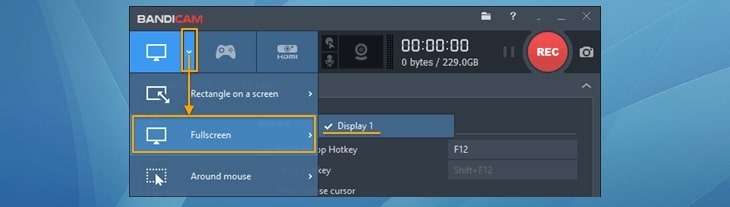
In case you want to capture your entire desktop screen, then choose the option of Fullscreen.
Step 2. Start-Stop Recording
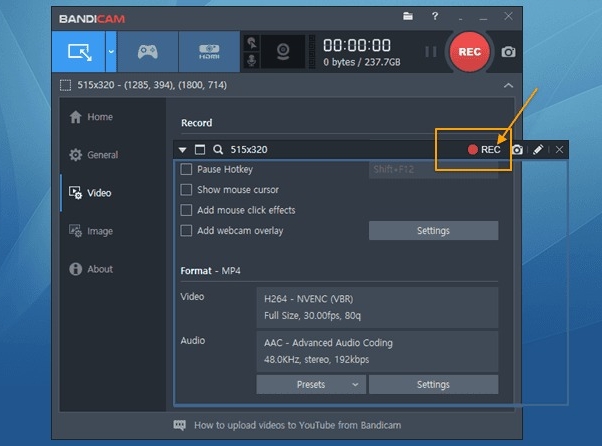
Click on the REC or press F12 on your keyboard to start or stop the recording.
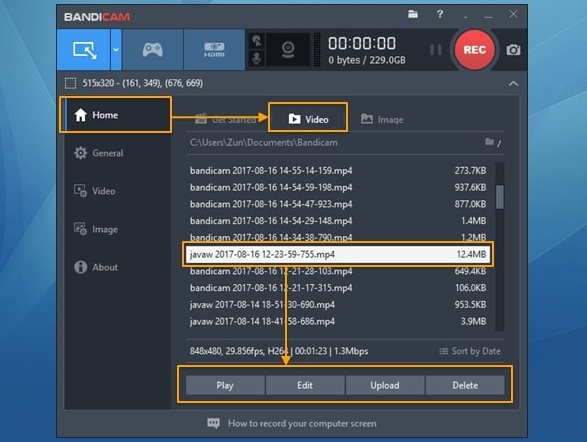
Step 3. Play/Edit/Upload the Video
Click on Video under the Home tab to play, edit, or upload the video you had captured.
Filmora Scrn
URL: https://filmora.wondershare.com/screen-recorder/
Support Platform: Windows and Mac.
Filmora is one of the coolest editing tools. If you want to enhance your creativity to the utmost level, then this software is your on-the-go friend.
Pros:
- This tool is amazingly user-friendly.
- It has with a variety of editing functions perfect for newbies.
Cons:
- To get the most out of this tool, you need to purchase a lot of things separately, like that of effects, etc.
- It is not for professional usage.
How to Record Facebook Live with Filmora Scrn
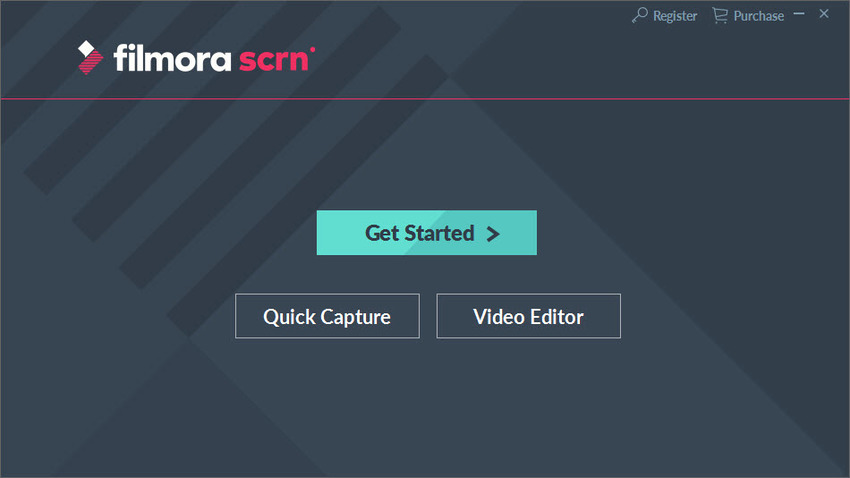
Step 1. Launch Filmora Scrn
From the main window of Filmora Scrn, click on Get Started to proceed further with the recorder settings. If you are okay with the default settings, then click on Quick Capture.
Step 2. Set Your Recorder
After selecting the Get Started option, you will reach the Setup window to do the following:
1. Screen
- Under the Screen Capture option, you can select your recording preference accordingly - Full Screen, custom size, or a specific target.
- Set the Frame Rate between 15 fps to 120 fps.
- When you have the requirement of recording a game, select the Game option.

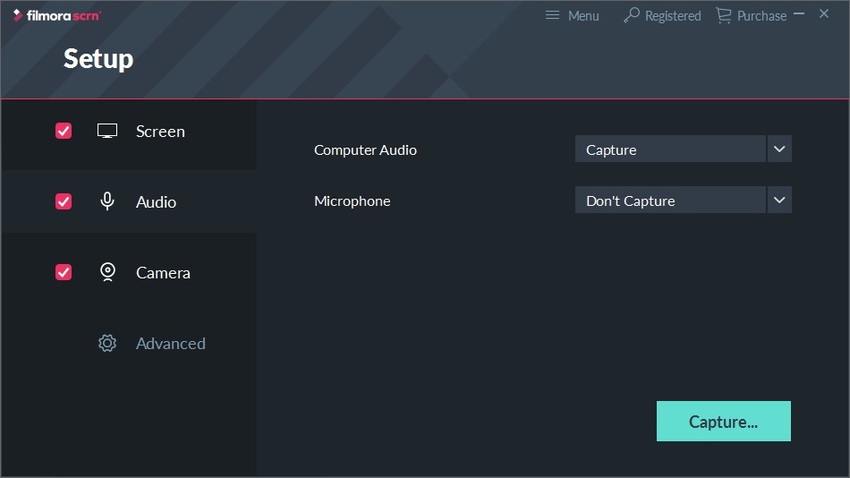
2. Audio
You can determine whether to record audio with the video or not and from where. The default settings allow you to record sound from both the computer and microphone, but you can change from the drop-down icon beside each of the options.
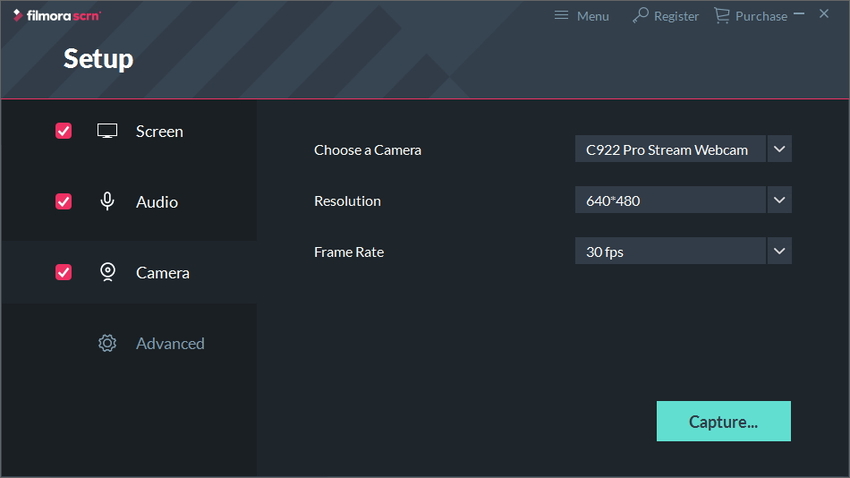
3. Camera
This option is needed when you want to record from an external camera, such as a webcam and the likes. Change Resolution, Frame Rate from the Choose a Camera option.
4. Advanced
There are additional options like changing the saving path and more under the Advanced tab. Set your preference accordingly.
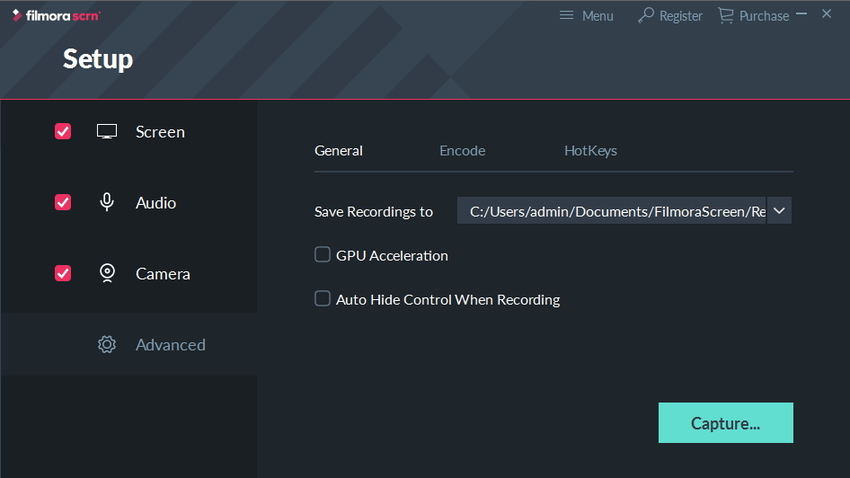
Once you are all set, click on Capture to start the process. From the Setting tab on the recorder, you can also set your preferences.
Step 3. Start to Record Facebook Live Video in Filmora Scrn
Start the Facebook live capture by clicking on the record button or by pressing F10. Do the same to stop the recording, as well.
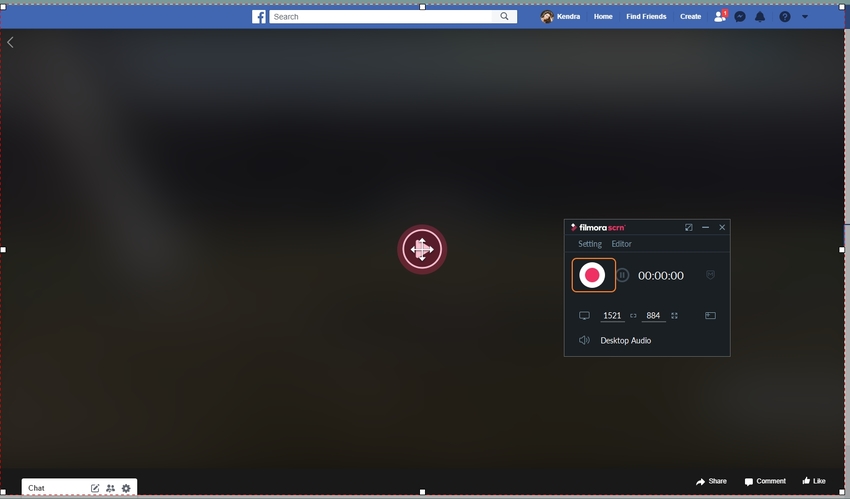
There will be a 3 seconds countdown before the beginning of the recording. You can pause /resume it anytime by pressing F9 on your keyboard.

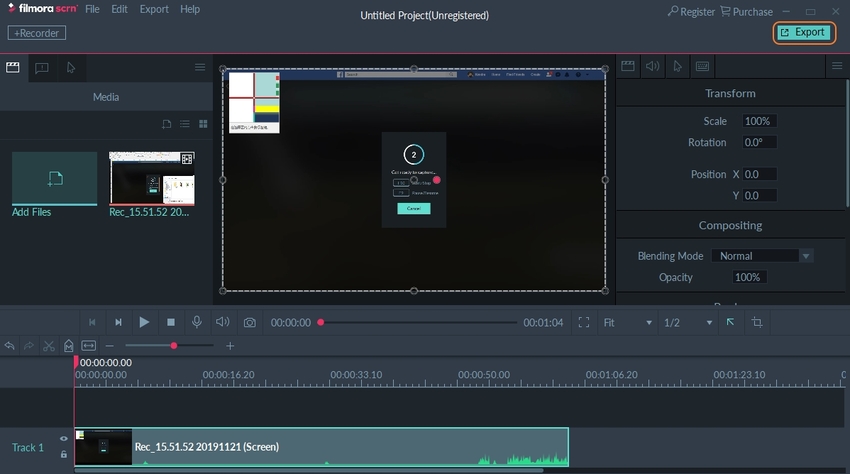
Step 4. Save the Record Video
Save your capture by either exporting them to the video editor or by saving them on your PC.
NOTE:
- Change the area of your recording frame by dragging the border. Move the red circle to reposition the recording region.
- You can do the same from the recorder window.
- You can adjust the microphone volume also by dragging the slider accordingly.
Part 2. How to Record Facebook Live on Android/iPhone
A. Screen Recorder for iOS
Generally, screen-casts in iOS devices like iPhone and iPad are mostly carried out with external third-party apps. But for those of you who would prefer a direct approach, there is a cool built-in screen recording feature in the iOS 11 or 12 versions. However, you will have to activate this feature before you can make use of it.
Here we will look at how you can activate the feature and use it to its full potential:
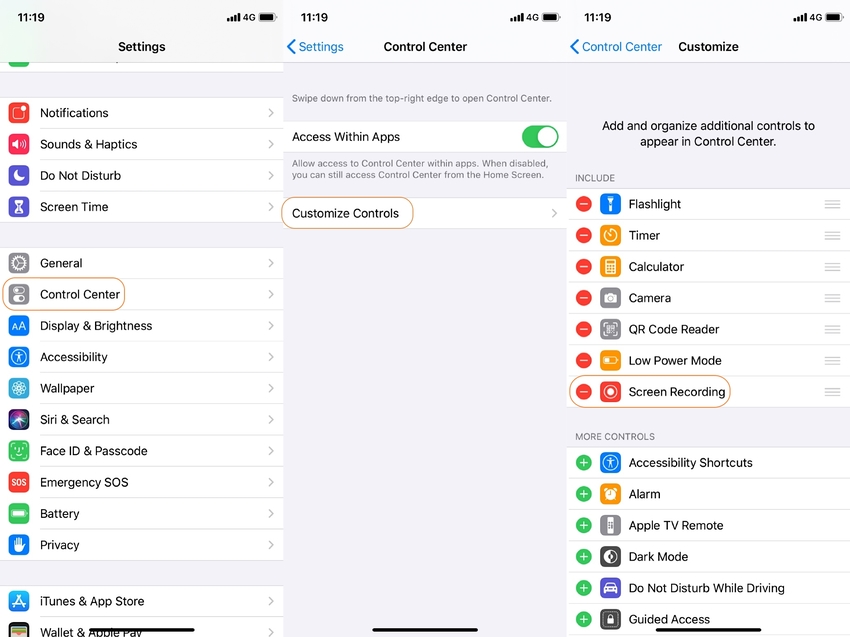
Step 1. Activating the Screen Recorder Feature
1. Open the Settings app on your iOS device.
2. Select Control Center and from there tap on Customized Controls.
3. Scroll down to find the Screen Recording option and tap on the green (+) button to its left; this will add the feature to the Control Center, and it will appear in the Include section above.
4. The screen recording feature is now activated, and you can exit out from the settings app. Now, it is time to use the feature.
Step 2. Using the Screen Recorder Feature
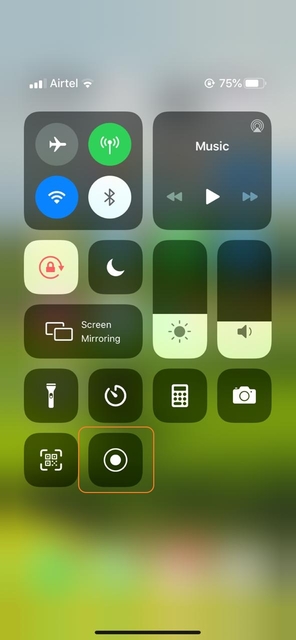
1. Access the Control Center: For devices without a home button, swipe down from the top-right & for devices with a home button swipe up from the bottom of the screen.
2. Tap the Screen Recording Button: The button looks like a small (O) or circle. A countdown will take place from 3 to 1, and the feature is on.
3. Open your Facebook account to start your live stream.
4. Once done return to the Control Center for turning off the screen recording button.
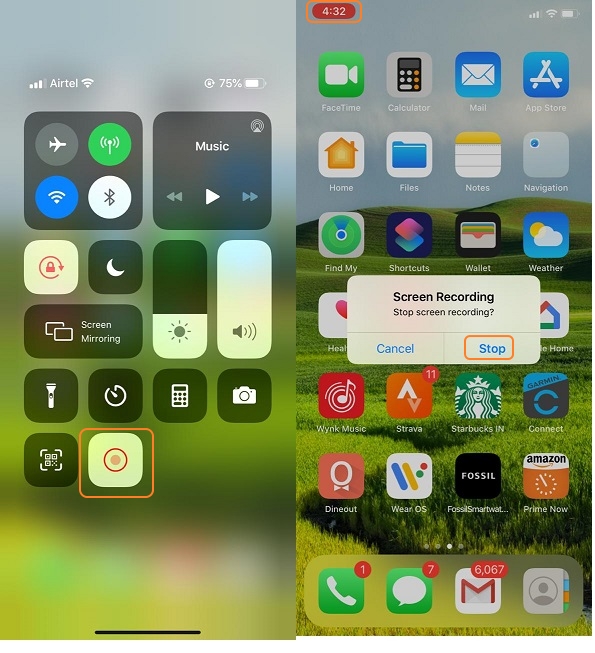
You will know about the successful screen capture and that being saved in your gallery. As you can see, it is elementary to use this feature. However, you will not find it in iOS 10 or below.
B. Screen Recorder for Android
When it comes to Androids, there is a brilliant free app for recording your Facebook live videos. Here we will look at what it is and how we can use it to record our Facebook lives.
Apowersoft Screen Recorder
URL: https://play.google.com/store/apps/details?id=com.apowersoft.screenrecord
This free of cost app enables you to not only record your screen activities like say, for example, a Facebook live-stream but also record audios from other sources and sync them with your screencast videos. More than that, you can also undertake basic video editing features like trimming, etc.
Pros:
- It is free, all you need is an internet connection.
- It is effortless to use.
- You can add various annotations to your video.
Cons:
- You need to cast it from your computer to your Android phone.
- Sometimes the video and audio sync gets disrupted for no apparent reasons.
So, let us see how we can use this software to record live videos on Facebook.
Step 1. Connect Your Android to Your PC
1. Set your Android and PC with the same internet connection.
2. Open Apowersoft Android Recorder on your PC, where Windows will give you a security alert. Check both the boxes and then Allow Access to proceed.
NOTE: You can also configure the settings, both General and Recording, according to your requirement.
3. From Google Play Store, install Apowersoft Screen Record on your Android.
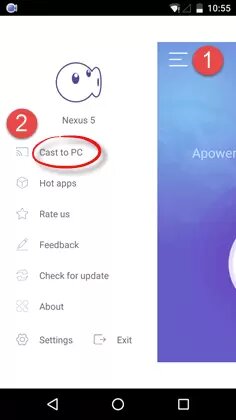
4. Launch the app and tap on the Cast to PC option on the top-left of the app interface.
5. Now, initiate the connection by tapping on Cast that will pop up a notification on your screen reminding about the screen recording. Check the box saying Don’t show again and click on Start Now to commence casting your Android device with your PC.
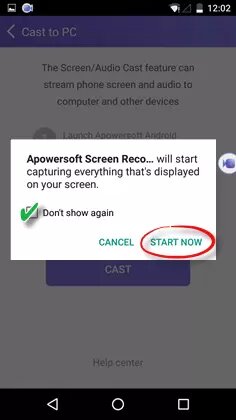
Now, your Facebook live video will be captured along with the audio, as well.
Step 2. Start Recording
1. Once the connection establishes, open your Facebook account and start streaming the live video. You can enlarge the screen by pinching it in.
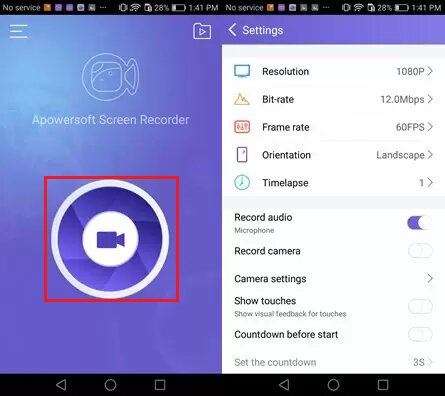
2. Launch Apowersoft back and change the camera settings like resolution, bit-rate, frame rate, etc., if needed. Click on the camcorder icon to start recording.
3. You can Pause the recording anytime you want. Once over, Stop it by pressing the respective button.
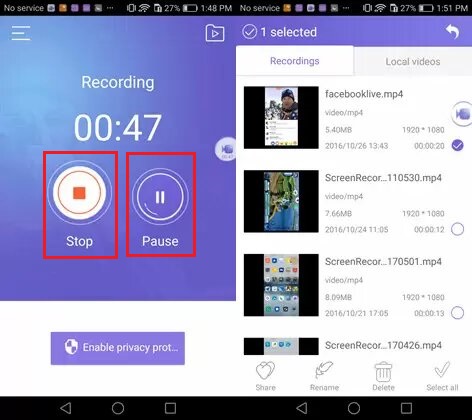
4. Hit the power button, the one on the top-right of the control bar, to stop casting.
Summary
Now, you have got a general idea about how to record Facebook live, and how to record it from your desktop through various methods. You also got information on the usage of iOS and Android devices.
Thus, lastly, we hope this guide has been informative as well as instructive for your Facebook live recording woos.