

When taking photos indoors or outdoors, you'll eventually snap a picture you like but can't immediately upload as it's underexposed. For this reason alone, you're going to have to use specialized tools to lighten your dark photos. Using Photoshop to brighten an image if you're a beginner works with great results if you follow a tutorial.
In this article, you'll learn how to brighten a photo in Photoshop or even lighten a specific area in Photoshop. Alternatively, you can also use an online tool you'll learn by exploring below.
In this article
How To Brighten a Dark Photo Using Adobe Photoshop?
Adobe Photoshop has been around for decades and is one of the premier software tools for professionals for digital art and graphics editing. The product has even entered pop culture as its name is often used as a verb whenever you've edited a picture. Hence, "photoshopping an image."
By reading below, you'll learn the different methods to lighten an image in Photoshop. Follow the step-by-step tutorial below to learn more.
Adjusting the Brightness
Adjusting the brightness is one of Photoshop's easiest ways to lighten dark photos. Here's how.
Step 1
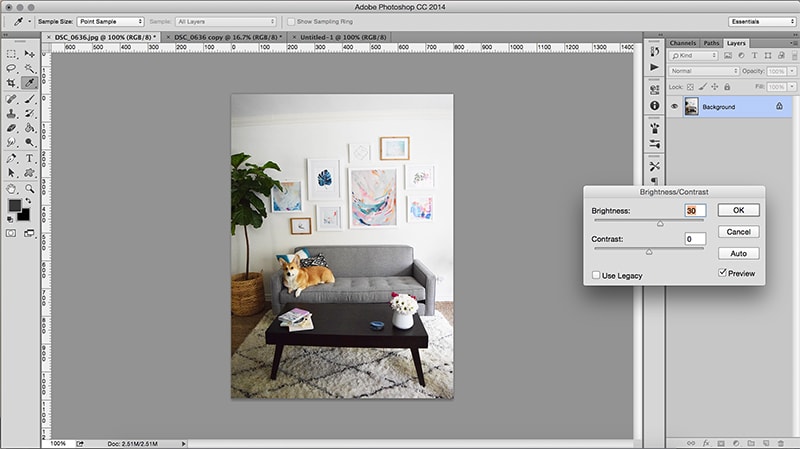
Launch the program and open the file you wish to brighten an image in Photoshop. Next, Go to Image > Adjustments > Brightness/Contrast.
Step 2
Drag the sliders or manually input your desired value on the dialog box until you reach your desired outcome. Once done, choose File > Save to save the photo in PSD format or File > Save as to save to another format like a JPEG image.
Using Curves
Using the Curves tool allows you to lighten or brighten backgrounds in Photoshop. While the tool doesn't sound like you're going to lighten an image in Photoshop, the tool gives you the ability to lighten parts of your photos selectively. Here are the steps.
Step 1
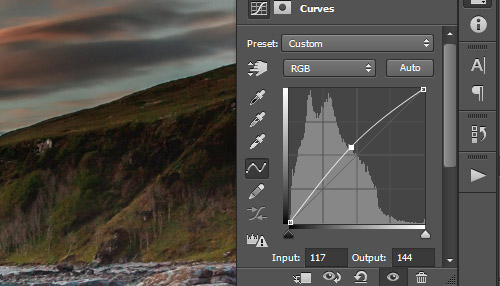
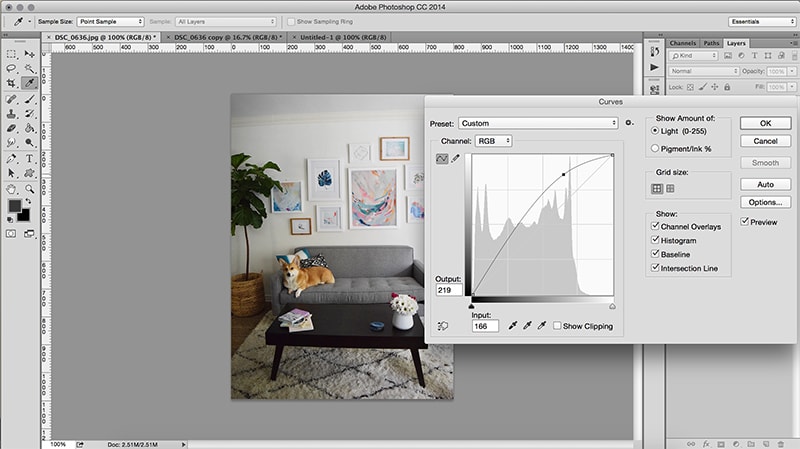
Launch Photoshop and click File > Open to open your photo in the program. Next, click Image > Adjustments > Curves. Alternatively, press Command + M to immediately launch the Curves dialog box.
Step 2
To start brightening backgrounds in Photoshop, drag the line on the graph like the one above slightly higher until you see results. Once you're satisfied with the brightness, click Ok.
Note
You can check the Preview button to see your changes to the original photo.
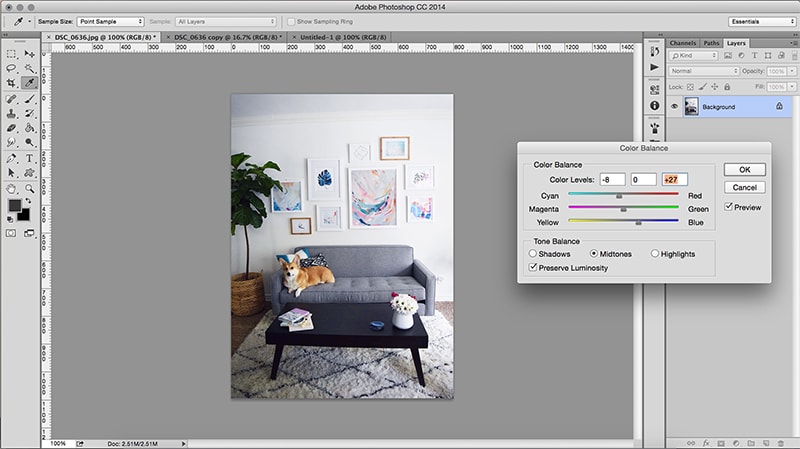
Fixing the Colors
You can also fix the colors, especially for photos taken outdoors, to lighten a background in Photoshop.
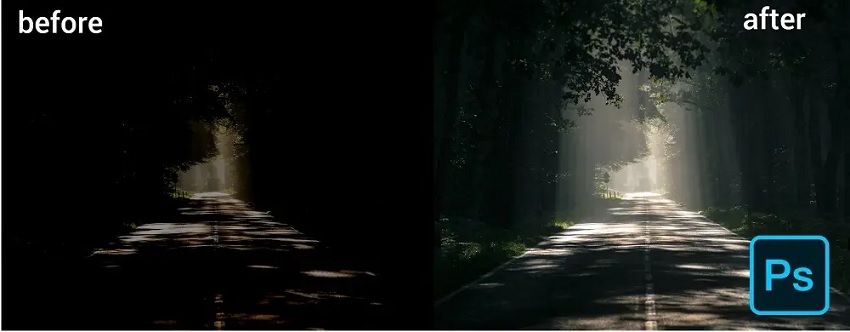
In the sample image above, the imperfect lighting on the left was quickly fixed to bring out bright and crisp whites to enhance the photo. Here's how.
Step 1
Launch the program and open the photo you want to brighten a part of an image on Photoshop. Next, go to Image > Adjustments > Color Balance. Alternatively, you can press Command + B to launch the tool immediately.
Step 2
Drag the sliders away from the colors you're trying to decrease to make the photo's highlights brighter until you're satisfied. Once done, save the edited image.
Utilizing Shadows/Highlights
Shooting in contrasting scenery usually results in underexposed photos. You can use the Shadows/Highlights tool to brighten photos in Photoshop. Here's how.
Step 1
Launch Photoshop and open the photo you wish to brighten up. Next, choose Image > Adjustments > Shadows/Highlights. You can create a new Adjustment layer as well if you prefer.
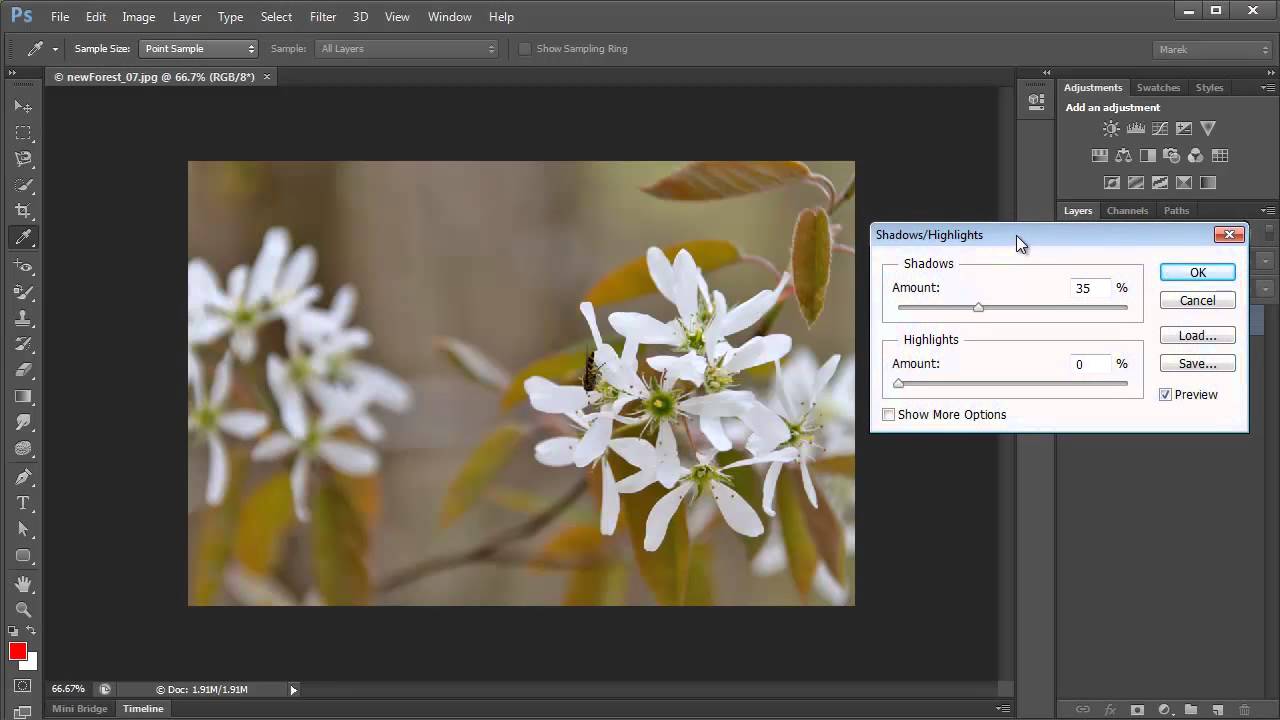
Step 2
Move the sliders as you see fit. Moving the sliders on Shadows brightens the darkest parts of your photo while Highlights darkens the lightest parts.
Creating an Exposure Adjustment Layer
Lastly, creating an exposure adjustment layer is one of the simplest ways to brighten a photo in Photoshop. Here are the steps.
Step 1
Launch Photoshop and open your underexposed image. Next, go to Image > Adjustments > and click Exposure Adjustment Layer.
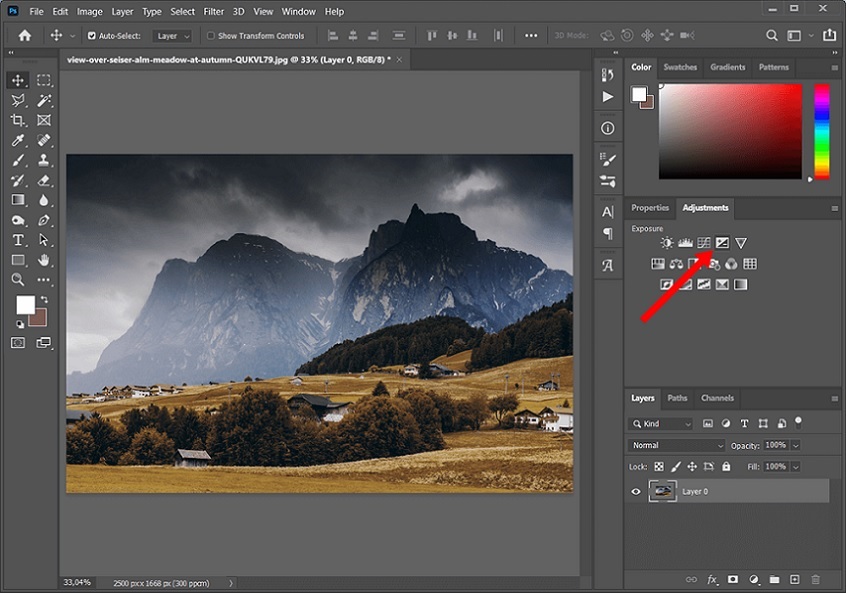
Step 2
Use the three sliders Exposure, Offset, and Gamma Correction, that appear after making an Exposure Adjustment Layer. Drag the Exposure sliders to the right to brighten your photo.
Tip
Drag the sliders in small increments as the parameters significantly impact your photos, even with tiny changes.
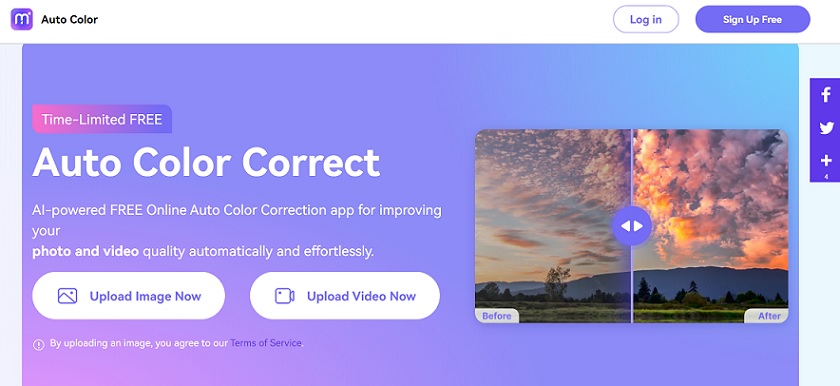
A Recommended Alternative to Brightening Underexposed Photos
If you find it challenging to lighten an image in Photoshop, Media.io Auto Color Correct is a free AI-powered online tool to improve your photos effortlessly in seconds automatically. The app allows you to brighten underexposed photos when your shooting conditions aren't ideal. Whatever the situation is, Auto Color Correct's powerful AI will correct your images with just a single click.
Key Features
Here are some of the key features you can immediately take advantage of using Auto Color Correct.
- Completely Free to Use
Auto Color Correct is currently under a limited-time offer to brighten your images completely for free online. Simply open the tool on any web browser and start uploading. In addition, lightened photographs are watermark-free.
- Beginner-friendly
Unlike Photoshop, this online tool automatically brightens your photos once your pictures are uploaded without any skills required. You'll be able to brighten images in literal seconds.
- Multiple File-Format Support
Auto Color Correct supports multiple image formats from JPG, JPEG, PNG, WebP, and BMP. It also has a file size limit of 25MB and resolutions of up to 6000x4000.
Pricing
Auto Color Correct is on a time-limited offer - it's entirely free to use.
Supported Platforms
Auto Color Correct works across all major web browsers.
How To Brighten Photos Using Auto Color Correct
Here are the steps to brighten your photos using Auto Color Correct.
Step 1
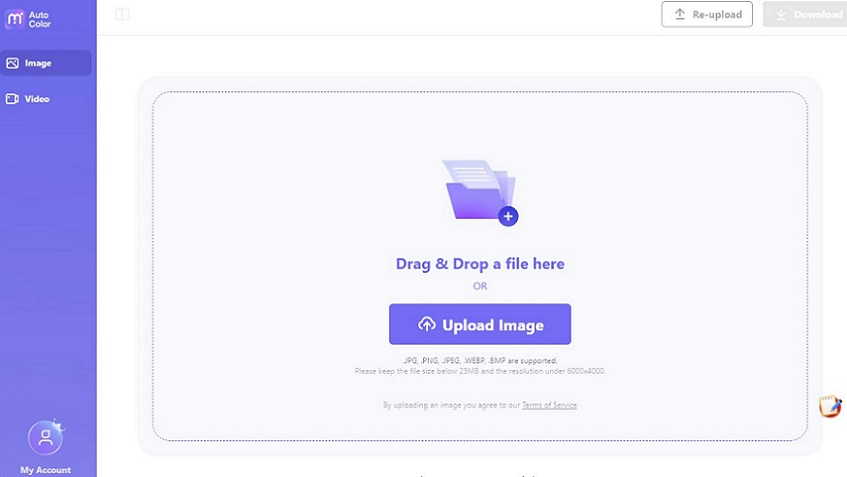
Go to Media.io Auto Color Correct online app and log in or create an account. Next, choose the Upload button. You can also use the drag-and-drop feature to upload your photo directly on the online tool.
Step 2
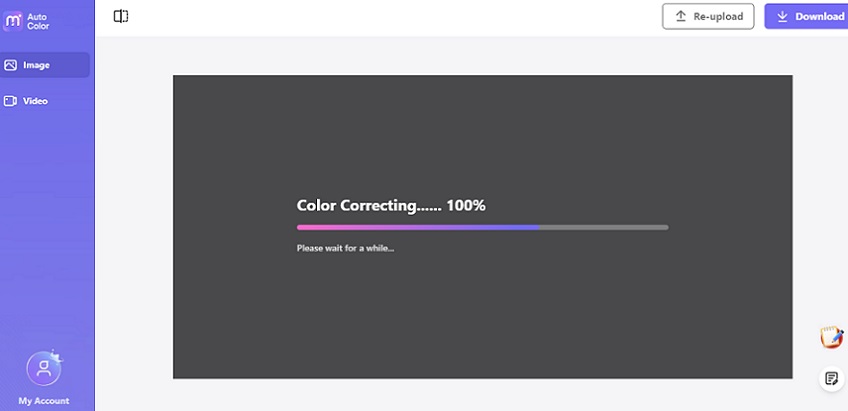
Once the photo is uploaded, Auto Color Correct will automatically correct the colors from your photo. Wait for the processing time to finish, as it depends on the file size.
Step 3
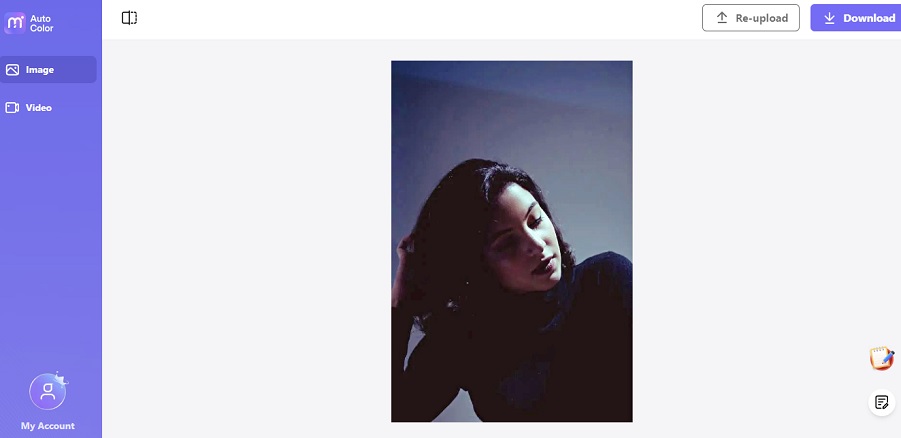
If you want to compare the differences between the edited file and the original one, click Compare on the upper-left side of the window. Once you're satisfied with the results, click the Download button to save your newly brightened photo.
Note
Auto Color Correct performs its color correction based on your image content. If you didn't see any noticeable changes, it means that the AI tools algorithm cannot recognize the chromaticity of the original file. Auto Color Correct will release more powerful features in future updates.
FAQs
Here are some FAQs regarding brightening your photos, whether you're doing it online or offline.
- What is color correction, and is it different from color grading?
When it comes to editing your pictures, using color correction adjusts an image's color. This means you can make dark shadows lighter or bright areas darker to make your photos look natural and unfiltered. On the other hand, color grading conveys a visual tone to your photos. For instance, a picture of a blue sky will turn purple by using color grading tools.
- How can I brighten my photos automatically?
You can brighten your photos using Photoshop and the different methods outlined above. However, the process is not automatic and will require you to do a few steps. In this case, Auto Color Correction is your perfect choice. All you have to do is upload your photos on Auto Color Correction's online tool, and your image file will automatically correct itself with a few clicks.
- How do you brighten photos online?
While there are a lot of online tools to brighten your photos online, Auto Color Correction ensures the temperature, contrast, white balance, saturation, and exposure of your images will be automatically taken into account. What's more, Auto Color Correction does not leave watermarks, and you can download your image for free.