Photos with unwanted objects are a common part of everyone's life. While capturing a photo, the presence of a stranger or an unrequired piece of paper is likely to happen. Therefore, to manage this issue, many intelligent brains came up with a reliable solution to this problem in the form of Photoshop. Thus, removing objects in Photoshop is an excellent solution to this type of problem.
However, worry no more if you don't know how to perpetrate this task. In this article, we will guide you about working ways that you can use to remove objects using Photoshop.

In this article
Part 1: Why We Need to Remove Objects from a Photo
Before learning about removing the object from photos, you first need to know why it's important. So, to understand why it is essential to Photoshop remove the object from the background, have a look below:
1. Philosophy of Beauty
Images are meant to be equipped with beauty without any mistakes. Some people may think that a mere white sheet of paper cannot impact the photo's productivity. However, it is not true because it can distract viewers and minimize the aesthetic side of the background. Moreover, it also shows that you are not taking a picture in a clean place.
2. Background Privacy
Sometimes you take a photo of your pet, and somehow an important paper or wall picture is negligibly captured in an image. This can attract unauthorized people and lead to harmful scenarios. Information like your address, what type of lock you use at your doors, and important jewel items can also be captured in the photo, which is not good.
3. Addition of Stunning Effects
Adding high-quality effects that can engage more viewers is the trendiest thing now. Removing distracting objects from the background and adding astonishing effects can leverage the attractiveness of a photo. It also optimizes the images for showcasing diversified, focused elements. Not only effects, but you can also change the background to solid colors.
4. Personal Proclivity
Every person is blessed with their likes and dislikes. Some people love to take pictures in a clean and tidy place; however, some of you love to capture greenery in your photos. Thus, removing objects from an image can also be based on personal opinions and likings.
Part 2: Step-by-Step Guide: How to Remove Objects from Photo using Photoshop
Photoshop removing an object from the photo is a skill everyone should master. From enhancing the focus on the desired area to eliminating distractions, this procedure is beneficial. However, if you are new to this field and don't know how to remove objects using Photoshop from a photo, then no worries. This section will help you a lot.
Here we will discuss top-rated object removal tools and also guide you about using them. Thus, for more information, dive into the below-given discussion:
Way 1: Content-Aware Fill
Nowadays, Content-Aware Fill is the most known tool for removing unwanted objects in Photoshop. With this, you can remove any object or person from a photo in a limited time. Moreover, it always leads to excellent results and high-quality images, so you can use it without any second thought. However, if you don't know how to use it, follow the steps instructed below:
Step 1
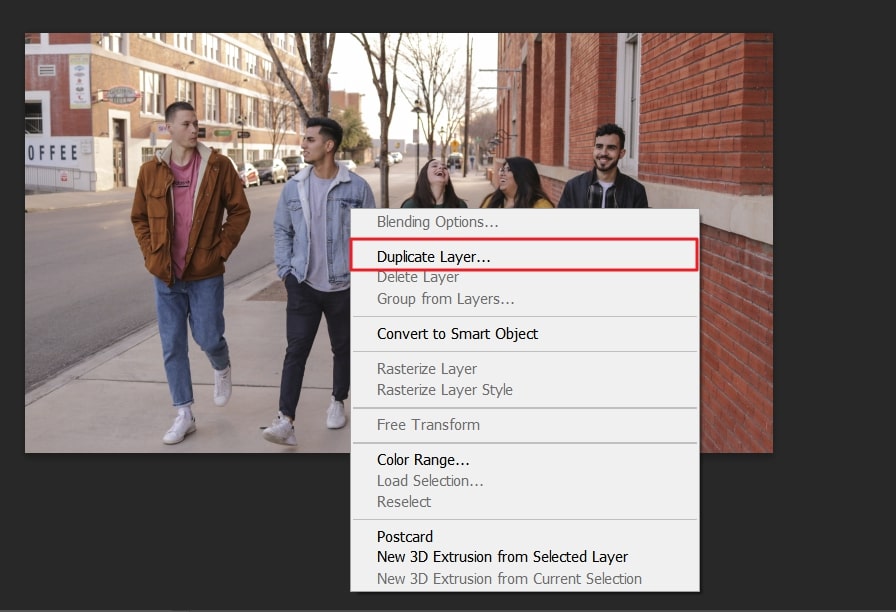
To get started, Launch Photoshop and go to the "File" tab. From here, click "Open" and select an image of your choice. Once the image is opened in Photoshop, right-click on it and select "Duplicate Layer." By this, you will see two copies of images as original and duplicate.
Step 2
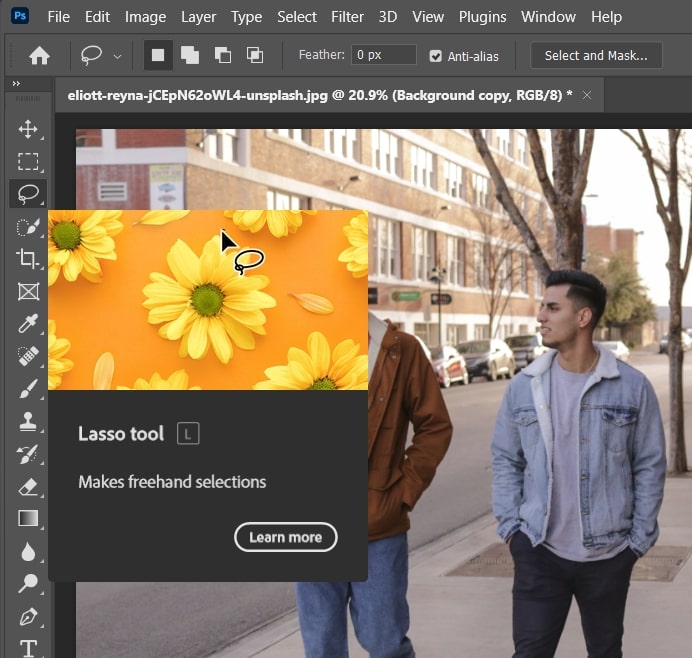
Following this, go to the toolbar at the left of the screen and select the "Lasso" tool icon from here. After this, draw a close loop around the object you want to remove. After creating the loop around the respective object, you will notice a line of moving points on your drawn loop.
Step 3
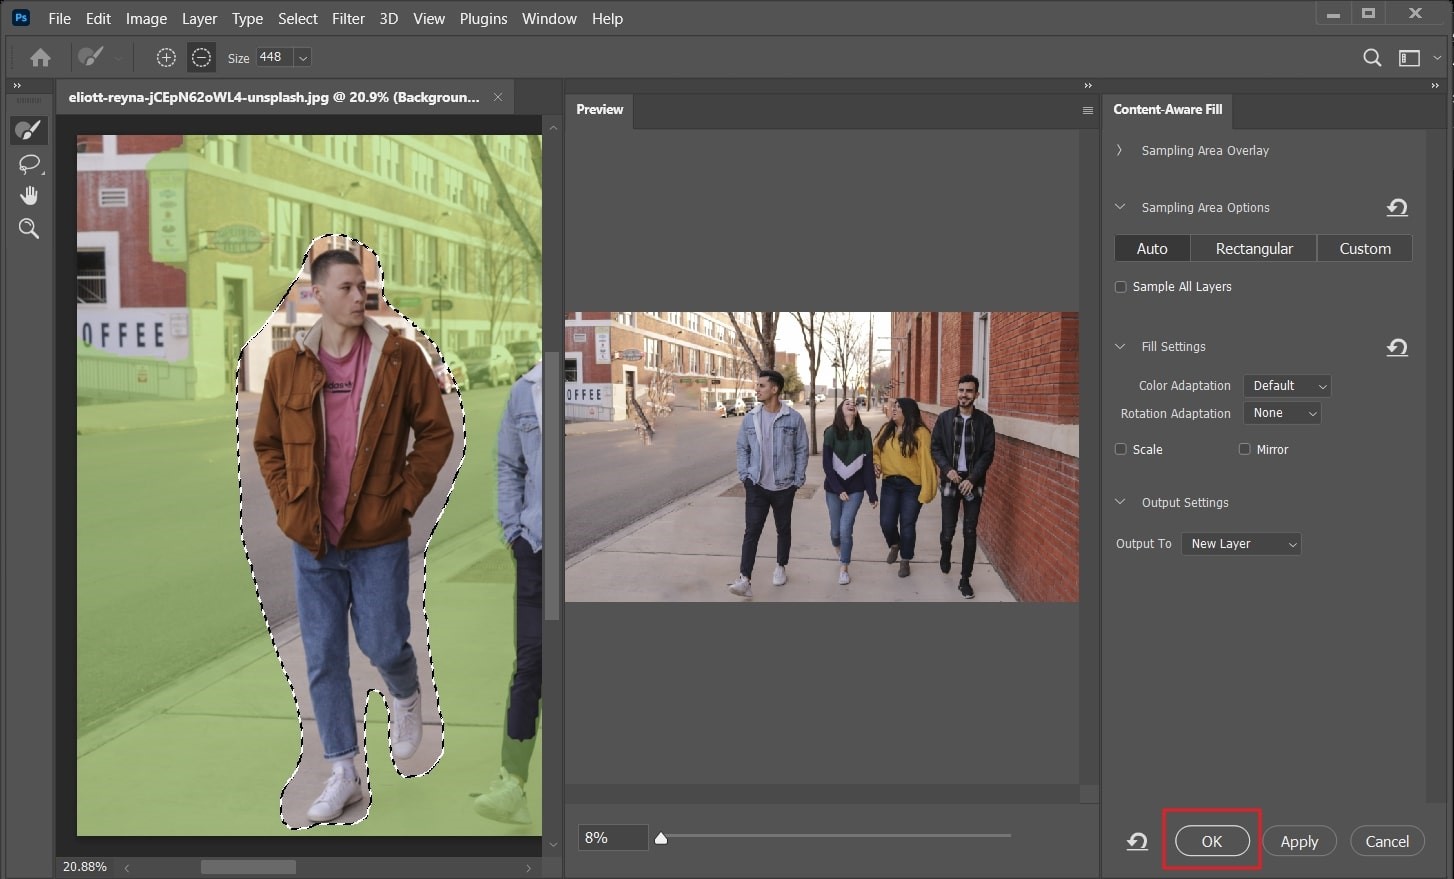
Afterward, select "Edit" and click "Content-Aware Fill." You will see a new window on your screen where Photoshop will show you how your photo will look after removing the marked object. You can also customize the "Content-Aware Fill" tool settings. Once satisfied with the results, press the "OK" button and save the changes to remove the selected object from the photo.
Way 2: Spot Healing Brush
It is one of the fastest and recommended tools to Photoshop remove the object from the background. This is one of the easiest tools for removing a small object from simple backgrounds. It is also very helpful in removing spots and blemishes from faces in a photo. The under-instructed points can help you in removing objects from a picture with ease:
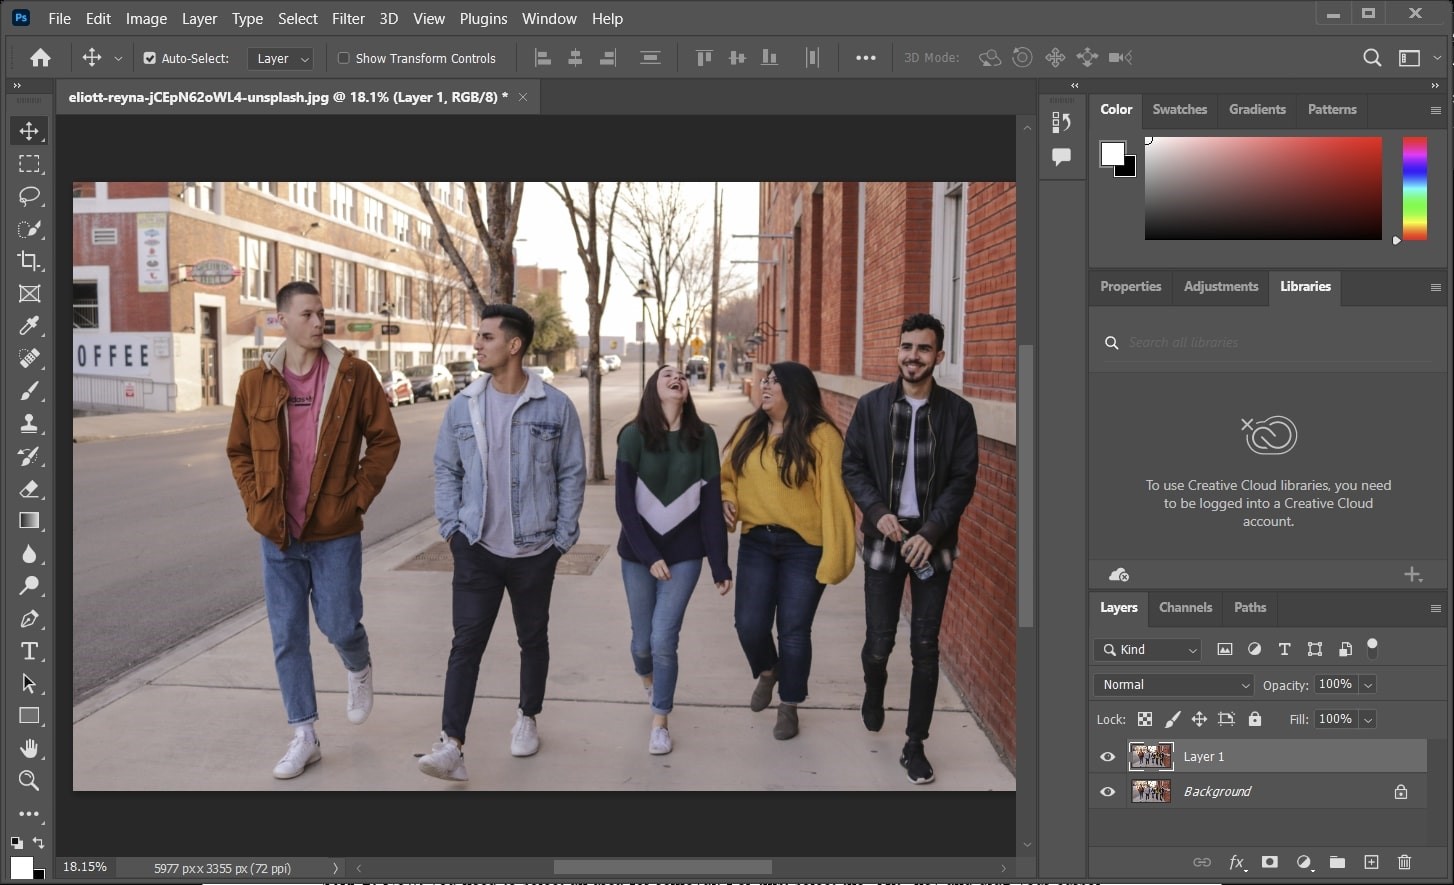
Step 1
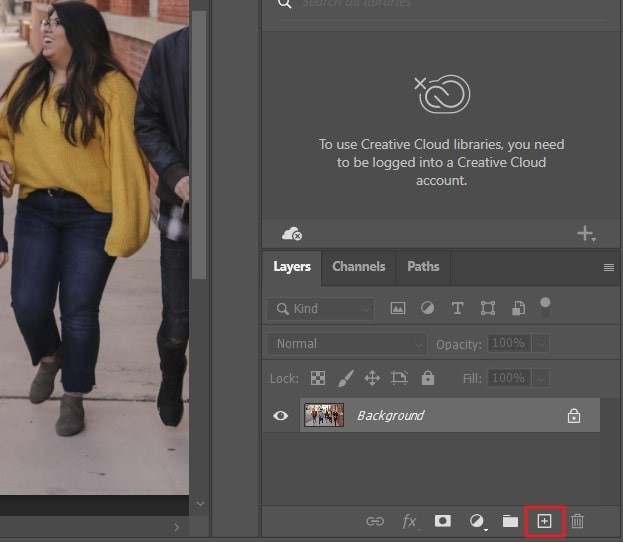
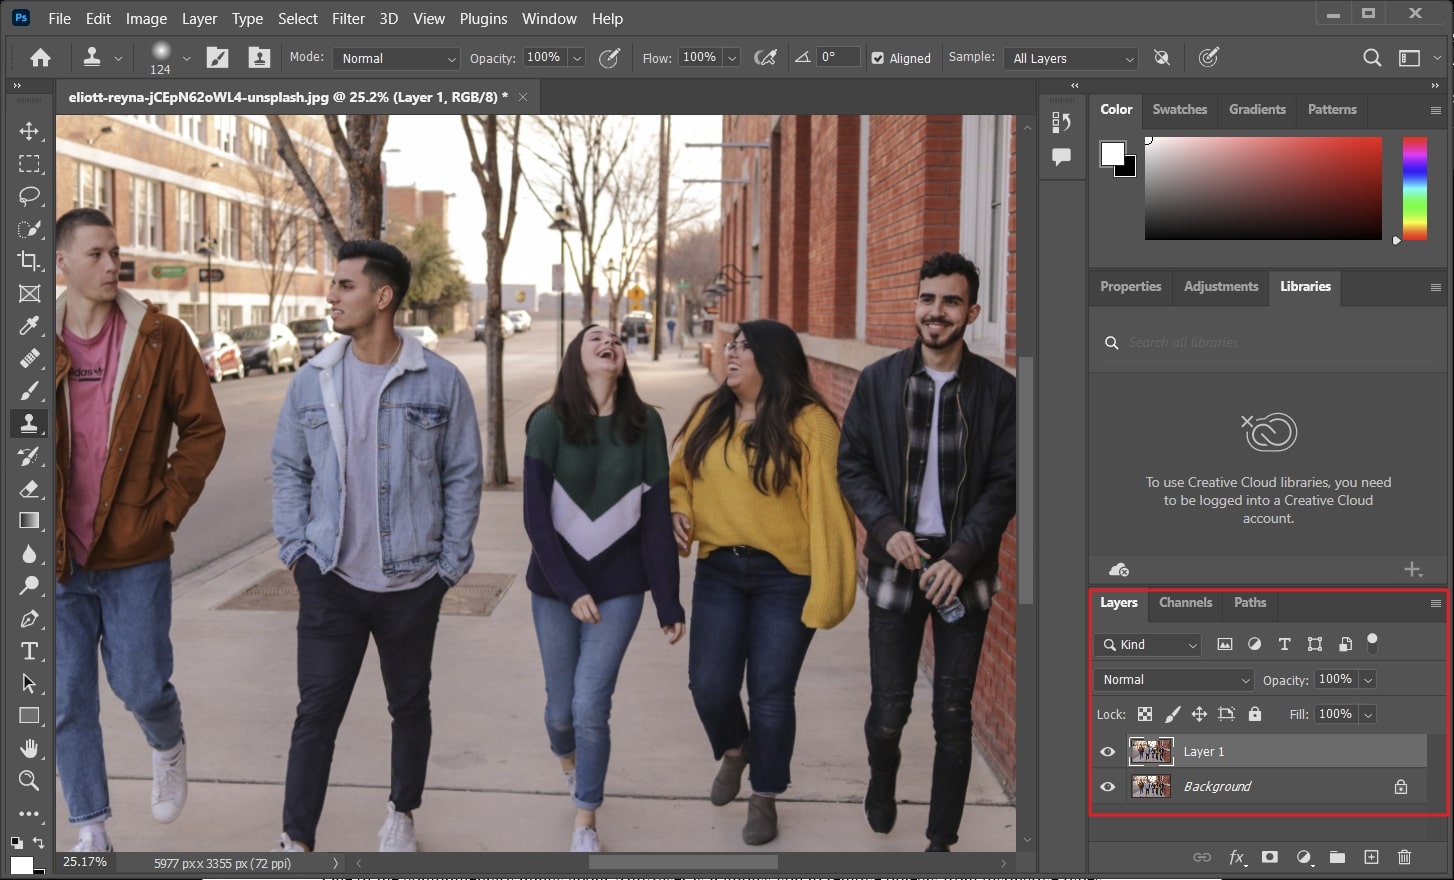
As the photo is opened, click on "New Layer" from the "Layers" panel present in the bottom right corner. After this, rename the layer for your ease.
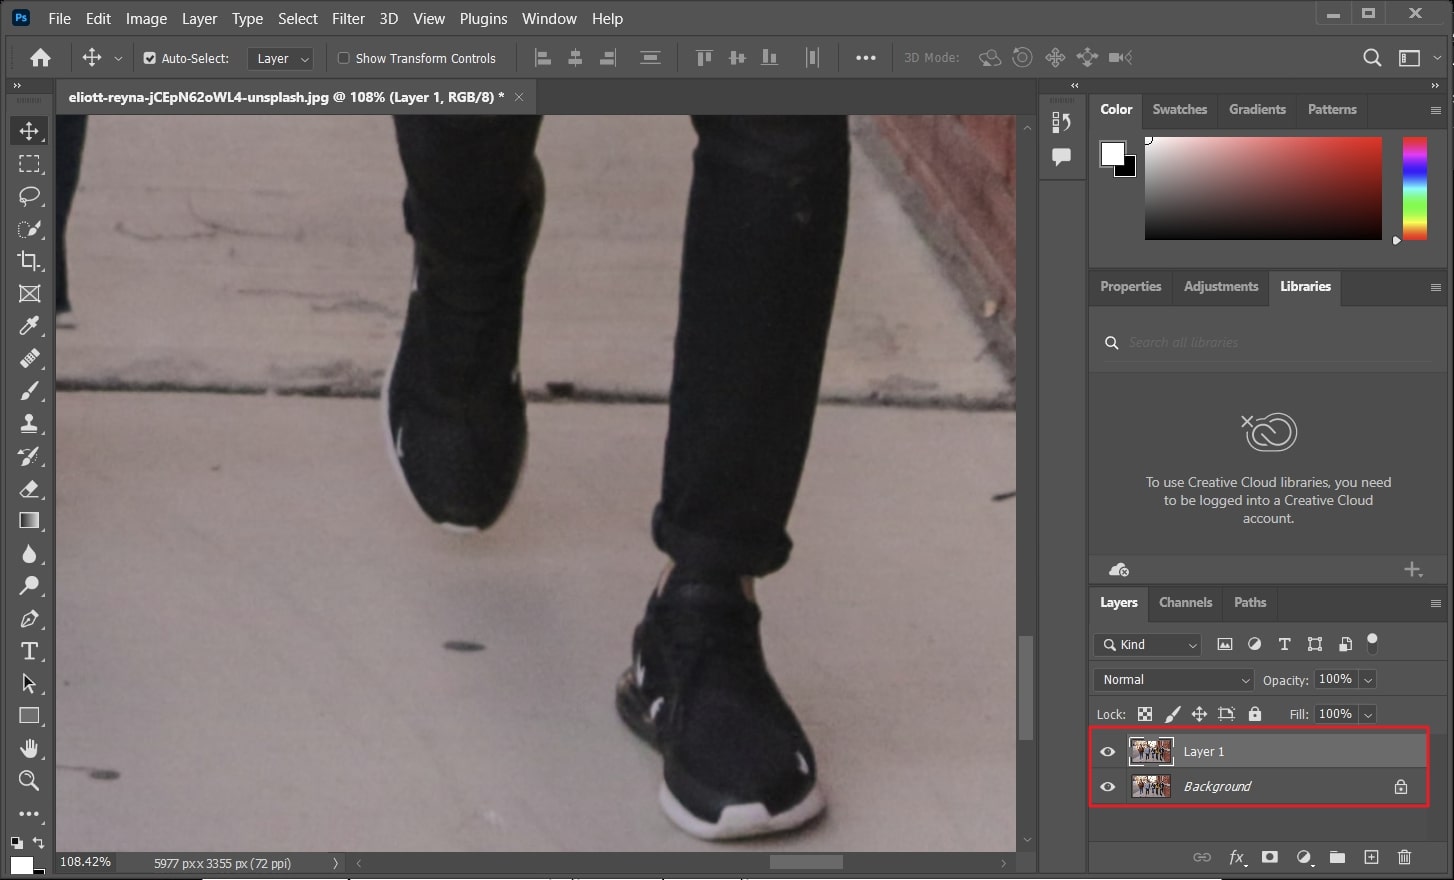
Step 2
Now, use the zoom feature of Photoshop by pressing "Command/Control + +." Keep on pressing until you see the object you want to remove.
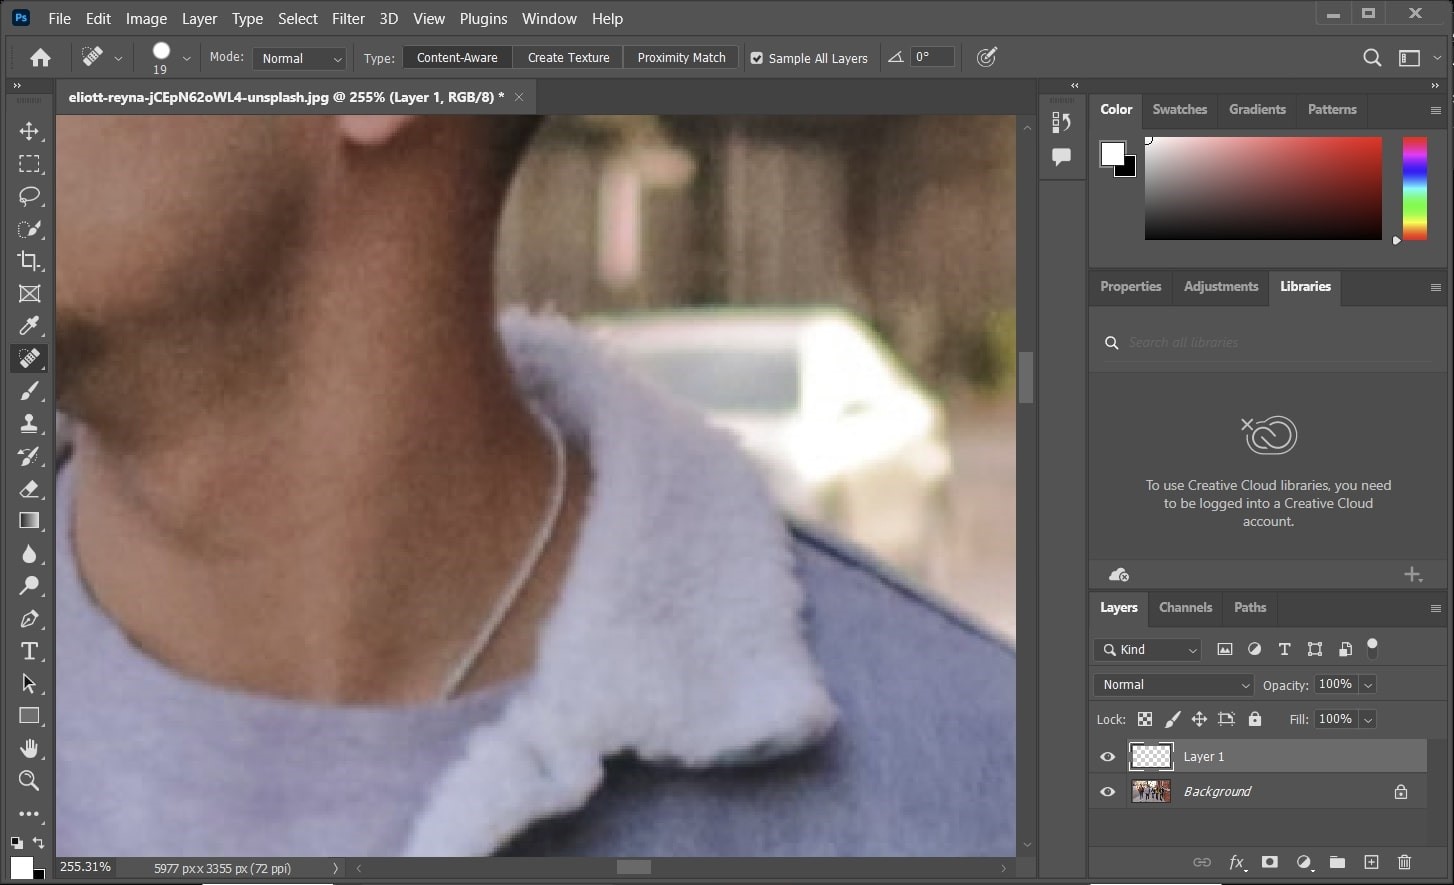
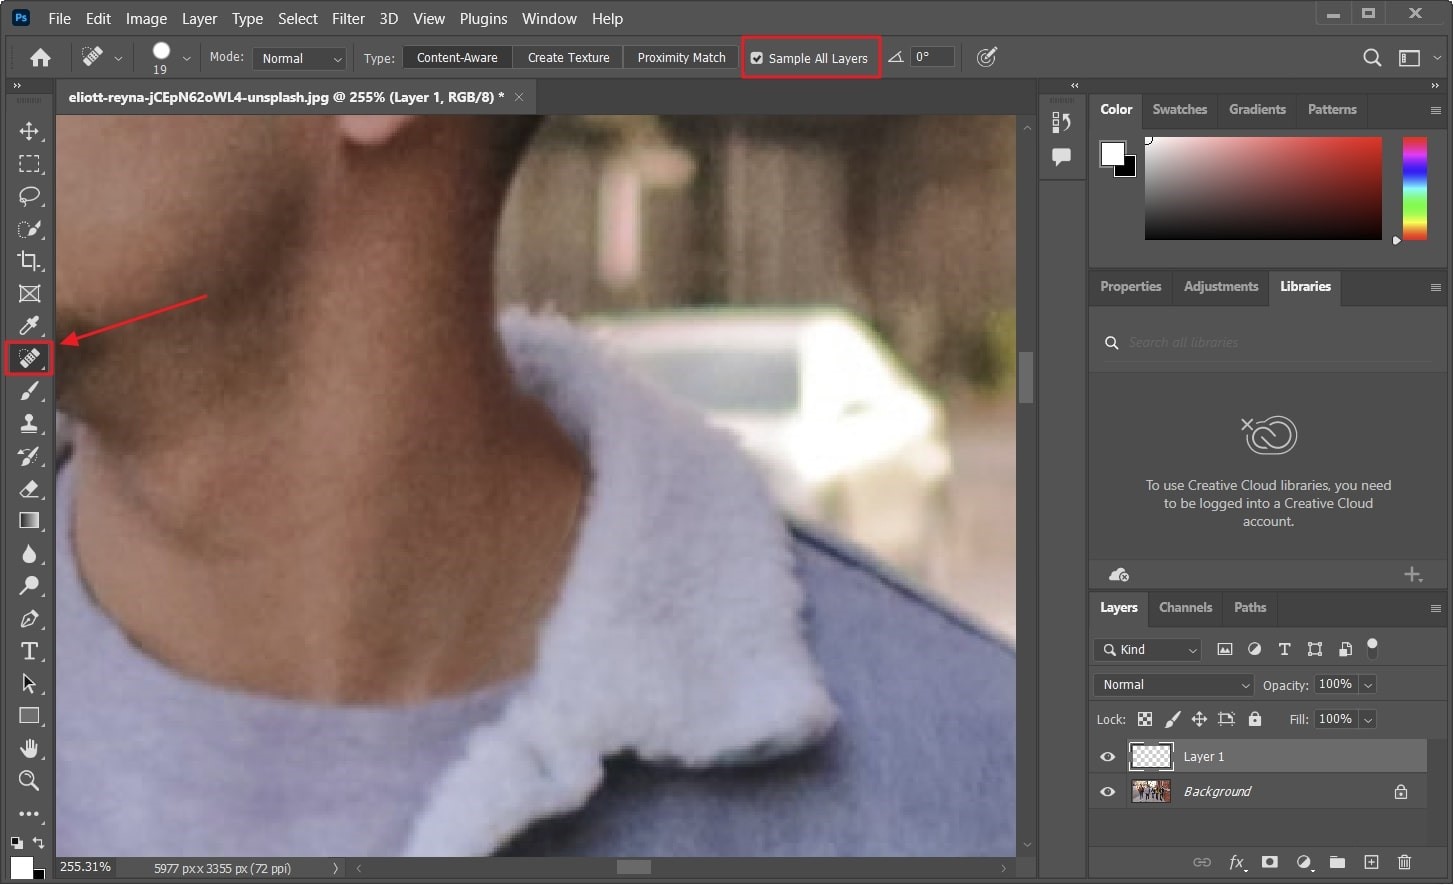
Step 3
Afterward, select "Spot Healing Brush" and customize the size and type of brush. Tick the "Sample All Layers" box, and following this, select the "Blending Mode." Next, move the spot healing brush over the object that you want to remove, and it will be removed within seconds.
Way 3: Healing Brush
While using this tool, you need to highlight the area around the object which you want to remove. Once you remove the object from photo Photoshop with this, it will automatically replace that area with pixels, so the quality of the image remains the same. To know the usage of this innovative tool, see the steps instructed below:
Step 1
First, you need to create a duplicate layer in Photoshop. For that, press "Control + J" if you are a Windows user and "Command + J" if you are a Mac user. Once the duplicate layer is created, select the "Healing Brush" tool.
Step 2
After selecting the brush, you can change its size and hardness by using sliders. Following this, select the point that you want to take as a sample. Now, move the brush over the areas you want to remove, and by this, the unrequired objects will be removed from the photo.

Way 4: Clone Stamp Tool
Whether you want to remove broken glass from the ground or acne from the face, this tool can help you with everything. Moreover, you need to use it with great care and focus for better results. You can also select the hardness of the brush in a customized manner. If you want to remove unwanted objects in Photoshop with the Clone Stamp tool, follow the process mentioned beneath:
Step 1
Go to the left toolbar on the Photoshop window and select the "Clone Stamp" tool. Windows users can press "Ctrl +J," and Mac users can press "Command + J" to create a new duplicate layer to avoid mess.
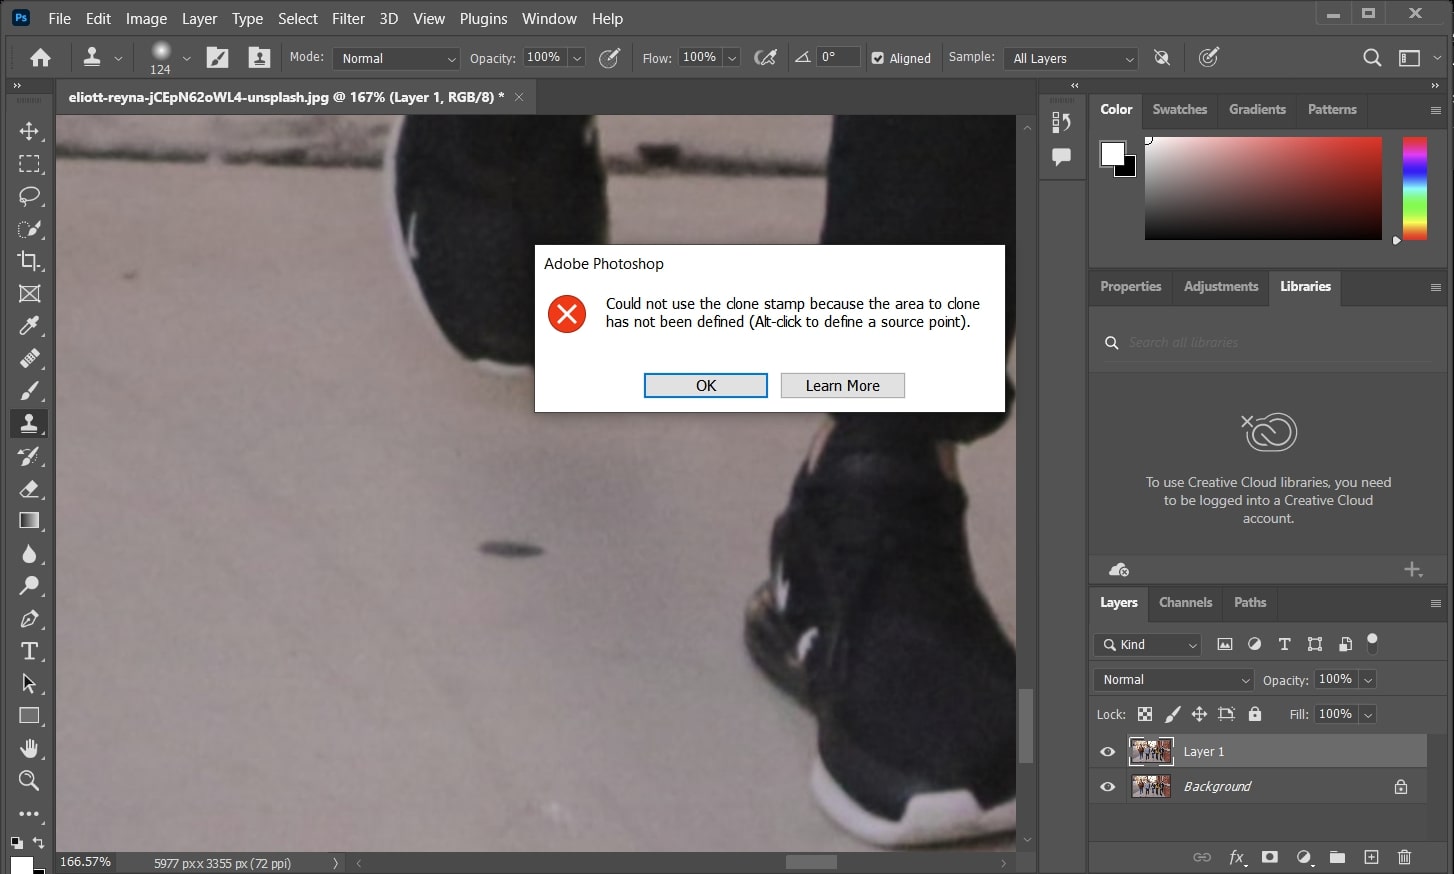
Step 2
Now, you need to select the area with which you want to replace the unwanted object. For this, select the "Alt" key and drag your cursor across the area you want to remove.
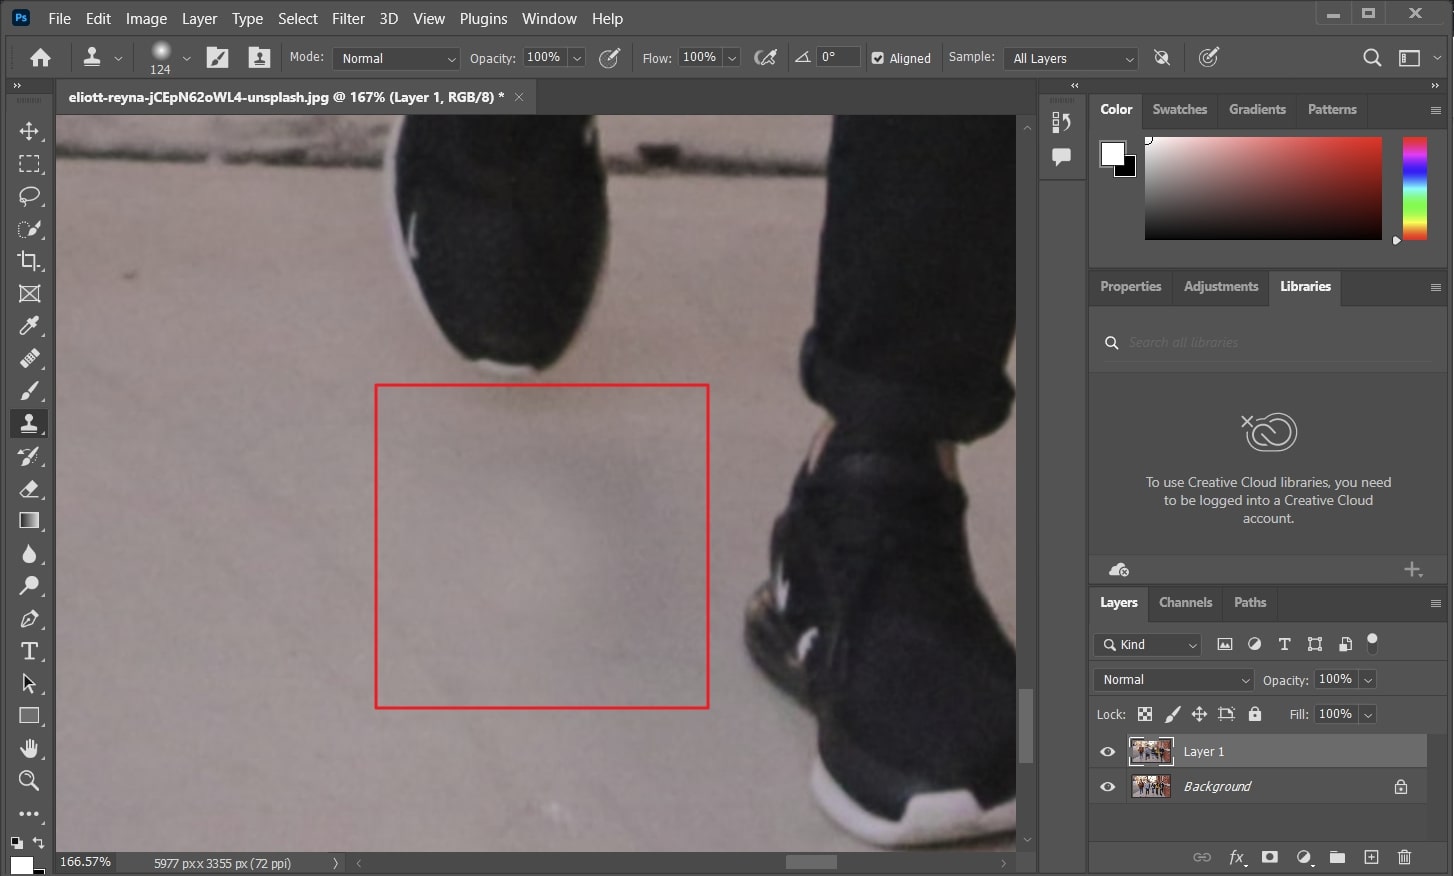
Step 3
Afterwards, select a brush and personalize its hardness and size. Once done with this, move it over the object, and it will be replaced with the areas next to it.
Way 5: Patch Tool
Patch tool is straightforward to use, and you can Photoshop remove the object from photos with it smoothly. Moreover, you can also select the pixels you wish to see as a replacement for removal. Other than this, it also works perfectly with blurred backgrounds. Thus, it's a perfect choice to modify the image by object removal. To use this tool, follow the instructions listed below:
Step 1
As always, you need to open the image in Photoshop from which you want to remove the object. Next, create a duplicate layer by pressing "Ctrl + J" for Windows and "Command + J" for Mac.
Step 2
To access the Patch tool, right-click "Spot Healing Tool" and click "Patch Tool" from the list of options. After this, select the area you want to remove and move it to the point with which you want it to replace. After this, press "Ctrl + D" on a Windows computer and "Command + D" on Mac to save the changes.

Bonus Tip: Remove Objects from Photos with the Alternative to Photoshop
AniEraser is an object removal tool that can help you optimize your photos without any problem. From a highly intuitive user interface to fast processing speed, it has all the capabilities that make it the best tool in its domain. Without any editing skills or tech knowledge, you can get your work done smoothly and swiftly. Moreover, it is compatible with several major operating systems; thus, you can use it without restrictions.
One of the complimentary things about AniEraser is it allows you to remove objects from distinctive types of image and video formats without any problem. With this exceptional tool, you can also remove multiple items in multiple photos.

Exceptional Key Features of AniEraser
- Image Treatment: With minimum intervention, you can level up your beautification with this tool. It lets you erase minimized spots and blemishes from your face in a photo.
- AI Retouching: For better results, the AI algorithms of this tool take part in removing an unwanted object from media with precision. You can now implement several modifications in raw images to drive desired results.
- Repair Old Photos: If you have photos from the 1960s in hard form, you can give them digitalized and stunning looks with this tool. It allows you to make the images more retro-friendly and visually appealing.
- License Compatibility: One of the best things about AniEraser is that when you buy its one license, it allows you to use it on all platforms. Thus, it's a very convenient thing for all users.
How to Remove Unwanted Objects from Photos by Using AniEraser?
As previously mentioned, AniEraser is one the most reputable and easy-to-use tools. With this tool, anyone without tech knowledge can make their photos distraction-free. To remove objects in a photo with this tool, have a look below:
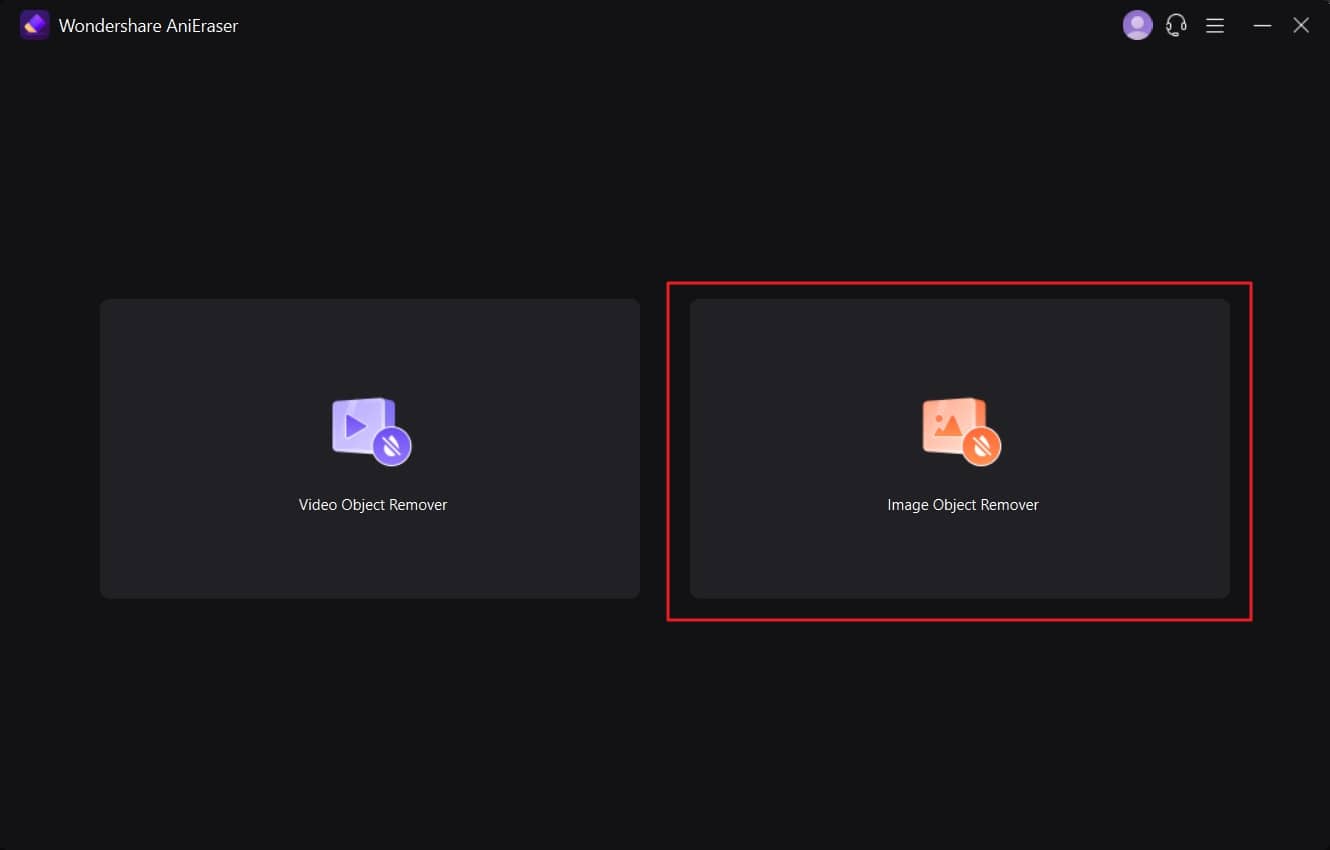
Step 1 Launch AniEraser and Import Images
Initially, download AniEraser on your Windows or Mac devices and launch it. Click the "Image Object Remover" tool from the main interface. Once the new window pops up, locate the photo of your choice and import it.
Step 2 Remove Unwanted Objects From the Photo
Following this, manage the size of the brush according to your requirements from the selection. After this, highlight the object you want to remove and toggle the "Preview" option. By this, you can analyze the results of object removal.

Step 3 Save the Photo Without any Unwanted Objects
Once done with analyzing results, toggle off the "Preview" option and click on the "Save to" drop-down menu. From here, select a folder in which you want to save the image. Now, click on the "Start All" button from the bottom of the screen.