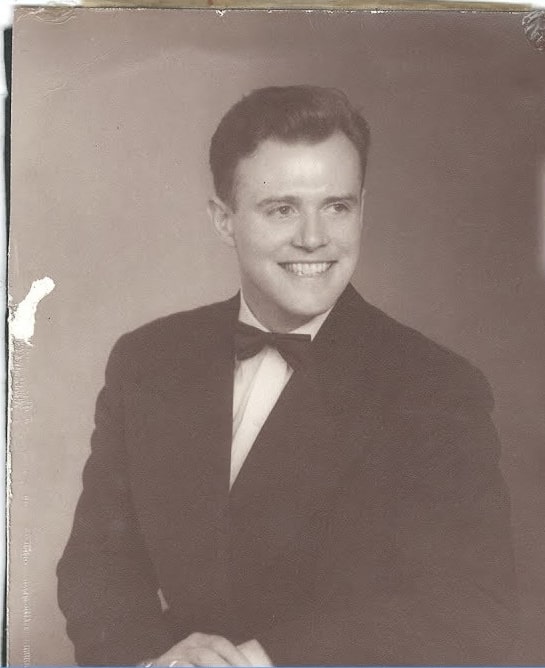
Looking at black & white photos of your family history is always emotional. While the rise of digital photos has almost killed the trend of printing photos, it has only made old photos more precious. However, as time passes, the old images become damaged and unclear. Luckily nowadays, many tools are available for old photo restoration.
These tools can turn your old printed photos into digital photos and restore them to their original shape. This article will teach you everything from old photo restoration to color-correcting old photos.
In this article
Part 1. How to Restore Old Photos?
Restoring your photos to their former glory is not a dream anymore. Adobe Photoshop is a product of Adobe which is the industry standard for photo editing. It can help you fix old photos and restore them to their original condition. Here is the detailed process of restoring the old photos via Adobe Photoshop:
Step 1: Scan the Old Photo
You will need to scan your damaged printed photos to fix them in Adobe Photoshop. It can be done through a scanner machine or using your mobile. You will likely need a third-party app to scan the photo using your phone.
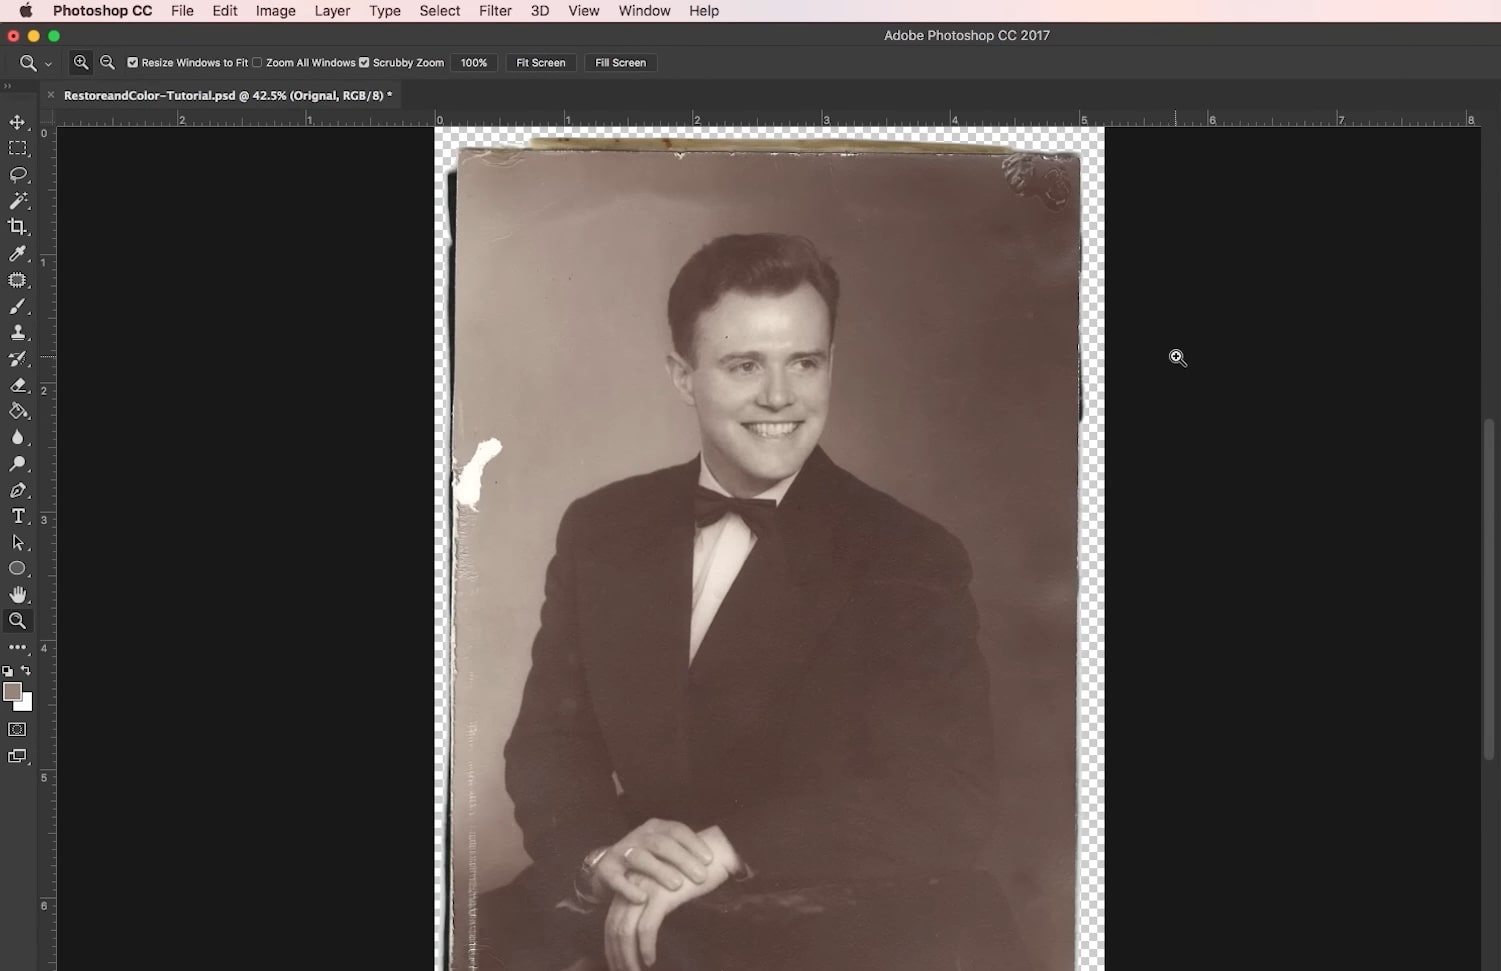
Step 2: Open the Photo in Adobe Photoshop
Once the photo is scanned and moved to your computer, launch Adobe Photoshop. Now drag and drop the photo on the tool to open it. Afterward, select your photo's main or background layer from the "Layer" panel on the bottom right side.
Step 3: Clean the Old Picture
Now use the “Ctrl + J” key for Windows and “Command + J” for Mac to create a duplicate layer so the original photo isn't affected. If your photo is damaged due to stains like ink, mold, or water, you will need to clean them.
Stains: As the printed photos are, at the end of the day, a piece of paper, they are extremely prone to water damage, ink stain, and mold. If your photo has stains, you will need to use the “Lasso Tool” or “Selection Tool” to select the stained area. Afterward, use the "Clone Stamp Tool” or “Healing Brush Tool.”
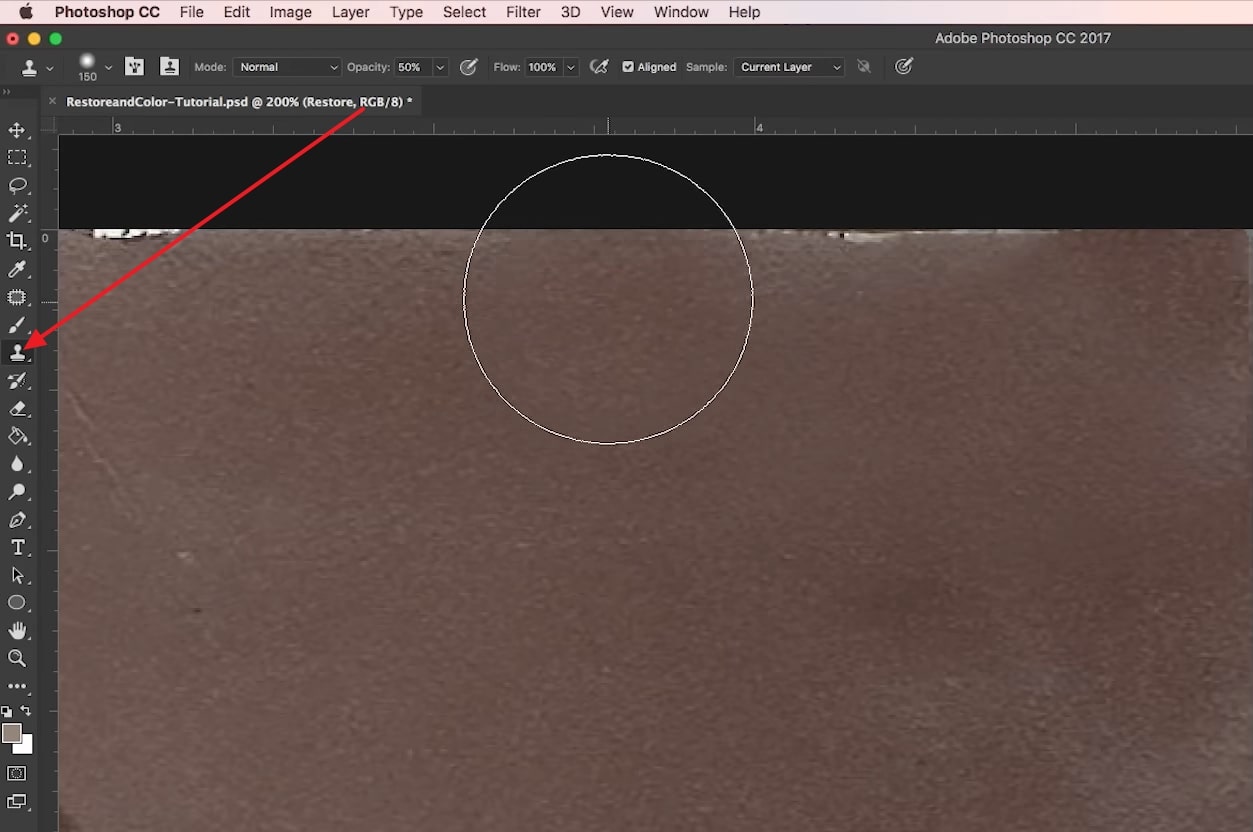
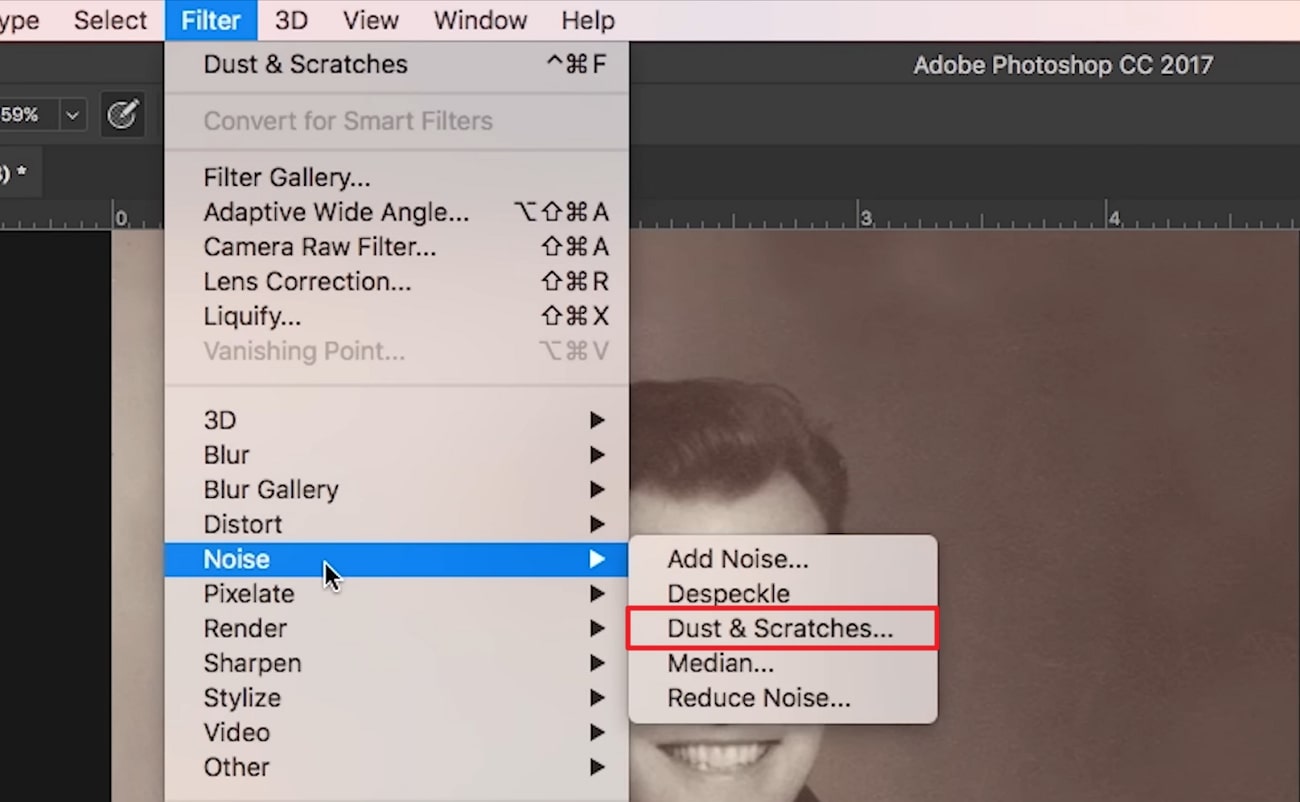
Dust and Dirt: If the photo is damaged due to dust and dirt accumulation, you can use the “Spot Healing Brush Tool” or “Clone Stamp Tool” to remove it. Another way is to use the “Dust & Scratches” filter. It is located in "Noise" in the "Filter" dropdown menu. The only pre-requirement before using this filter is to convert your layer into a smart object.
Step 4: Repair the Photo Damage
After cleaning the photo, you need to repair the damaged areas on the image. The damage can range from scratches to fading and even a torn picture. There is no need to worry, as Adobe Photoshop can fix it. If your photo is torn, use the “Lasso Tool” to select each piece and copy-paste them into separate layers. Now put the pieces together to patch up the photo.
Afterward, use the "Clone Stamp Tool" to fix the remaining parts. If the damage is too severe, you will need to use the “Content-Aware Fill Tool” to reconstruct missing parts. Minor damages like scratches and fading can be fixed through the “Patch Tool” or “Healing Brush Tool.”

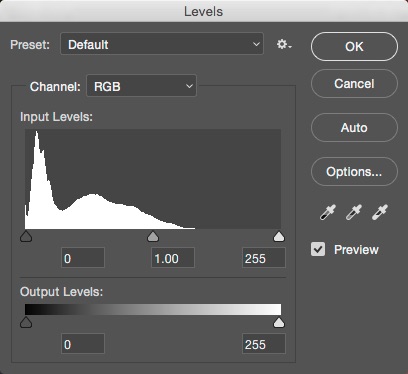
Step 5: Adjust the Levels
Next, adjust the levels of the photo to enhance its brightness, contrast, and color balance. You can access “Levels” by clicking “Image” from the top menu bar and selecting “Adjustments.” Here, use the histogram to adjust the level by using the white slider to change the brightness, the dark slide to change the darkness, and the middle slider to change the contrast.
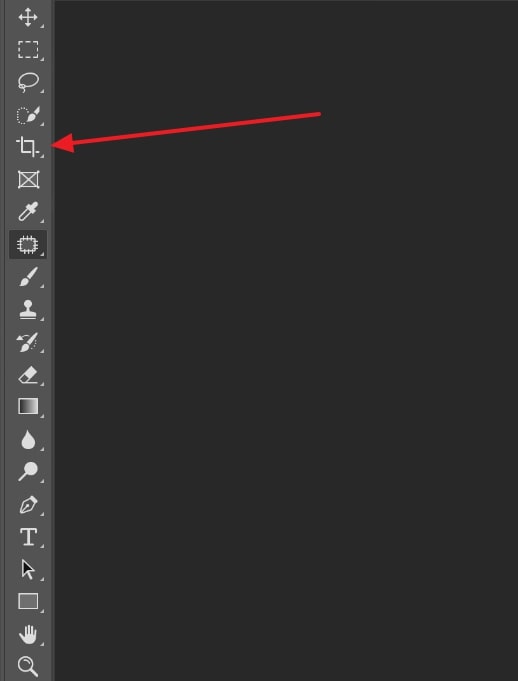
Step 6: Crop the Unwanted Edges
If the photo has an excess background or unwanted elements, you can crop it to focus on the subject. You will need to use the "Crop Tool" from the left-side toolbar to do that. After selecting the area, click the “Checkmark” in the options bar to crop the photo.
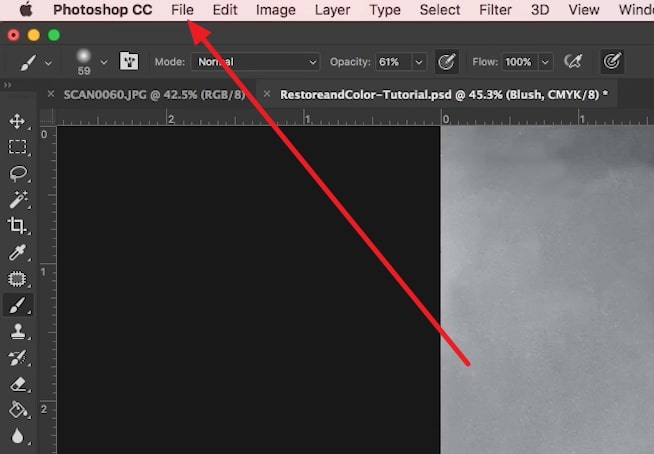
Step 7: Save the Restored Photo
Finally, when you are done with old photo restoration, you can save the newly restored images using the "Ctrl + S" combination keys for Windows and "Command + S" for Mac. You can also do it by clicking "File" from the top left corner and selecting "Save" or "Save As."
Part 2. How to Restore the Old Photos Color?
Do you also want to colorize the old photos you are restoring? If yes, you can easily colorize your black & white images during the old photo restoration Photoshop. Adobe Photoshop has all the tools you need to turn your old black & white photos into new color photos. You can use the following steps to complete the process without any issues:
Step 1: To start, you will need to scan the old photos using a scanner. You can do that through your phone or scanner machine. Once you have the scanned photo, open it in Adobe Photoshop.
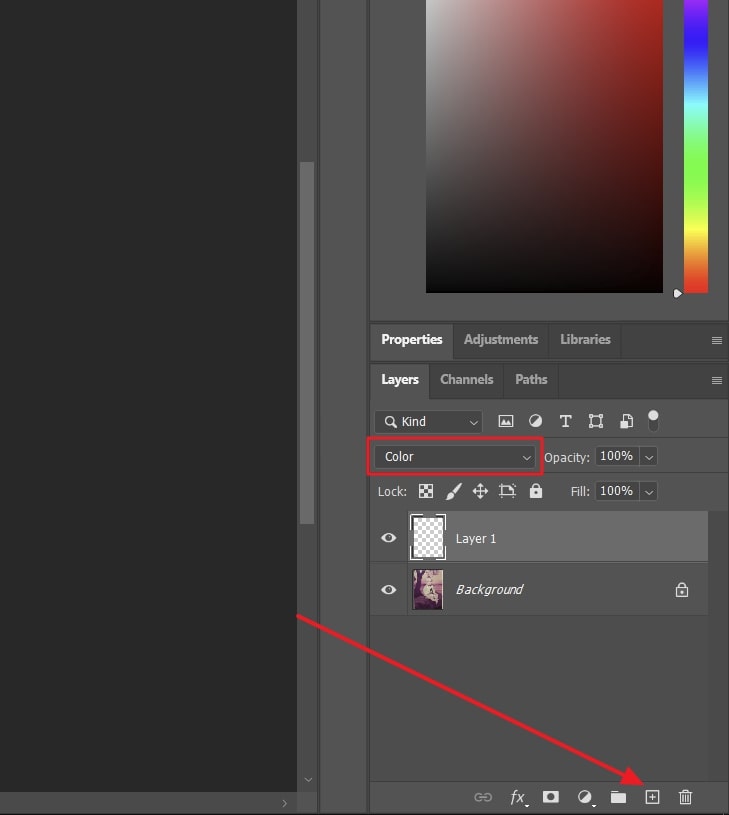
Step 2: Now click the “Create a New Layer Icon” from the bottom right corner to create a new layer. Next, set the newly created layer to the color mode by selecting it and choosing “Color” from the blending mode dropdown menu located above the layer.
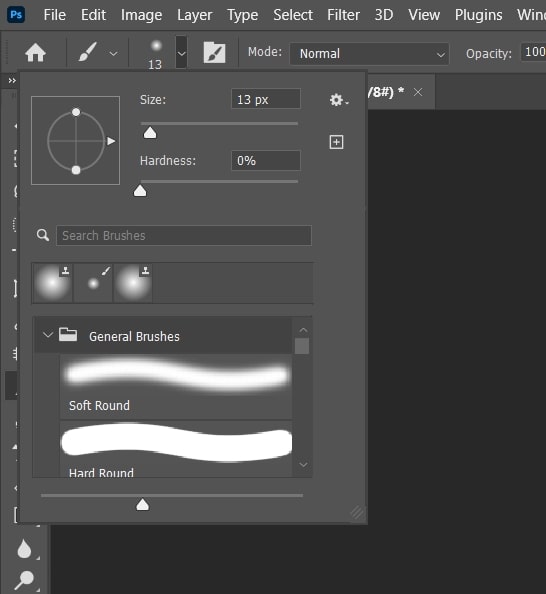
Step 3: Afterward, decide on the right color in the color palette and click the “Brush Tool” icon from the left sidebar. Next, customize the properties of the “Brush” tool, such as size and hardness, and start painting the color on the photo.
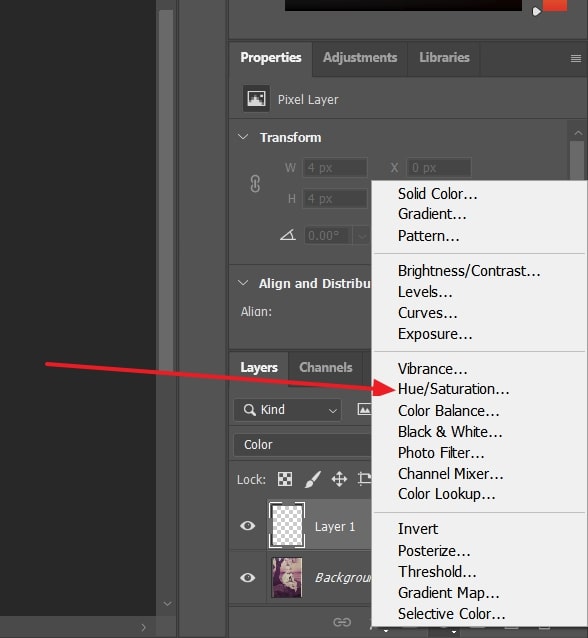
Step 4: You can change the opacity of the color you use in the layer panel right above the layer you are working on. You can also customize the “Hue/Saturation” of your old photo by creating an adjustment layer of Hue and Saturation from the “Layers” panel.
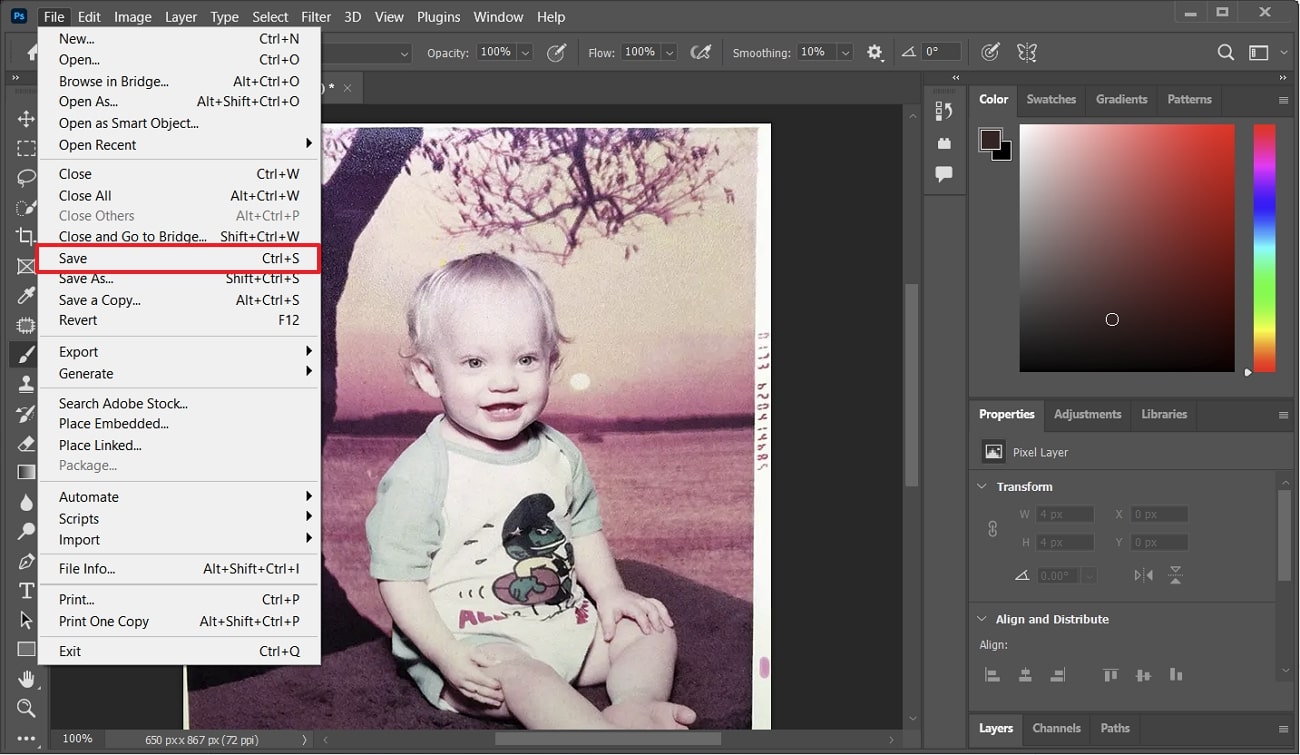
Step 5: Once you have added all the details to the photo, you can save it by clicking "File" from the top left corner and selecting "Save" or “Save As” to save the colorized photo as a new picture on your device.
Part 3. Things to Consider When Colorizing an Old Photo
Colorizing your old black & white photos is understandably an exciting thing to do. However, whenever working on old photo color restoration, you need to be careful of many things. You do not want to overdo the coloring or choose inaccurate and mismatched colors. Thus, we have listed some tips below you should follow when colorizing an old photo:
1. Research the Time Period
The first thing you need to determine before colorizing an old photo is to find the year or decade when it was taken. It is essential to do so as each decade has its fashion sense. Properly researching the time of the photo allow you to choose an appropriate color palette. You can look online to see the colorized pictures of the same era to get an idea.
2. Choose a Color Palette
After figuring out the time, you next need to decide on a suitable color palette. Your chosen color palette should complement the mood and era of the photo as much as possible. It means choosing colors that work well together and create a balanced, aesthetically pleasing result. You can use color theory, color wheel, and other color-matching tools to select the right colors.
3. Be Mindful of Skin Tones
After choosing the right color palette, you need to figure out the skin tones. You want to be very careful with skin tones as you don't want them looking fake or too uniform. The skin tones vary depending on the person's age, ethnicity, and lighting conditions at the time of the photo. That's why using appropriate colors for skin tones is necessary.
4. Add Shading and Highlights
Shading and highlights when colorizing an old image give it depth, making it more realistic. You can do that by using darker and lighter shades of the same color. Another technique that can significantly help is to use complementary colors to create contrast and make specific areas of the photo pop.
Part 4. Some Helpful Photo Editors that Make Old Photo Restoration
While Adobe Photoshop is a great tool, it has some drawbacks. One of these drawbacks is that it is aimed at professionals and thus has a steep learning curve. That makes it harder to use for newbies and non-tech users. If you are also one of these, here are 4 online and offline tools to repair old damaged photos:
1. Media.io – Image Restorer
The best tool when it comes to old photo color restoration online free is Media.io. It has a powerful AI Image Restorer, turning old photos into stunning new ones. All you need to do is upload your old damaged image, and the tool will do its magic. With it, you can also colorize your old black-and-white photos with ease.
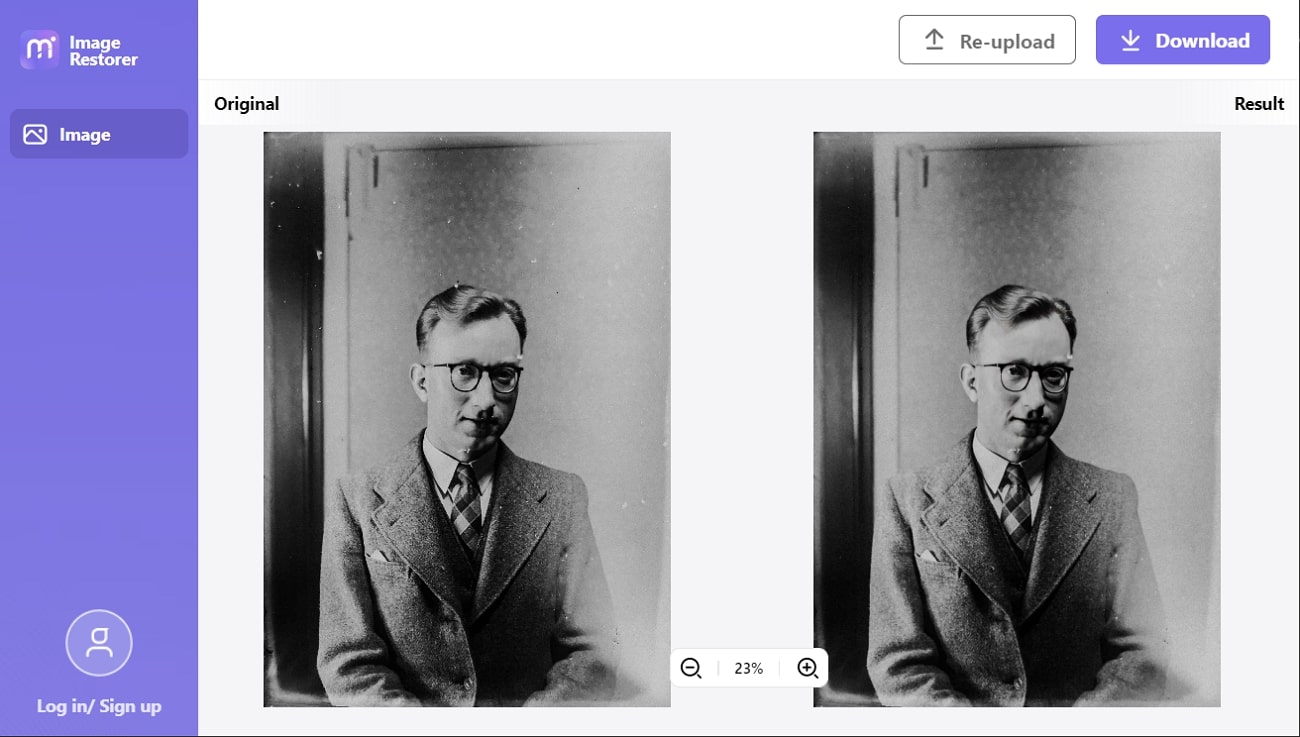
Key Features
- Using this tool, you can turn your photos into sketches or cartoons and even paint like art.
- io lets you convert your photos to 45+ formats with a single click.
- It offers an excellent AI image upscale tool that lets you enlarge your photos up to 800% without quality loss.
2. Fotor
When looking for an online photo restoration tool, Fotor is a great choice. It uses AI to restore your old photos to their former glory. Apart from fixing old photos, it also allows you to remove and change the background of your images. Moreover, you do not need any registration or account to use this online tool for photo editing.

Key Features
- Fotor allows you to enhance your photos with the help of AI algorithms that sharpen the image appropriately.
- It has a powerful object remover tool that lets you remove all the unwanted objects from your images.
- Using this tool, you can make aesthetically pleasing collages with the help of its collage maker.
3. Luminar Neo
A powerful image editor by Skylum, Luminar Neo allows you to AI restore old photos via its wide range of AI tools. It provides advanced features for photographers and designers to enhance their pictures and create stunning visual content. Moreover, it supports various RAW file formats, allowing you to work with your photos at the highest quality possible.
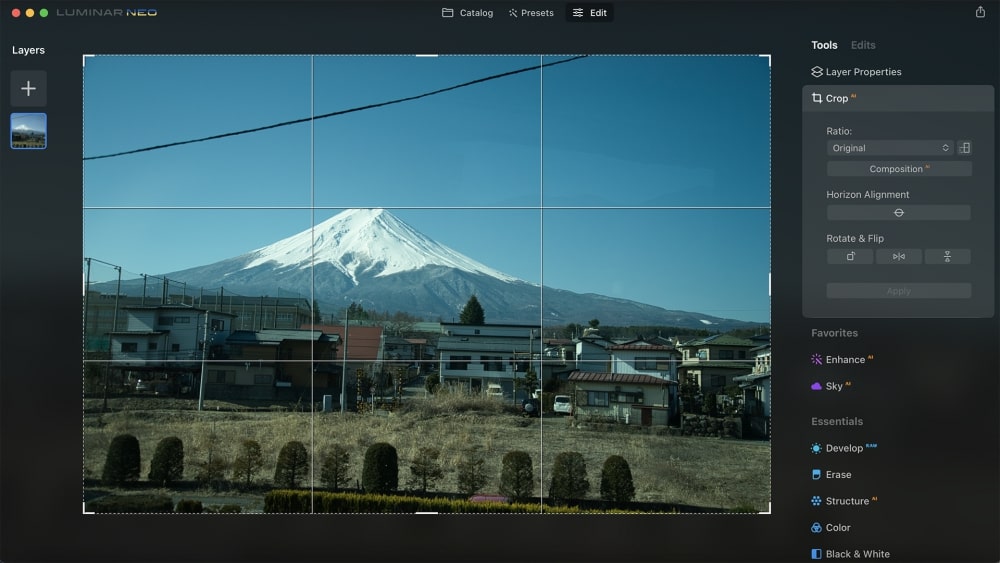
Key Features
- Its Sky AI feature lets you replace the sky in your photos with stunning skies in just a few clicks.
- You can use its Accent AI feature to adjust your photo's colors, tones, and details to create a more balanced and natural-looking image.
- This software has a Structure AI feature that can enhance the details in your photo, making it sharper and more defined.
4. PhotoWorks
PhotsWorks is another decent option for repairing old photos. It removes unsightly scratches, rips, and stains from photographs, leaving no trace behind. You can also use it to cut away damaged or battered edges, giving pictures a polished look. Its wide range of photo editing tools includes color correction, exposure adjustment, white balance, etc.
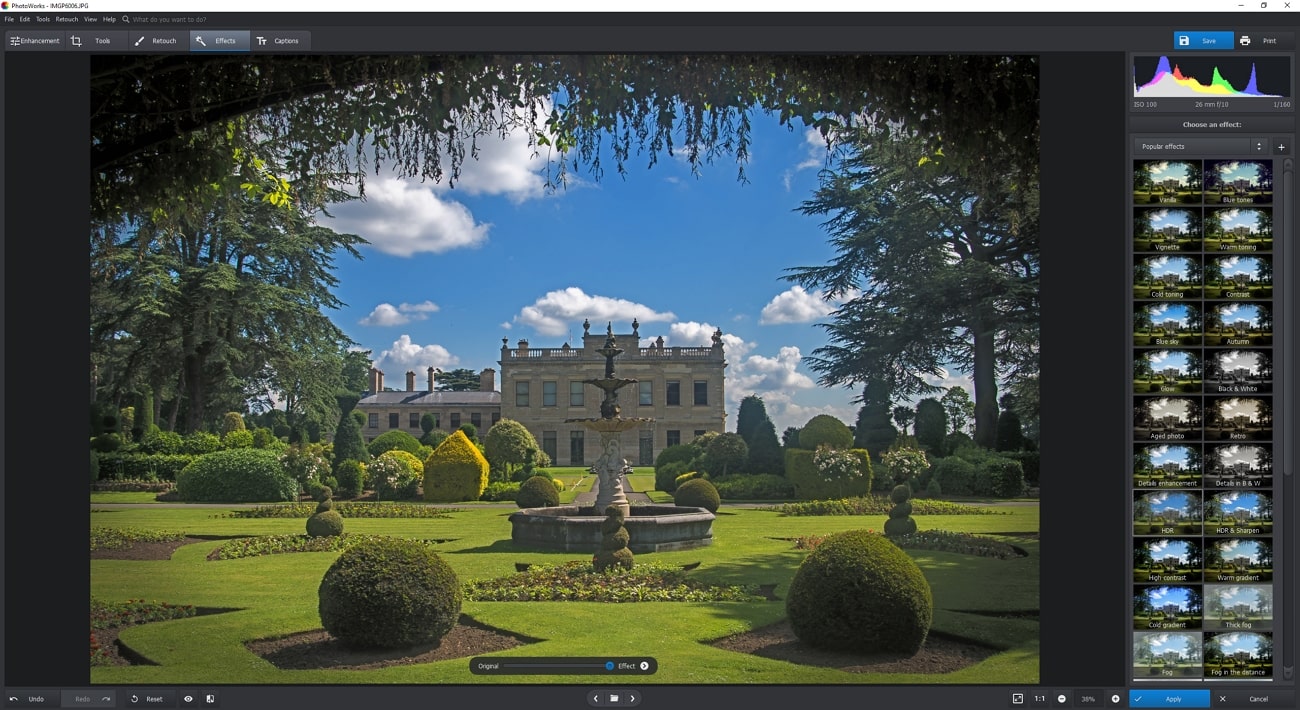
Key Features
- Using the content-aware fill tool, the software lets users remove unwanted objects from their photos.
- Users can edit multiple photos simultaneously using the batch processing feature, which saves time and effort.
- It has various retouching tools, such as spot healing and clone stamp, which enable users to remove blemishes, wrinkles, and other imperfections from their photos.