 Media.io

 One-tap erase on photos & videos


 ChatGPT
 Perplexity
 Gemini
 Claude
 Grok
Grok
A picture speaks a thousand words. That statement holds in today's modern society, where people post pictures of their lives on social media. People add stickers or emojis to enhance their images to make them more attractive. However, if you like a particular photo and want to download it, the pictures' stickers can be very annoying.
This article will teach you the ways to remove stickers from a picture. Five different online methods to remove stickers will be shared in this article. In addition, this article also highlights methods of using computers or mobile phones to make these edits. Lastly, you can access exciting but frequently asked questions to learn how to remove stickers from specific social media platforms.
In this article

Part 1: 5 Tools To Remove Stickers & Emojis From Pictures Online
Online editing methods are prevalent as they are fast, and anyone can use them with a stable internet connection. This part of the article shares five online techniques to remove stickers and emojis from pictures. Their key features are also shared, and you can choose the method that fits you the most.
1. AniEraser
AniEraser is one of the latest advancements from the tech giant, Wondershare. It is an AI-powered photo and video object remover that can easily remove anything you want from your photos or videos. What is more, you do not even need any editing skills to perform this action. Simply brush the objects you do not want in your pictures or videos.
AniEraser main features
Here are some highlights of why people enjoy using AniEraser:
- Available on different platforms, including on desktop, mobile (iOS), or the web after a one-time purchase
- Fast processing speed, and you can remove all unwanted objects in your photos in a limited time
- A budget-friendly tool and the subscription plans are easy to buy
- The premium version unlocks features that professionals typically use
Here are the steps required to remove stickers from pictures using AniEraser. It works for almost any image, and you will be able to get a clear picture in no time.
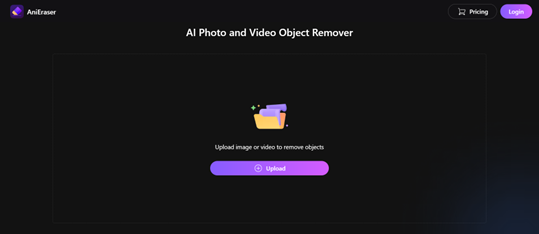
Step 1Upload images to AniEraser
Go to the AniEraser website from the link above and launch the webpage. Click on the Upload icon to upload your desired picture into AniEraser.
Step 2Remove objects from your images
To remove objects such as stickers or emojis from your picture, just brush them over. In this example, the word 'liberty' is being brushed to be removed. Once done, click on Remove objects now on the bottom right.

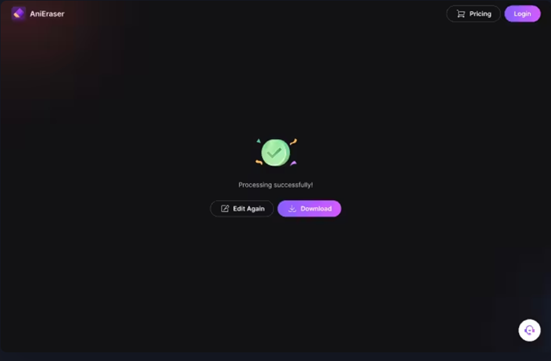
Step 3Preview and download
Before downloading the picture, you will have the option to preview your edited photo. Feel free to edit by clicking the Edit Again option until you are satisfied. Once done, click Download to save your picture.
2. Fotor
Fotor is an online photo editing tool that helps you to edit your photos with a wide range of photo editing tools. You can crop, resize, add, or remove filters and texts, etc. It is an all-in-one photo editor portal that will fulfill all your needs. It can also remove stickers and emojis from your pictures, and all this can be done with just three simple steps.
Fotor main features
Here are some key advantages of using Fotor:
- Covers various free online editing tools, including removing f objects
- It is suitable for both beginners and professionals
- Available on both PC and mobile
- Tutorials and guides are available for those who have no clue where to start
3. Apowersoft
Apowersoft is an online portal that can remove emojis and stickers from photos. Besides emojis and stickers, Apowersoft can remove logos, date stamps, text, people, and almost anything! It is suitable for both beginners and professionals and possesses many self-explanatory features on the site. If you have a large number of photos to process, Apowersoft is one of the best tools in the market.
Apowersoft main features
Some reasons why people adore using Apowersoft
- Can batch process photos and preview the final edited version in real-time
- Compatible with almost all photo formats
- Download edited images in original quality
4. Pixlr
Pixlr is a free photo editing and design tool that AI powers. You can edit your photos or create stunning designs for your photos directly from your browser, mobile phone, or desktop for free. You can remove the background from your pictures, stickers, and emoji! Pixlr's mission is to make design easy for everyone, and by using Pixlr, you will be assured of having your stickers removed.
Pixlr main features
Reasons why you should choose Pixlr:
- Offers web, iOS, and Android app
- High-quality photo editing effect that rivals professional apps
- Similar functions to paid applications and software
5. PicWish
PicWish is making its name in the photo editing field. PicWish is 100% free and possesses AI technology that provides clean results. This online tool helps you remove unwanted objects, such as stickers and emojis from your photo and highlight the content you want to bring into your picture. Moreover, you do not need to be a professional to use PicWish.
PicWish main features
Top qualities of PicWish:
- Very fast processing speed
- One of the best background remover tools
- Free and user-friendly
Part 2: Photo Sticker Remover on PC & Device
Besides online methods, if you are looking for a technique or an application that you can download and use repeatedly on your computer or mobile device, the following techniques are just for you. This section will share three methods on the computer and mobile phones for you to use to remove those annoying stickers on the pictures.
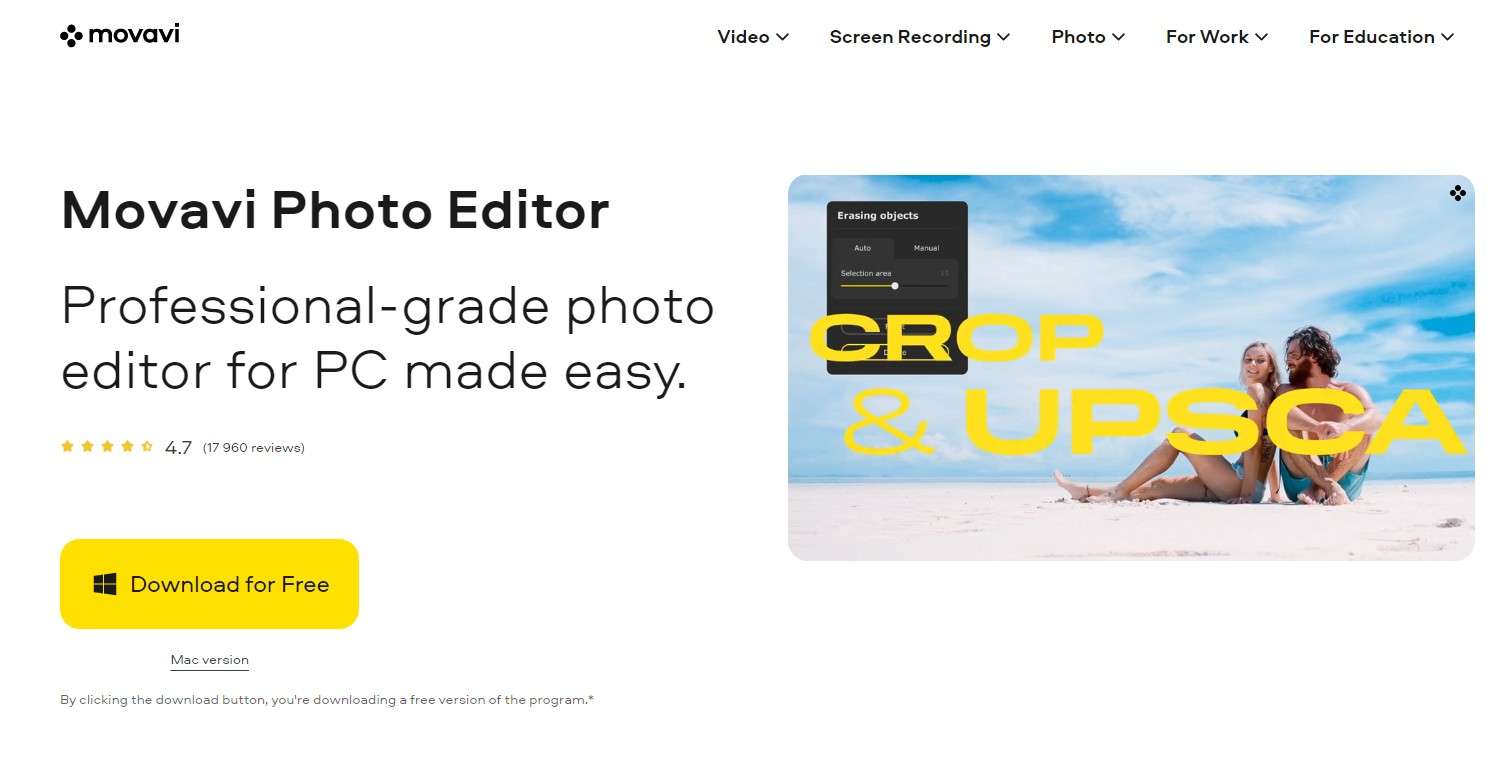
1. Movavi Photo Editor - Delete Stickers From Photos On Desktop
Movavi Photo Editor for PCs is designed for photographers of various skill levels. From amateurs to professionals, Movavi Photo Editor is there to help with your photo editing. Movavi Photo Editor is an Al-powered photo editing software that achieves flawless results. Thanks to the simple and intuitive user interface, it is easy for people to pick up this software and start editing.
Key features of Movavi Photo Editor
Why do people love Movavi Photo Editor:
- Professional-grade photo editor for PC made easy for
- Allows restoration of old photos
- Custom sharpness adjustment
- Precise object removal
Step 1
Download Movavi Photo Editor from the link above and launch the application on your computer. Upload your desired photo and click on the Object Removal tab.
Step 2
At the top of the Object Removal tab, choose a selection tool that you are comfortable using. Mask all the objects you want to remove by brushing or tracing them.
Tips: If you made a mistake, use the Eraser to deselect parts of the image.
Step 3
Once done, click on Start Erasing to remove all the objects you have selected.
Tips: If there are some more small defects after erasing, you can use the Clone Stamp tool to manually correct them
2. iMyFone MarkGo - Remove Stickers From Photo On PC
iMyFone MarkGo is a state-of-the-art sticker and emoji remover that can effortlessly remove objects from your photos. The science behind this technology is using AI and image detection to locate your background, object, facial features, etc., to help create a seamless transition after an edit.

Key features of iMyFone MarkGo
Reasons why iMyFone MarkGo is so popular:
- Recovery of lost color in photos
- The intelligent filling algorithm helps to remove objects from photos seamlessly
- Low-pass filters to reduce noise and ensure high resolution of images after editing
- Allows batch processing to save time
Step 1
Download the iMyFone MarkGo from the link above and launch the application on your computer. Click on Remove Image Watermark.
Step 2
Click on Add Image and import your desired image into the application.
Step 3
Click on the Selection Tool on the right and use the box to mark the area of the sticker or object you want to remove.
Step 4
Click Remove Now to remove the selected object and Export to download the edited photo into your computer.
3. Snapseed - Photo Sticker Remover Apps [Android & iOS]
Snapseed is one of the few apps available for Android and iOS devices. It can remove stickers and emojis from photos and contains tools allowing users to edit images easily.
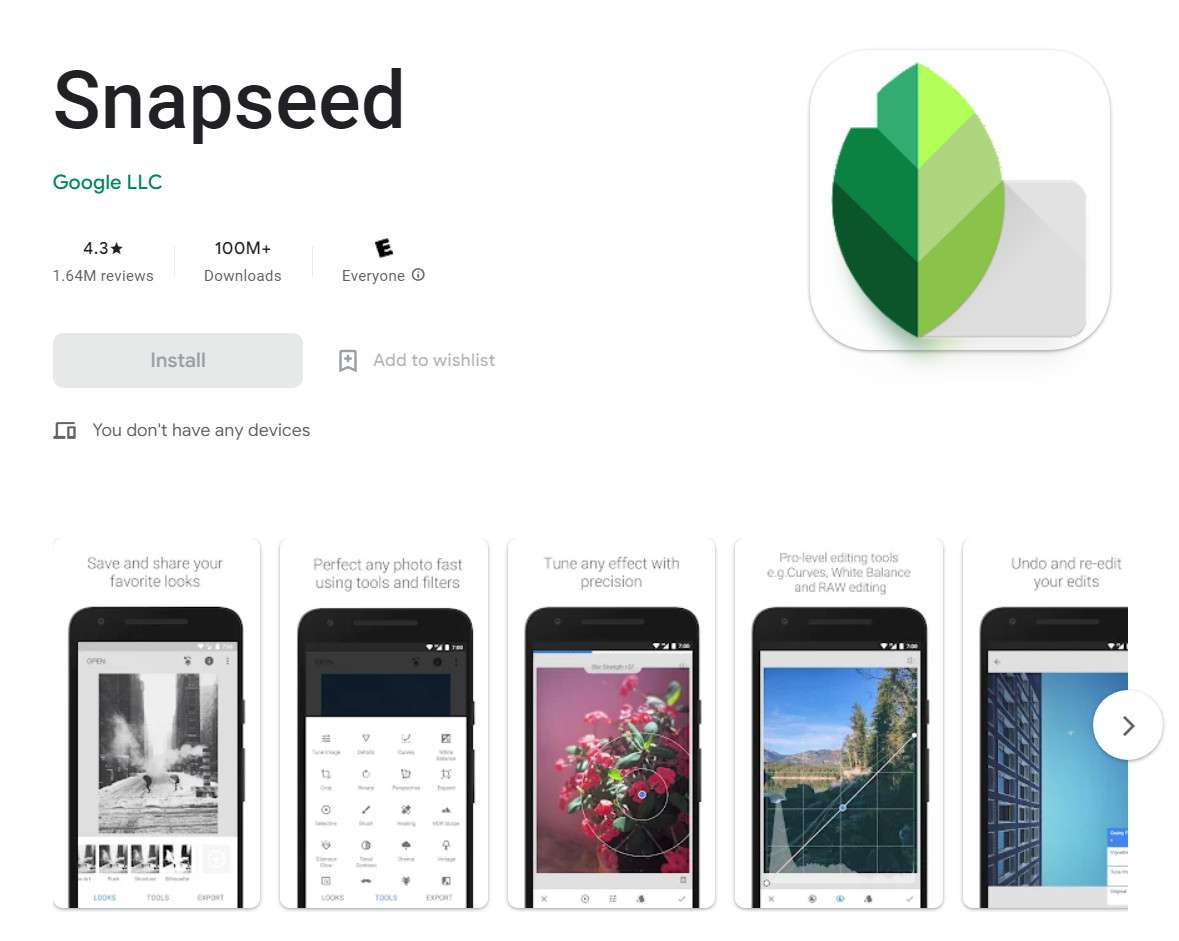
Key features of Snapseed
Why do people choose Snapseed:
- A wide range of image editing tools that enhance and make your pictures perfect
- Saves time with efficient tools
- Quality of professional software
- Free from ads and pop-ups
Step 1
Download Snapseed from the link above and open the app on your phone. Tap on the big + sign on the screen and import the picture from which you want to remove the sticker.
Step 2
Tap on TOOLS in the middle tab to see a list of icons. Look for the option Healing. This option removes objects from your picture.
Step 3
With the healing option turned on, highlight the object you want to remove. Once the area is highlighted, it will be automatically removed. Tap on EXPORT on the bottom right to save this newly edited picture.
Frequently Asked Questions
We have learned about several methods and apps that we can use to remove stickers and emojis from pictures online or on PC and devices. What about removing stickers from Instagram videos and pictures on Telegram or removing Instagram stickers from photos online? Find out more from these frequently asked questions on removing stickers from Instagram videos, images on Telegram, and photos online.
1. How Do I Remove a Sticker From Someone Else's Instagram Video?
It is pretty straightforward to remove stickers from your own Instagram video. All you need is to tap and hold the sticker in the Instagram video until it begins to wiggle, then drag it to the trash can that appears at the bottom of the screen once you tap and hold the sticker.
However, for someone else's Instagram video, removing a sticker might require more steps than removing it from your own Instagram video. It is also not possible to specifically remove the stickers from the videos as these videos might have already been saved on their profiles.
However, some apps can help reduce the appearance of stickers in videos. These video editing apps include Adobe Premiere Pro, Final Cut Pro, or iMovie.
2. How To Remove A Sticker From A Picture on Telegram?
You can use several tools to remove stickers from a picture on Telegram. If the picture belongs to you, that's great! But, if not, you will need to either download a version of the photo with stickers on it or ask the sender for the original copy of the photograph without stickers.
Once you get the original or downloaded copy of the picture, you can use the apps mentioned earlier in the article to remove the sticker from the picture.
3. Is It Possible To Remove Instagram Stickers From Photos Online?
If you want to remove Instagram stickers from photos you have found or downloaded online, there are a few different ways to do it. One way is to use a photo editor like Photoshop or GIMP. Open the photo in the editor, select the Instagram sticker, and delete it.