Typically measured in ppi (pixels per inch), image resolution refers to the pixel count of an image. The more pixels it has, the higher the resolution. A few years back, only photography professionals could untangle the woe of blurry or pixelated low-resolution pictures.
However, tweaking image resolutions now takes only a mere few clicks. In this article, we offer some simple hacks to increase image resolution in Photoshop and its alternative.
In this article
Part 1: Factors to consider when selecting an appropriate size of an image
Before you resize your image, consider the purpose. Resizing an image takes only a few clicks. Yet, in a world of content, every step of the strategy needs to be taken with careful consideration based on the intended output.
1. Sizes and ratios
Increasing image resolution will affect its size considerably. If you want to upload a picture to a certain platform, you must ensure that the size is still within the threshold. Most web usually has a maximum limit of 2MB.
If your resizing also calls for cropping, you need to ensure that you are using the correct aspect ratio. Most TV and Internet platforms, whether they’re on vertical or horizontal viewing mode, usually advise a 16:9 or 9:16 aspect ratio. It will be ideal if you’re using full-HD resolution at 1920×1080 pixels or the HD 1280×720 pixels.
For social media posts, you might need to crop your image to a 1:1 aspect ratio with the ideal size of 1080×1080 pixels.
2. Formats
The same strategy should also apply to image formats. Certain image formats can provide and preserve higher qualities than others.
Saving your image as TIF or RAW will give you the best qualities but most publication platforms don’t support them. You can opt between JPG and PNG if you intend to post the picture online. Bear in mind that, in most cases, PNG offers better quality.
3. Color modes
Last but not least is the color system. The most common one is RGB (red, green, and blue), while the other one is CMYK (cyan, magenta, yellow, and key (or black). Many upscaler tools will automatically set your image to RGB mode, which is a social media-friendly type.
However, some, like Photoshop, require manual tweaking to change this setting if your photo was set to CMYK. This is because the ink-responsive CMYK is the better option if the purpose is to print the picture.
Part 2: How to increase image resolution in photoshop
Say that you have a good shot of yourself but it was taken at a distance. You want to crop a bit of the background so your features can be more prominent. However, now the picture is too small to print and a mere increase in size leads to annoying pixelation.
Photoshop provides an easy solution to this with these easy six steps.
Step 1 Open your image in Photoshop then, from its tabs, click Image Size.
Step 2 The image size menu will reveal the current size of the image. Make sure that the Resample Image is ticked and open the drop-down menu.
Step 3 Select the Bicubic Smoother option and add new values to the Resolution field to enhance the image quality. Bear in mind that 72-96 ppi are considered low, aim for 300 ppi or more to reach the standard high resolution in Photoshop.
Step 4 You can readjust the size of the document by tweaking the value of the Height and Width. Photoshop will automatically readjust the Resolution based on your document size adjustment.
Step 5 If the image seems a bit patchy or the edges look a bit rough, you can apply the Unsharp Mask feature from the Filter menu to enhance image quality.
Now that the picture is enlarged and enhanced, you can click Save or Save As. When you’re prompted to adjust saving options, don’t forget to opt for the highest quality to preserve the constitution.
Part 3: What’s the best alternative to photoshop image upscaler
While Photoshop image enhancement is a legend on its own, it requires quite a learning curve and a big chunk of storage space on your device. Your graphic card should also be able to take on the heavy operation of its image editing features.
If you’re not currently in that position, you can always use web-based services that provide adequate upscaling services, such as Media.io.
As it requires no installation, you can use Media.io on any device without wasting storage, ram, or time as long as you have a good Internet connection. You can enhance the details of your photo up to 4k resolution without losing its quality.
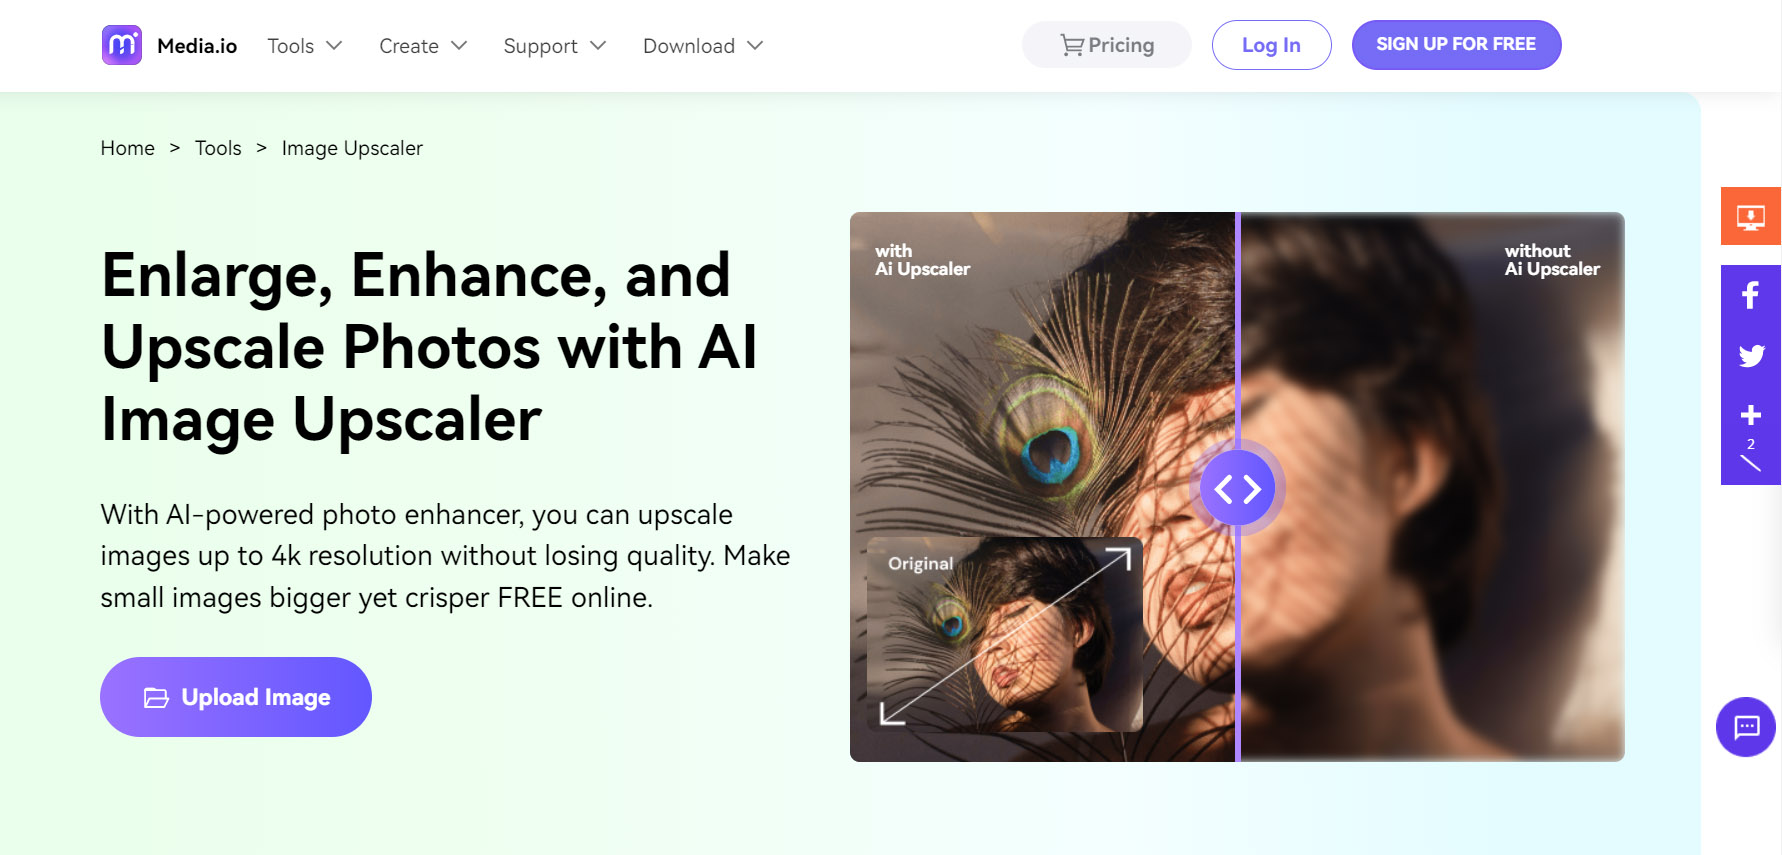
If you’re not that experienced with photo editing, Media.io’s user-friendly interface and AI technology will help you get the job done almost automatically. It supports all common types of formats, including JPG, JPEG, or PNG.
You will be required to log in to use Media.io but this is a completely safe procedure. For user data security, all uploaded files and generated content on Media.io are automatically deleted from our servers within 7 days. This ensures that your data remains private and protected.
It’s easy to use Media.io to upscale your photo with just three simple steps.
Step 1: Go to Media.io and click the Upload Image button on its homepage. You will be redirected to the actual editing page.
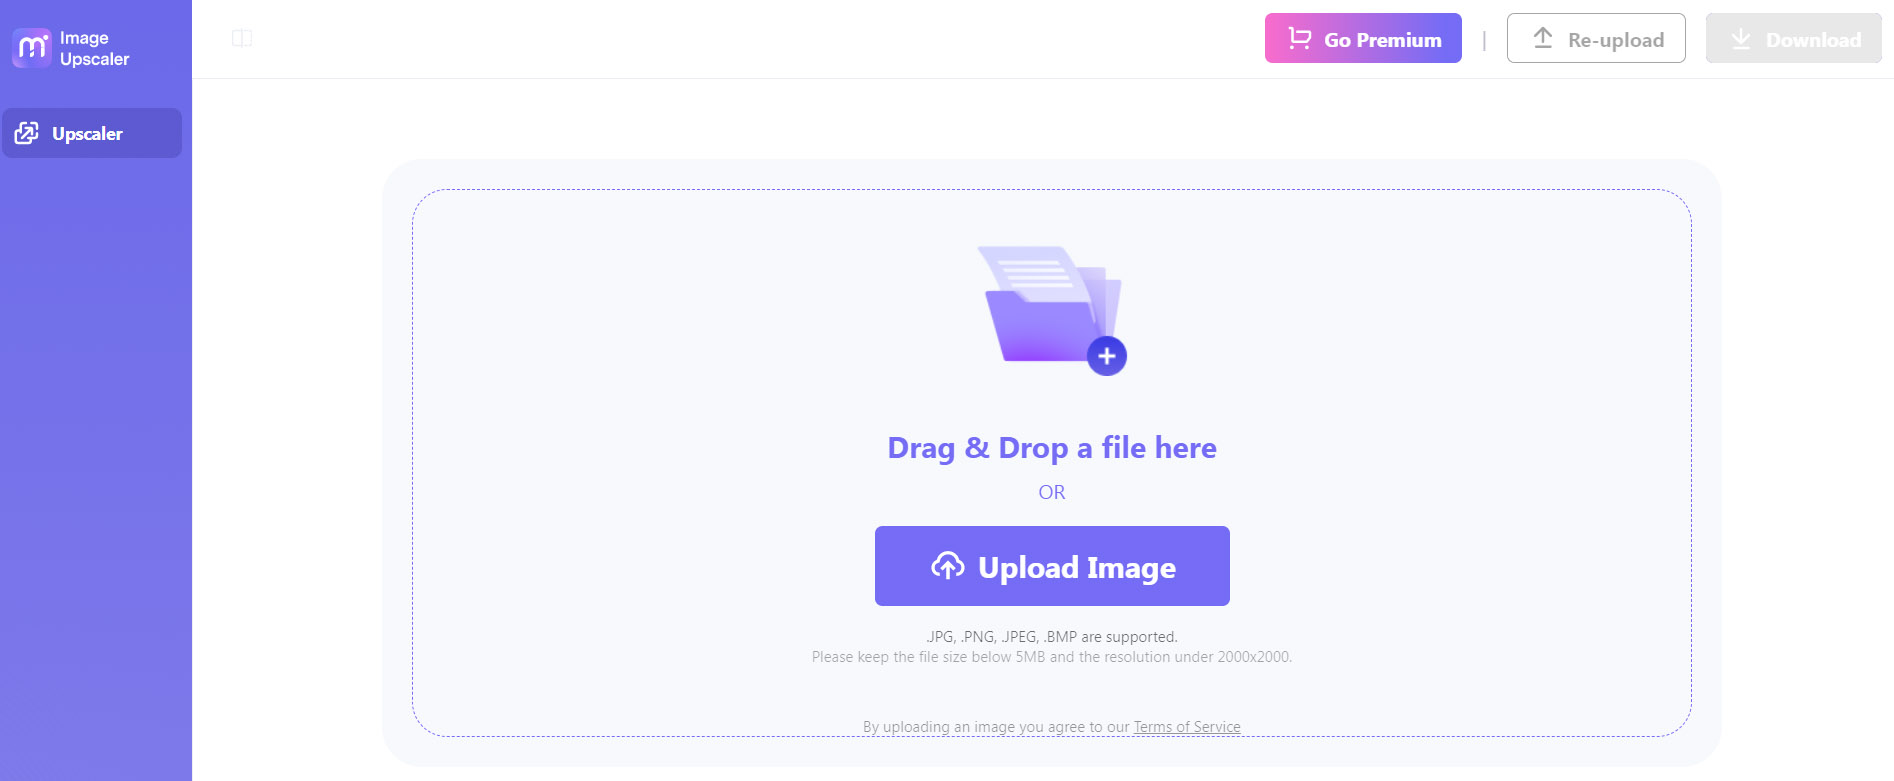
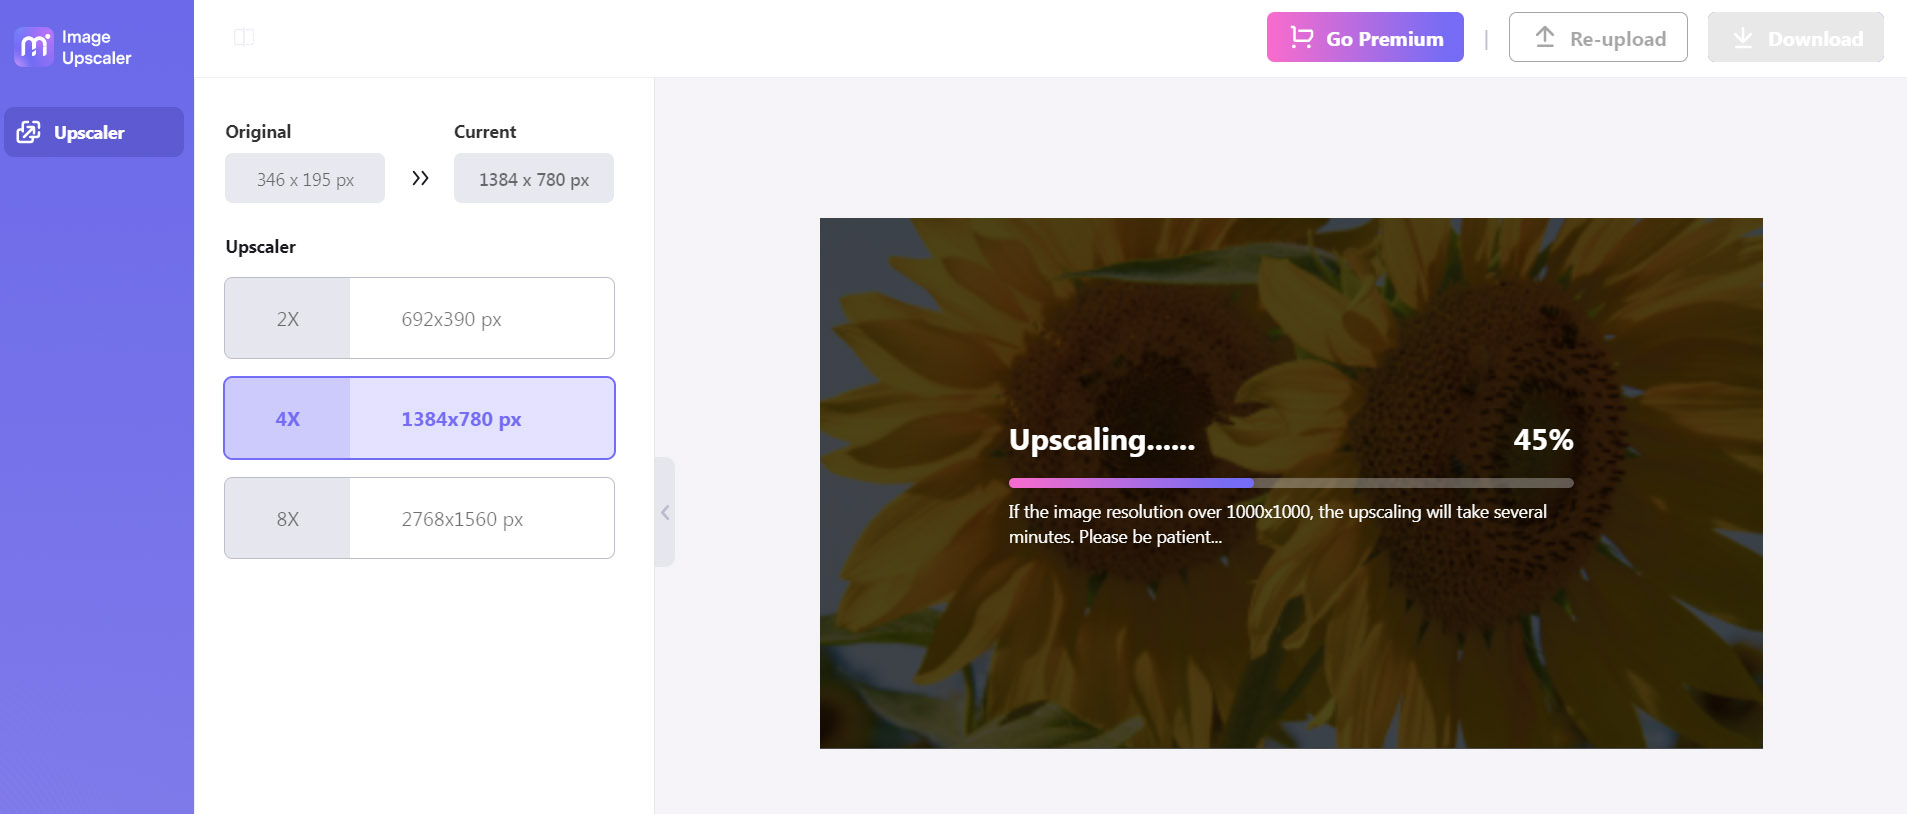
Step 2: The Upscaler tool will provide several options for upscaling. Choose the one that suits you the most. Once you click on the preset option, the site will start processing it.
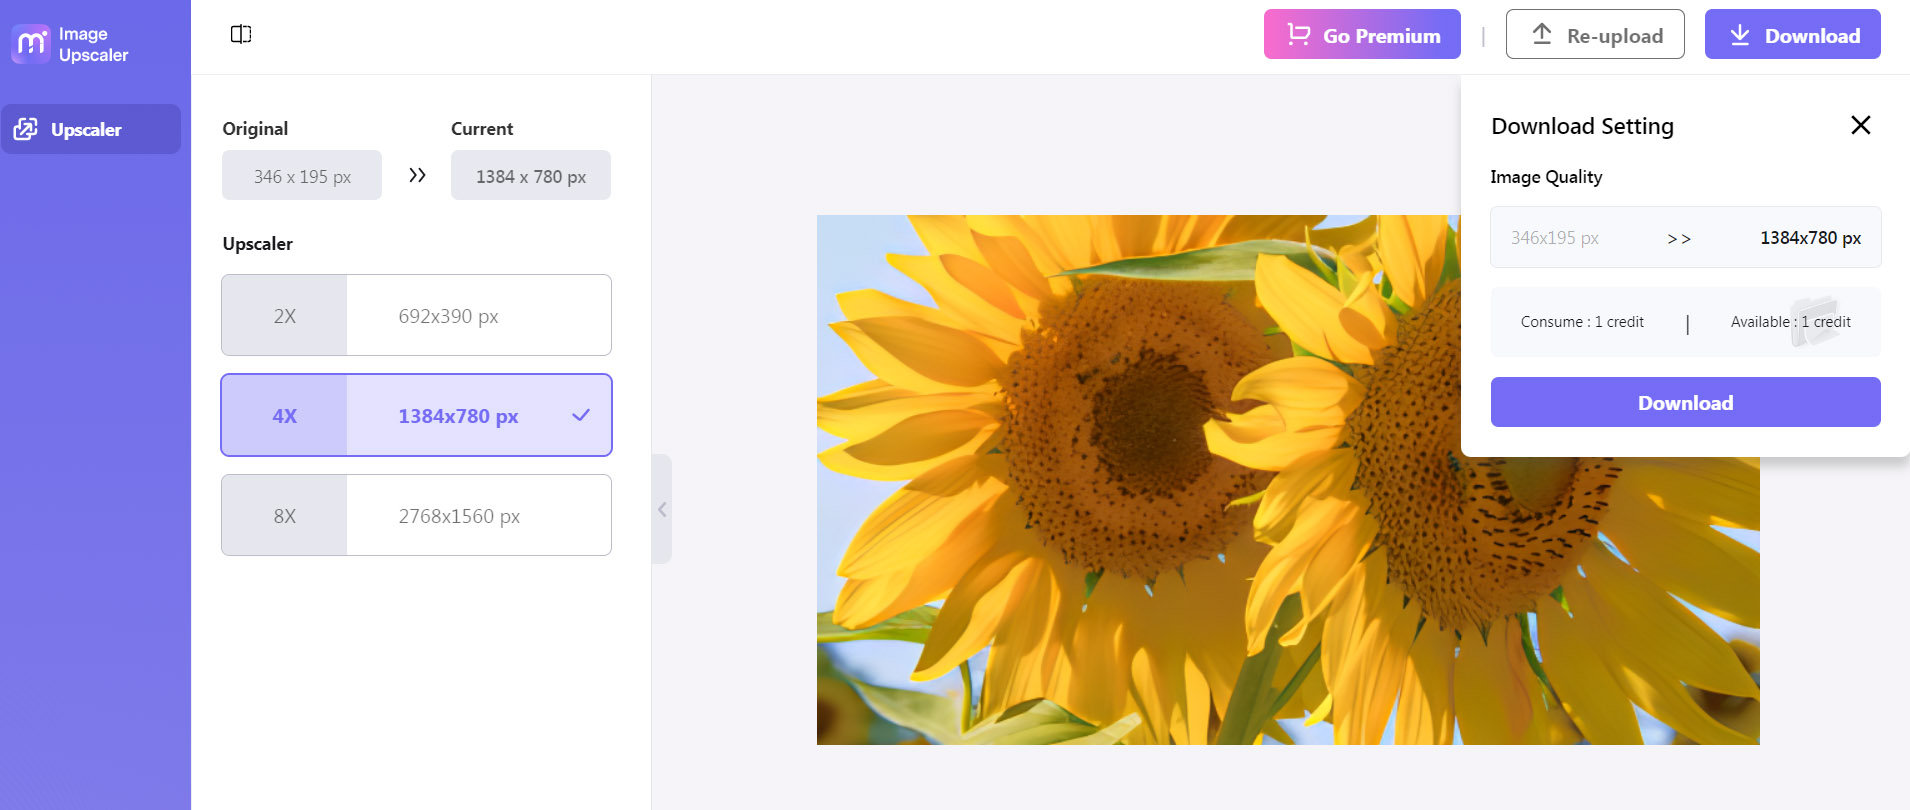
Step 3: Click Download. You will see some information regarding Image Quality and your account’s available credit. Click the final Download button and that’s it!
Wrapping up
The task to increase image resolution in Photoshop used to be a daunting one. However, there are simple hacks to it. Now we can even have simpler alternatives to handle the enhancement even without the software, such as by using Media.io. You can upscale your image without even installing it on your device.
By simply making an account at Wondershare, you can use Media.io to upscale your image with just a few clicks. Sign up today and say goodbye forever to pixelated images.
People also ask:
1. What ratio is high resolution?
For optimum graphic quality, you can increase your image resolution to 600 ppi. This would reduce the chance to get poor-quality printing. However, for web-related purposes, it would be better to just increase it to 300 ppi. This way, the file size will be more mobile-friendly.
You might also want to tweak the aspect ratio. High definition 16:9 aspect ratio will require a minimum of 1920 x 1080 pixels.
2. How to fix a blurry resolution?
You can easily fix a blurry image resolution using upscaling tools, whether on Photoshop, or other upscalers, such as Media.io. These tools will increase the resolution of your image, making it more vivid and crisp.

