While applying for a job or creating your profile on LinkedIn, you would require professional headshots. The headshots can display the authenticity that helps customers or clients to approach you easily. Moreover, it can have a professional impact on the viewers that can grasp their attention.
Also, people can constructively connect with you through your professionally taken image. Thus, if you want to make your first impression impactful, this article is for you. By reading this article, you can discover how to take headshots with iPhone in an impressive manner. Therefore, this article can serve as a useful tip to grasp the attention of your recruiters or clients.
In this article
Part 1: Reasons Why People Like to Take Headshots with iPhone
Do you know why people prefer iPhones to take headshots? This section will highlight the major reasons for you to take headshots with iPhones.
1. Easy to Access and Portable
Mobile devices like iPhones are highly accessible as every user carries them most of the time. If you want to take a headshot in bright sunlight, you can easily take your iPhone anytime. Moreover, the portability of iPhones makes it easier to carry them anywhere without any difficulty. Thus, with no need to specifically plan, you capture pictures using your iPhone without losing a potential opportunity.
2. Professional Camera Quality
Indeed, iPhone captures high-resolution pictures with its high-end sensors, optics, and advanced processing abilities. Every new generation of iPhone comes with improved camera results and upgrades. It also offers different camera modes that allow you to take headshots as required. Therefore, iPhones will let you take captivating headshots without requiring DSLR or professional cameras.
3. Cost Effective
DSLRs or other professional cameras can be very expensive for beginners. Moreover, going to a photo studio can cost you many dollars per hour. However, with an iPhone, you can take high-resolution headshots without spending a penny. This cost-effective way allows you to capture multiple headshots with different backgrounds.
4. Abundant Editing Options
In iPhone, you can utilize various editing options to add changes to your headshots. Once you have taken the picture, you can enhance your facial features and skin tone through its built-in filters. Moreover, you can adjust color correction, saturation, contrast, and other parameters on your iPhone. By navigating to the App Store, you can also locate various editing apps that can further assist you in editing your headshots.
5. Friendly User Interface
Most professional cameras are complicated to operate, especially if you are a beginner. You would need tutorials to function the professional camera properly. Conversely, iPhone has a friendly user interface that you can operate without seeking any technical help. With a single tap, you can capture your headshot effortlessly. Moreover, you can edit and share your headshots on your iPhone within a few taps.
Part 2: Simplified Steps for How to Take Professional Headshot with iPhone
Are you eager to know how to take a professional headshot with iPhone? In this section, we have provided a well-explained guide that can help you take a high-quality headshot using your iPhone. Thus, follow each step carefully to avoid any errors.
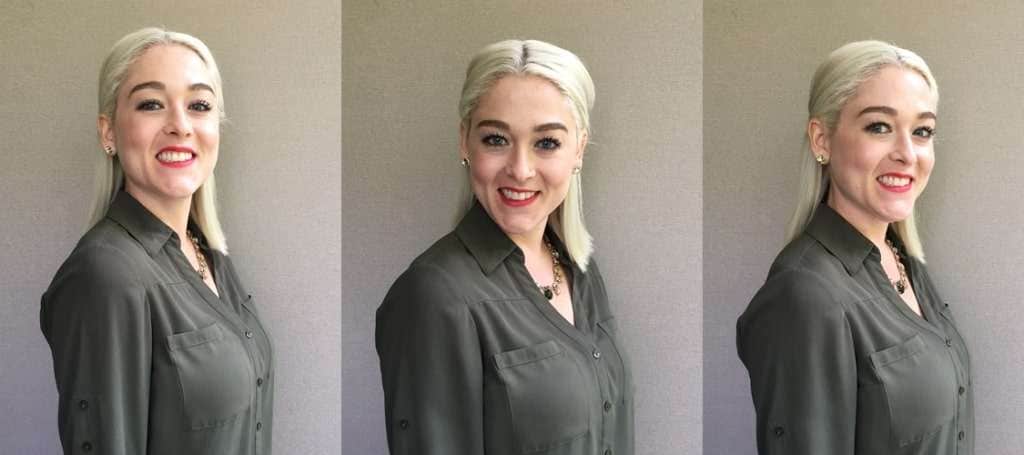
Step 1: Find Your Best Angle
Before taking a headshot, you have to know well about yourself. To do so, you can take selfies with different backgrounds to find the best angle that can bring out your facial features. You can also try different facial expressions while taking selfies to find your best shot.
Moreover, you can practice making your face and body posture look appropriate in the selfies. As you know, headshots only include your face and shoulders in a picture, thus striking a balanced pose is necessary. Through this self-study, you can learn how to pose in front of a camera while taking a headshot.
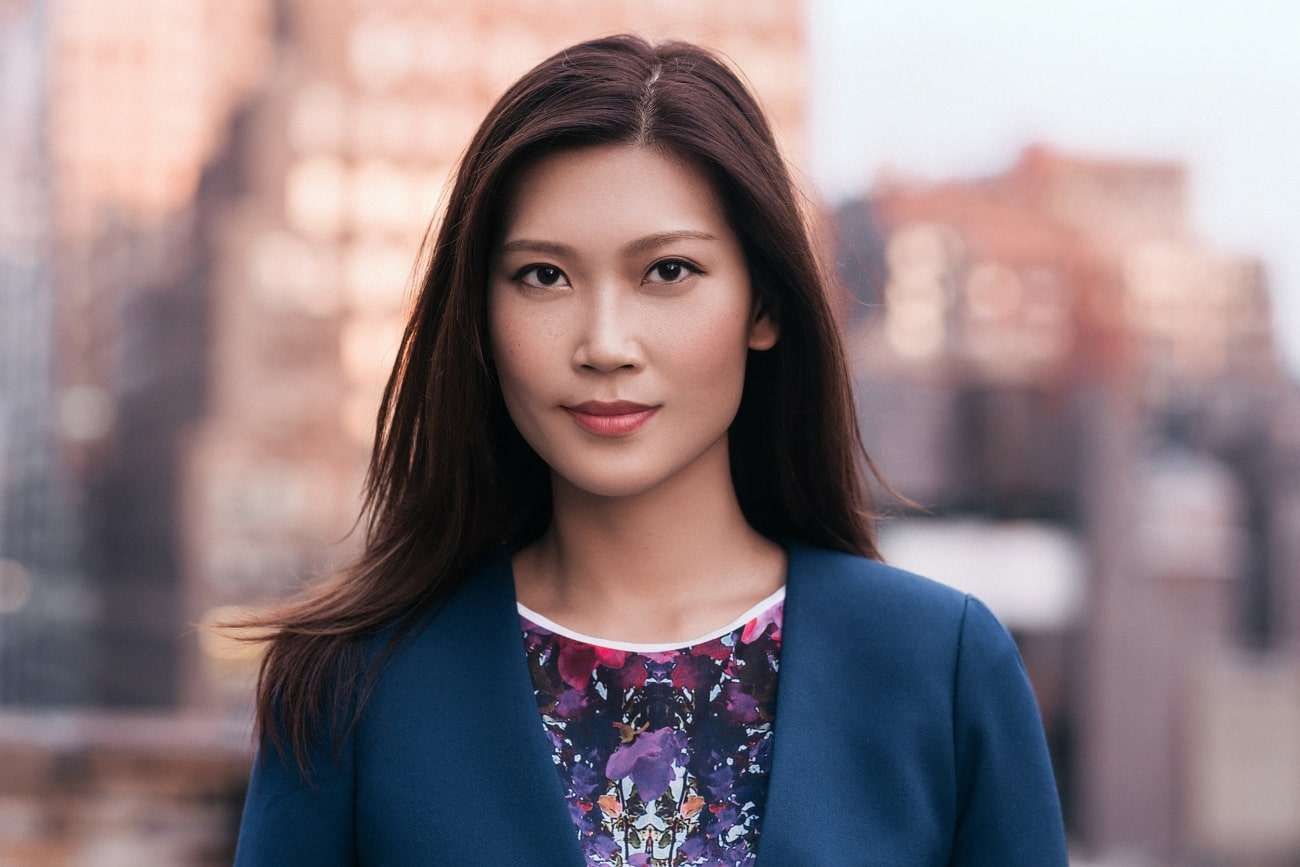
Step 2: Locate the Appropriate Headshot Background
To capture a headshot, you don’t require a fancy photo studio. In the comfort of your home, you can capture headshots by finding the best background. For professionalism, it is recommended to use a backdrop stand. You can find different colors in a backdrop stand that you can select according to your requirement.
However, you should ensure that your hair color or skin tone doesn't blend with your background. Ideally, the background of your headshot should make your facial features look prominent. There are also other ways to select a suitable background for your headshot.
For instance, if you are applying for a corporate job, you can choose an office space environment as your background. Similarly, if you are an artist, you can take a headshot in a natural background, such as a garden or mountains.
Step 3: Choose a Professional Wardrobe
The wardrobe plays a significant role in displaying your professionalism through headshots. You have to know the colors that suit your skin tone perfectly. You can wear collared shirts, hoodies, blazers, or a regular T-shirt. Make sure not to include anything fancy or glittery in your clothing while taking a headshot.
Moreover, you can wear subtle makeup and jewelry to compliment your look. Always wear colors that have high contrast with your chosen background. You can also create a neat hairstyle that suits you on every occasion. However, avoid messy hairstyles as it shows unprofessionalism.
Step 4: Choose the Best Lightning
One of the most prominent techniques to capture high-end photos is to use suitable light. Underexposed pictures can look grainy and unaesthetic. Moreover, capture the headshot in front of the large window, as it brings natural light.
Ensure to directly face the window to bring all the light to your face while taking a picture. Also, avoid overhead lights in your room, as they can make your skin tone look yellow. Thus, minimize the indoor lights and capture your headshot before a window on a bright sunny day.
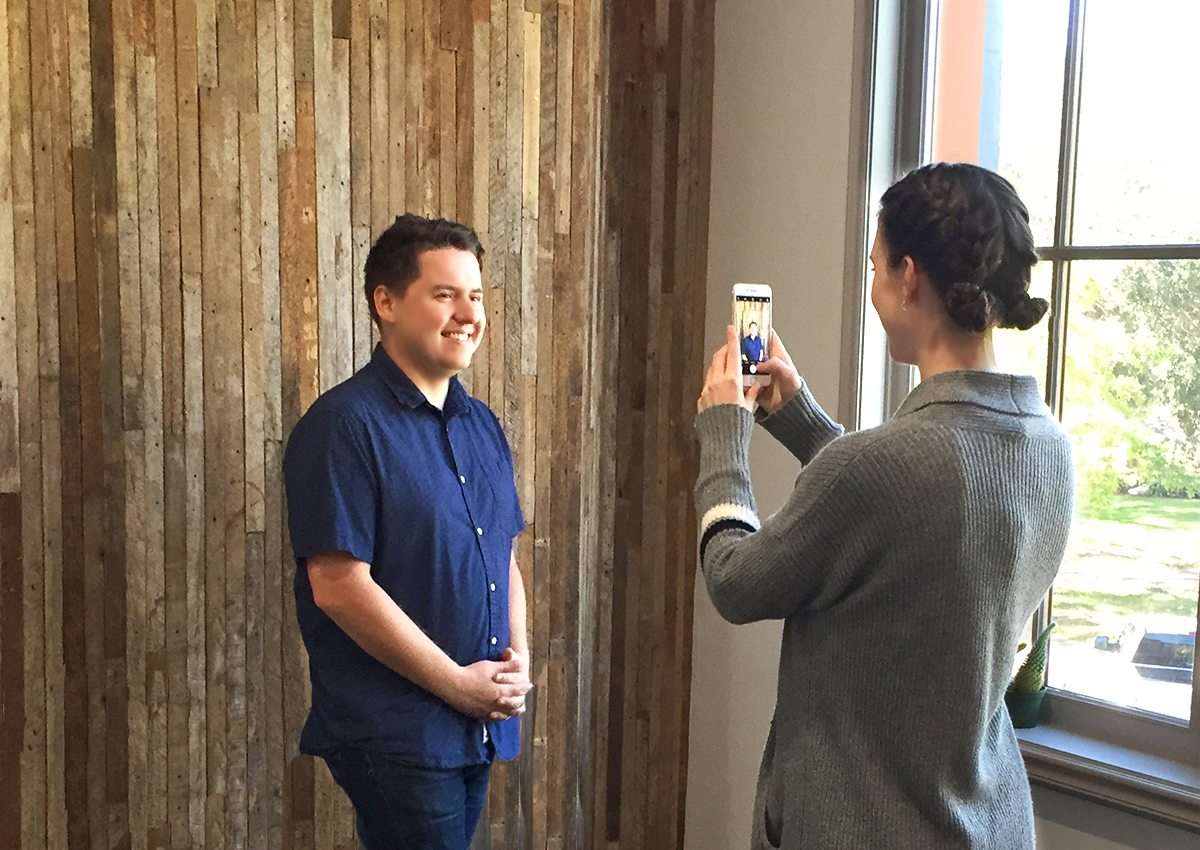
Step 5: Find a Camera Person
You can take headshots in the selfie mode; however, it may not produce your best shot. Thus, you can take help from your friend who can take headshots with iPhone. You can use a tripod if you cannot find the right cameraman. However, you have to ensure the correct height of the tripod to take an appropriate headshot.
Step 6: Adjust the Camera Settings
On iPhone, there are different options and modes to capture a photo. Make sure to adjust the camera settings to its highest quality. You can also utilize other filters in iPhone to capture pictures. Many people also use "Portrait Mode" to take a headshot with a blurry background. Therefore, adjust the camera settings according to your aesthetic sense.
Step 7: Capture 20 Headshots
Once all the equipment and requirements are fulfilled, you can take a headshot using your iPhone. Make sure to strike a balanced pose and facial expression. To achieve perfection, take at least 20 headshots using your iPhone. This will help you choose the best shot out of multiple options. If you are capturing headshots alone, you can also set a timer on your iPhone.
Step 8: Edit Your Selected Headshot
Once done with the capturing part, select your best headshot. Ensure the headshot is not blurry or consists of unwanted objects in the background. After selecting, you can add enhancements through the editing options of the iPhone. You can adjust the white balance and other color correction options.
You can also download photo editing apps to modify your headshot precisely. However, don't overdo the editing, as it can make your picture look artificial.

Bonus Tip: The Best AI Alternative to Create Headshots Without Spending A lot of Money
With the advancements in AI technology, many AI tools can create headshots through your selfies.HeadshotPro is one of the best AI tools to instantly generate a headshot from your uploaded selfie. Individually, you can create 120 headshots in 4K photo size. This tool will ensure the high-end quality of a picture so that you can upload your headshot in your resume and Linkedin profiles.
Furthermore, you can also create your team by adding your colleagues to this tool. By doing so, your team can also produce headshots without physically going anywhere. It also offers different headshots styles, such as buildings, woods, offices, windows, bookshelves, etc.
You can even pick your preferred style on this AI headshot creator tool. Thus, uploading your selfies on this tool allows you to create a headshot in different styles while ensuring the best image quality.

What Makes HeadshotPro Perfect?
HeadshotPro is a perfect option for creating AI headshots for all kinds of professions. However, being a new user, you might require some specific points that can act as a sell-off. For that, we have outlined some points that can help you understand the significance of HeadshotPro.
|
Performance Parameters |
Criteria |
|
Overall Rating |
4.9/5 |
|
Speed |
Fast |
|
Editing |
Quick and Efficient |
|
Easy to Use |
Yes |
|
Photographer Cost |
Null |
|
Time Duration |
2 Hours |
|
Supported Formats |
JPG, PNG, WebP, HEIC |