What is iMovie?
Apple made iMovie in 1999. It is a video editing software application created for macOS, iOS, and iPad OS devices. Some of its features are options to alter and enhance video color settings, add video transitions, crop video clips, stabilize shaky videos, rotate video clips and change the speed of clips.
Whether you use Mac or any other iOS device, you can use iMovie to merge audio and video clips. Just select the desired clips and then add titles, music, and effects. Plus, iMovie even supports 4K videos for stunning cinema-quality films.
Part 1: How to join clips with iMovie
iMovie allows you to merge audio and video into one file, read this step-by-step process to learn how to use iMovie to combine two videos.
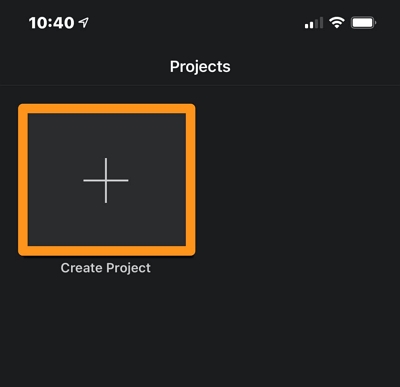
1. Begin the process by opening iMovie and then tap the Create Project.
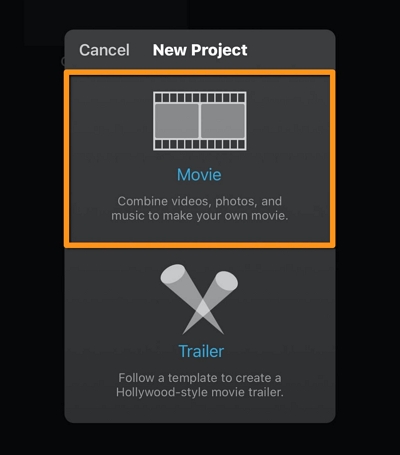
2. Select Moviefrom the New Project option.
Moreover, press Create Movie at the bottom of the screen.
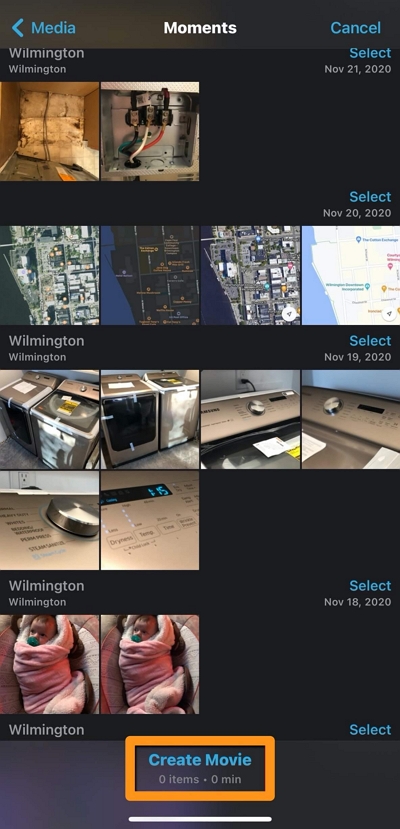
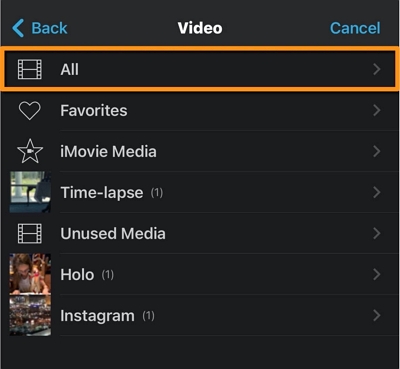
3. Furthermore, press Tap +to add videos, photos, or audio so that you can import your videos.
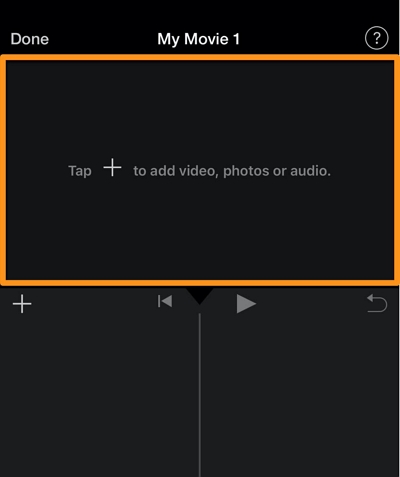
Now, tap All, tap on whichever video you wish to import, and then tap the tick mark.
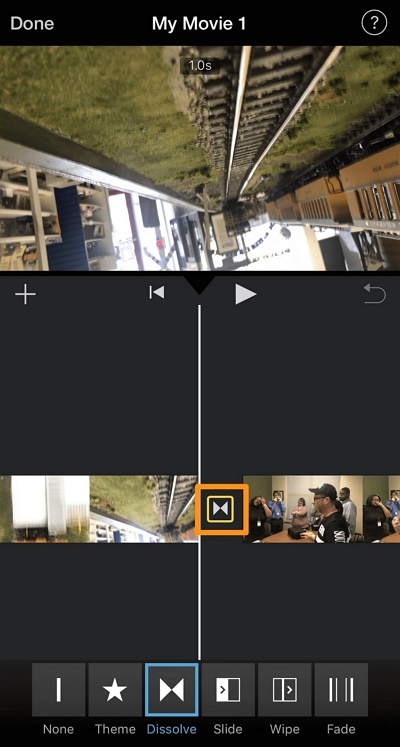
4. Just then, tap Create Movie, which is at the bottom of the screen.

If you want, you can add transitions like slide, wipe and fade between your videos.
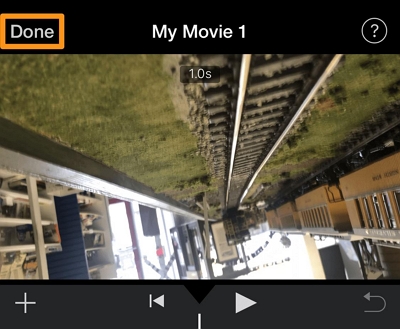
5. Finally, once you have finished, tap Done, which is in the top left corner of the screen.
Part 2. The best alternative online tool of merging videos with iMovie
Online UniConverter is a free tool that is available online. It is used to edit video, audio, and image files in many different formats. Some of its many features are photo and video conversion, audio extraction, watermarking, and GIFs.
Additionally, you can also convert video, audio, and image to more than 1000 formats. It includes MP4, MPEG, F4V, SWF, and AC3 for audio, and M4A and AC3 for images.
Key features of Online UniConverter
- Online UniConverter is a free tool that aids in changing files into various formats, especially when you need to play them on different devices.
- It does not add watermarks or advertisements to your converted files.
- The interface is not difficult to understand.
- This tool can make GIFs from documents that should be conceivable with any video. This tool can structure many GIFs and can also transfer them to your social media.
How to use it to merge videos?
- Firstly, click Choose Files button for uploading your media files.
- Next, rearrange the order of the videos, add desired background music or customize other editing options, then hit on the Merge button.
- Finally, click Save so that you can get the merged video file to either your computer or phone.
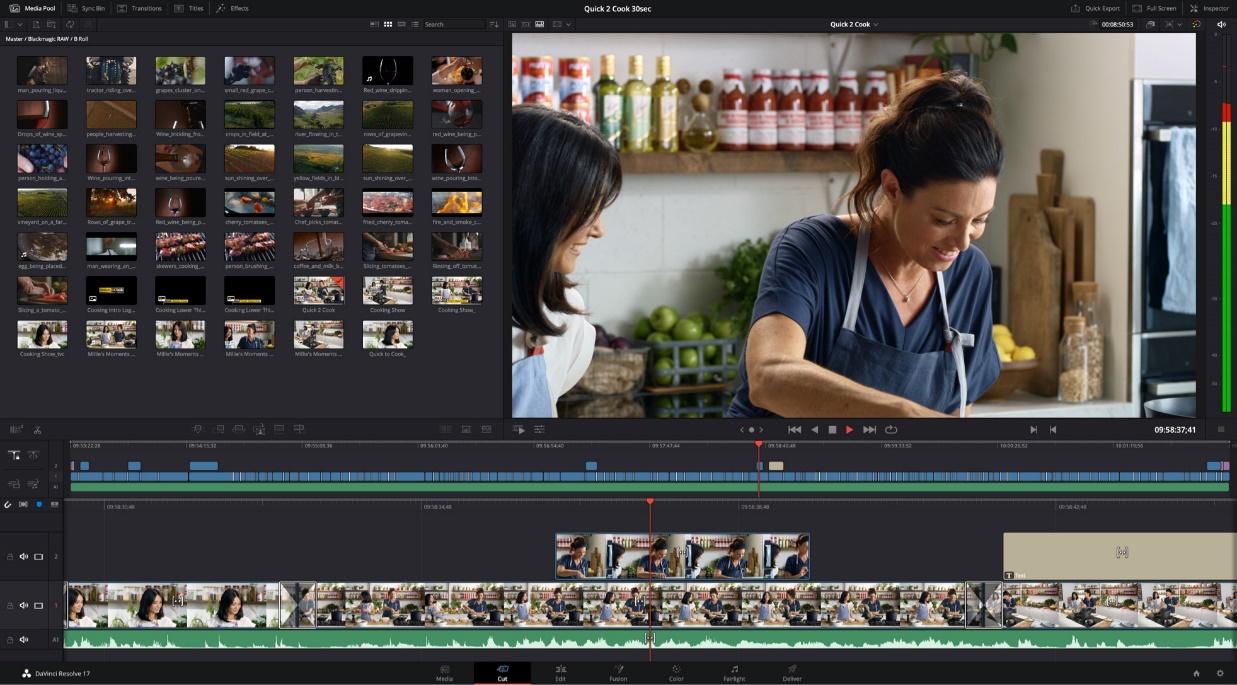
Part 3. Extensive knowledge - merge videos in DaVinci Resolve
1. How does DaVinci Resolve work?
To figure out how does it work, you could refer to the below simple instructions:
Firstly, open DaVinci Resolve and create a New Project and Import Media. Secondly, choose your project name. Then, open Project Settings, the cog icon that you will find in the lower right of the interface. You will then have to set your Timeline Frame Rate. It defaults to 24 fps, but you will have to change this according to the majority of your footage. If you wish to change the timeline frame rate, then also change the Playback Frame Rate and Video Format tabs to match. When you come to the Cut page, go to the menu bar and choose File > Import > Import Media.
A Finder window will come, and you will have to find where your footage is stored on your computer to bring to your project.
- Add Transitions
- Move to the Edit page simply by clicking the word Edit, which you will find on the ribbon toolbar.
- Open the Effects Library panel, which is located on the top left of the interface.
- Below Video Transitions, click and drag the Cross Dissolve transition onto the timeline while placing your mouse between two video pieces.
- Then, click on the transition icon in the timeline.
- Open the Inspector panel, which is in the top right of the interface.
- Finally, in the Inspector, think about making the length to 8 frames.
2. Is DaVinci Resolve Better than iMovie?
iMovie
Pros:
- Allows users to upload multiple video or audio clips for merging
- Keeps saving changes while working on your project and then syncs it with all your devices for automatic updates
- Quickly updates any changes, thus saving more time while editing, which is very helpful
Cons:
- Audio for video editing is limited
- Problematic to share the project or manage files manually
DaVinci Resolve:
Pros:
- Work on projects on either Mac or PC
- Offers a free version that has many great tools. Plus, the entire product is only $300 per license
Cons:
- Some parts give inexperienced users a hard time. Multiple user sign-ins can be tricky.
- Hard to use on a single screen editing workflow and worse when using a laptop, and this software is best with more screens.
Conclusion
iMovie, DaVinci Resolve, and Online UniConverter are all great for editing pictures and videos. Each comes with multiple pros and cons. Our in-detailed guide discusses the ups and downs of each unbiasedly to help you make an informed decision--select the one that best meets your needs.