It is an open secret that Final Cut Pro X is one of the most robust audio clip editor apps for desktops. It comes with excellent file editing functions that will enable you to create custom ringtones in minutes. However, it can be time-consuming and soul-crushing if you’re still a beginner on this feature-rich platform. Luckily for you, this insightful article will introduce you to some helpful Final Cut Pro audio editing tips and tricks. Let’s find out!
Part 1. How to Trim Audio in Final Cut Pro
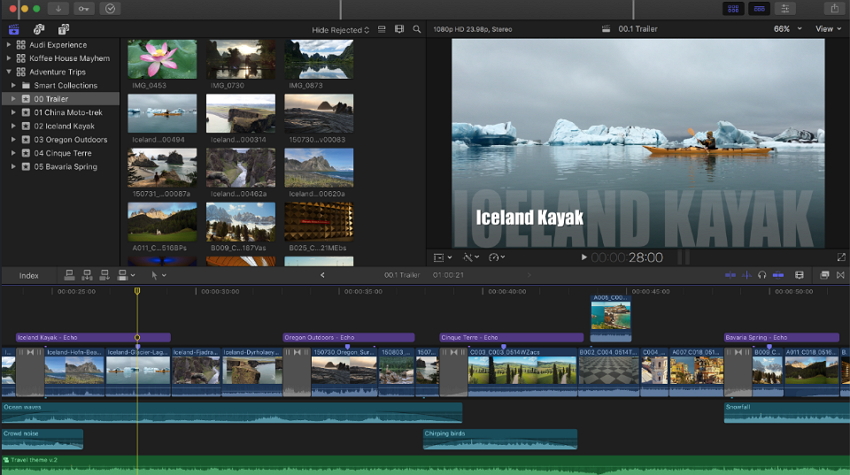
In this part, I’m going to show you how to use the trimmer function of Final Cut Pro to cut sound. It is a straightforward procedure if you apply the correct steps as I will show you below.
Step 1: Launch Final Cut Pro and then choose a clip that you want to cut in the timeline.
Step 2: Next, select your audio clip then choose the Expand Audio Components option.
Step 3: You will see a pointer that turns into a trim tool. Position it at the edge of your audio and then drag to cut that section. To undo trim, simply press Command + Z on your keyboard.
Step 4: Now play the trimmed audio to see if it meets your expectations. You can now collapse the audio components by selecting the clip and then clicking the Collapse Audio Components option.
Part 2. [Recommended] Final Cut Pro Audio Clip Editor Online Alternative
It’s evident that using the Final Cut Pro can be challenging, especially to beginners. Even worse, this desktop audio clip editor is available on Mac and PC only. Fortunately, you can still edit audio clips on any device using the Online UniConverter (Originally Media.io). Unlike Final Cut Pro X, this file editing website is simple to use and supports more than 10 audio formats. You can edit WAV, MP3, M4A, FLAC, AU, OGG, and more. And similar to the desktop editor, Online UniConverter edits video files as well. Oh, lest I forget, this website also edits image files by converting, making GIFs, and compressing.
Online UniConverter - # Audio Clip Editor
- Audio clip editor that supports all standard audio formats, including FLAC, OGG, AAC, MP3, etc.
- Edit audio by cropping, trimming, converting, and compressing with lossless quality.
- Supports editing of video and image formats such as PNG, JPG, BMP, VOB, MOV, MP4, and more.
- Free to use with no annoying adverts.
- Professional 24/7 multilingual customer support.
- Available on all HTML5 web browsers such as Chrome, Edge, Firefox, Safari, and more.
Step-by-step process of how to trim an audio clip with Online UniConverter:
Step 1. Launch Audio Trimmer tool
On your HTML5 browser, click Online Tools section before choosing Audio Cutter tool.
Step 2. Add your audio
Next, drag-and-drop your audio clip on the converter section. An alternative way is to click the Add button to upload audio from local drives.
Step 3. Trim audio
Now drag the purple trim playheads at the start and end of your audio clip. Also, set the fade effects before clicking the play icon to preview your audio.
If satisfied, open the Save to list and choose a format. Choose MP3 for better device compatibility.
Step 4. Save changes
Lastly, press the CUT button to start trimming audio with zero quality loss. You can download it to your local storage or Dropbox after conversion. That’s it!
Part 3. Final Cut Pro Audio Editing Tips & Tricks
Of course, I understand that some of you might be getting started with Final Cut Pro audio editing tools. If that’s the case, I want to show you some helpful Final Cut Pro tips and tricks to make your audio editing experience worthwhile.
Learn the keyboard shortcuts – I know this might sound pretty obvious. However, mastering the keyboard shortcuts is always a welcome plus, especially if you’re using an advanced tool like Final Cut Pro X. For example, you can press C to select a clip when skimming in the timeline.
Turn off the magnetic timeline – Magnetic timelines is undeniably one of the main reasons why people avoid using FCPX. With the magnetic timeline, your audio will automatically become the next playing clip once you drag it down to the timeline. Although this can be a plus if you want to edit quickly, it can be a problem sometimes. Luckily, you can deactivate this feature by pressing P or setting the timeline to Position.
Maximize the rage tool – The rage tool is an underrated feature that will help you adjust audio settings easily. It applies to four keyframe elements and will help you lower or raise the audio volume effortlessly. Simply press R and lasso the section of your clip that you want to adjust.
Match the frames – Sometimes you might want to compare a clip in, let’s say, a browser to the one already in the timeline. To do that, just hit Shift + F and compare your clips. This should save you the stress of dragging out the timeline handless to see if there is anything left out.
Better sound editing – Everybody love high-quality results. So, to enjoy great sound editing, disable the video display on the timeline and then increase the wavefoam size. To do this quickly, you can press the light switch located in the bottom-right corner.
Summary
With these simple tips and tricks, you can edit sound on Final Cut Pro hassle-free. But if you find the platform to be too complicated, you can opt for the online alternative. With the Online UniConverter, you are sure of fast conversions, simple UI, and quality results. So, why not give it a try?