To enhance the overall look of your videos and make it look more attractive and impressive, filters can be used. Additionally, adding video filters also change the feel and the mood of the file. Different types of video filter editor tools are available that can be used to get the desired changes in your video. Know more about the popular ones in the following parts of the topic.
Part 1. Video Filter Software for Windows and Mac-Color Adjustment – Wondershare UniConverter
To get the desired look for your video choosing the right filter is essential, and for this good professional software like Wondershare UniConverter works excellent. This desktop-based software works on your Windows and Mac system and comes packed with an array of filters to choose from. Additionally, you can also make the manual changes to the file by changing its brightness, contrast, and saturation. Option for Auto Enhance is also available. The built-in video editor also supports other functions like cropping, trimming, adding subtitles, adding watermarks, and others.
Why Use Wondershare UniConverter?
Wondershare UniConverter works as a great video editing tool not only for the professionals but for the beginners like me. The interface of the tool was straightforward, where I just had to add the video file and choose from the available filter options. The files were processed at super-fast speed and without compromising on the original quality. Moreover, I did not have to worry about the file format as all primary video files are supported by the software.
- · UniConverter supports convert, edit, compress video, image, or audio files.
- · You could edit a video with filters, effects, add watermark, subtitles, and others.
- · It allows you to transfer videos from computer to iPhone or Android mobiles without using iTunes.
- · Using UniConverter Toolbox function, includes convert images, create GIF, burn CD, rip CD, cast to TV, and fix Meta tags with just a few clicks.
- · Wondershare UniConverter allows you to burn video and other media files to DVD as well.
Steps on How to Put a Filter on a Video using Wondershare UniConverter
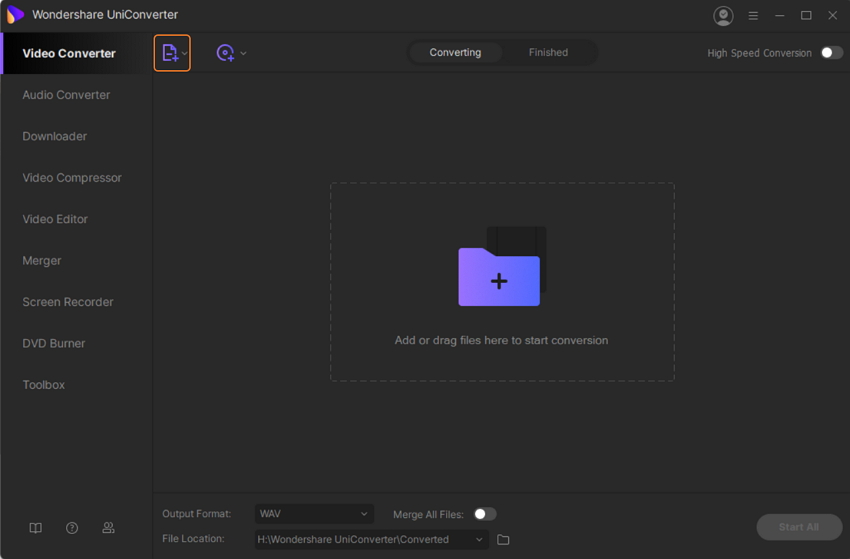
Step 1. Import Video to the Wondershare UniConverter
Run the Wondershare UniConverter software on your PC and click on the + Add Files button from the Convert section to import the local video to which filter needs to be added. Alternatively, you can also drag and drop the file.
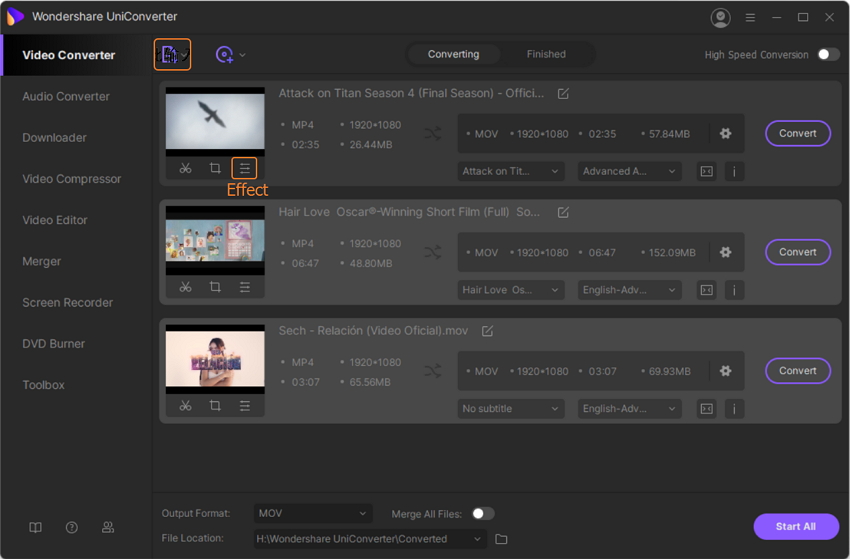
Step 2. Choose to Add Filters Feature
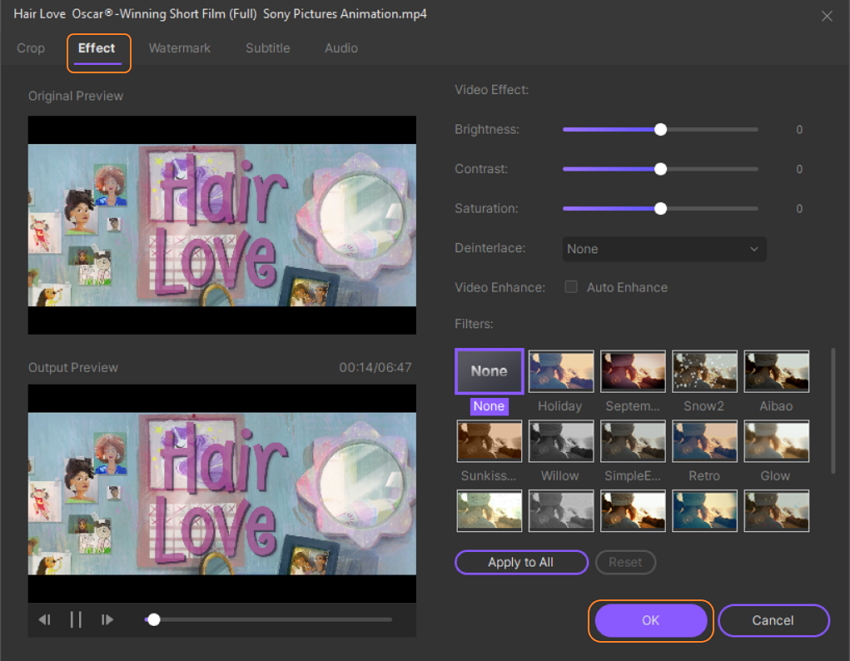
Under the added video thumbnail image, the editing icons for – Trim, Crop, and Effect are present. Click on the Effect icon, and a new pop-up window will open.
Step 3. Add Filter to a Video in UniConverter
The Effect page has the 2 sections, which are Video Effect and Filters. Under the Video Effect, you can change the Brightness, Contrast, and Saturation of the video by moving the slider. Option to Deinterlace and Auto Enhance is also available. Under the Filters section, multiple filters are available. You can choose the one as desired. The Output Preview window shows the file that will appear after the changes are made.
Click on the OK button to confirm the filter and other changes.
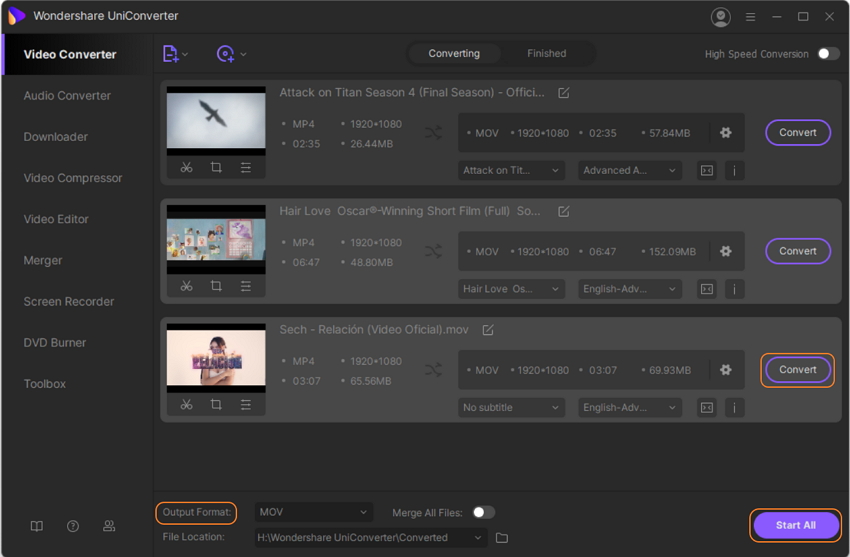
Step 4. Choose the Output Format and Process
At the bottom of the interfce, choose the output format from Convert all files to: tab. Choose the desktop location to save the processed file at the Output location. Clicking on the Start All button will start the process of conversion and adding filters to the file.
Part 2. The Best Video Filter Editor For Free
To get your video files customized for free in a hassle-free manner, Wondershare Filmora works as a great tool. This desktop-based program allows creating different looking videos with its wide range of filters which are over 200 in count along with multiple transition effects. To further enhance the overall looks of the videos, more than 1000 special effects, titles, elements, and overlays are also offered by the software.
Pros of using the Filmora:
- All popularly used video formats, including MP4, MOV, MKV, M4V, and others, are supported.
- Quick and straightforward process to add filters, graphics, overlays, and other effects.
- Videos can be exported to an array of formats and can also be optimized for specific sites like YouTube, Video, and others.
- Compatible with Windows and Mac.
Steps on How to Add Filters to Videos using Wondershare Filmora
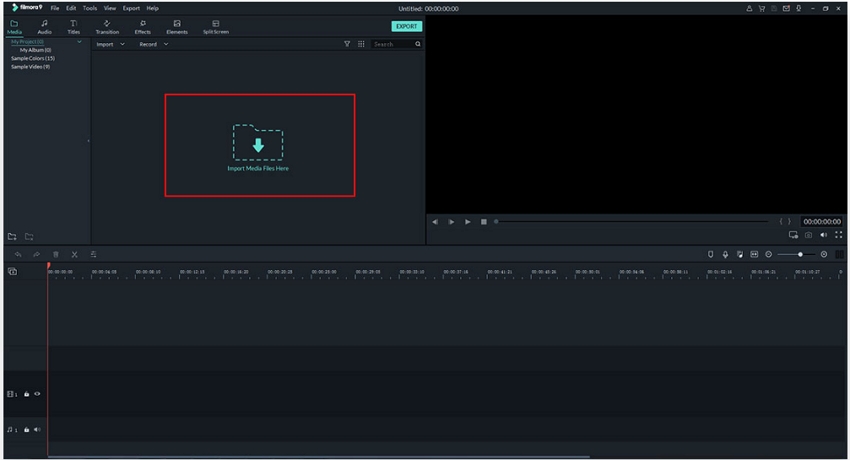
Step 1. Add a Video to Filmora
Install and run the Wondershare Filmora software on your PC. On the main interface, click on the Import Media Files Here button to browse and import the local video. Drag and drop also function here.
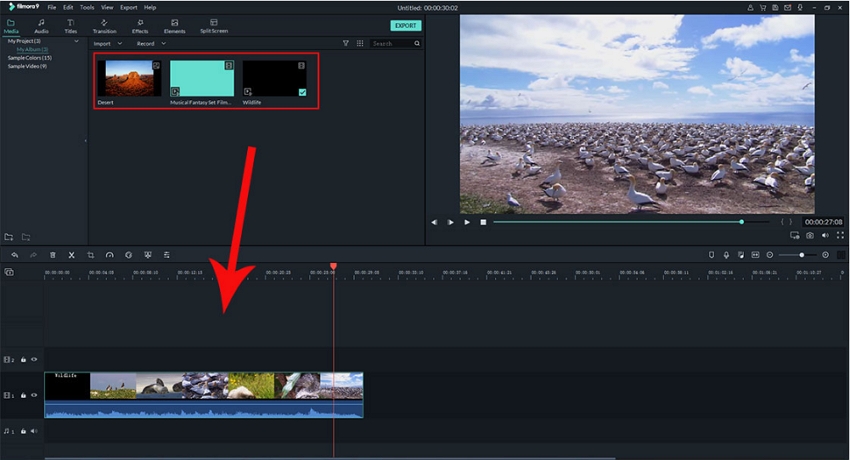
Step 2. Move the Video to the Timeline
Next, drag the added video to the timeline for adding filters and other editing tasks.
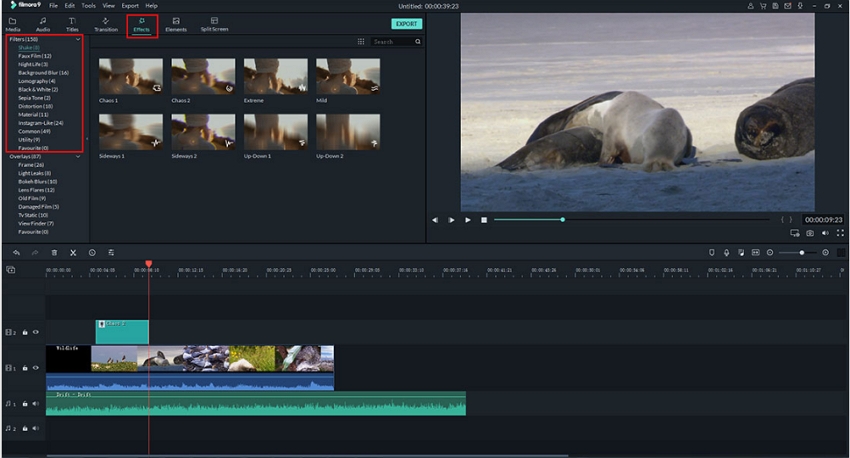
Step 3. Add Filters to the Video in Filmora
On the main interface, choose the Effect section and then click on the Filters button. The list of available filters will be displayed. Select the desired one from the list and add it to the timeline. The right side of the interface shows the video preview.
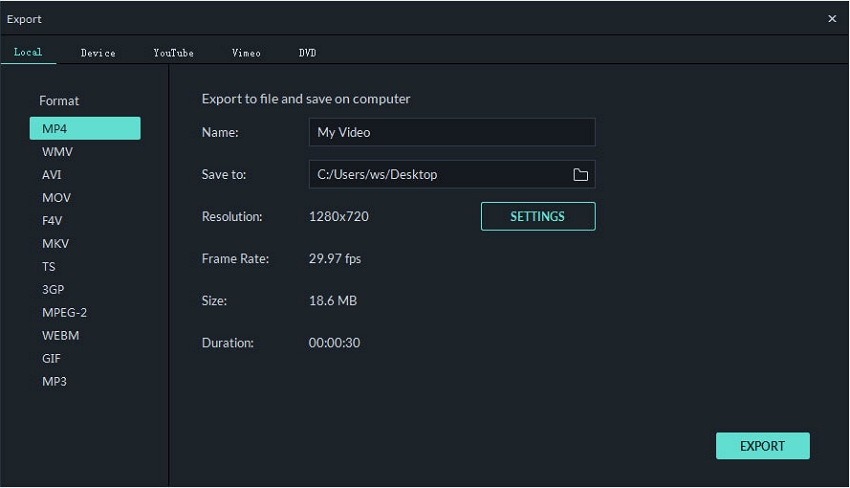
Step 4. Export Video
Next, click on the EXPORT button at the top panel, and a new Export window will open. Here chooses the target format or the device. You can also choose to export the video to YouTube, Vimeo, or DVD. The file name and its desktop location also need to be selected. Finally, hit on the EXPORT button to start processing the added file.
Part 3. Top 3 Video Editor Online for Add Filters to Video
To make your video filtering task simple as well as pocket-friendly, online programs are a right choice. These video filters online work from the browser without any software installation or registration. Free to use, video filters online come with decent features.
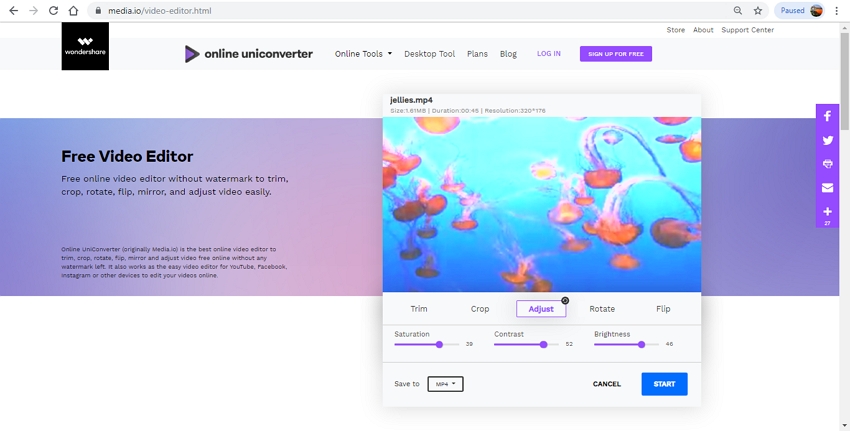
Online UniConverter
URL: https://www.media.io/video-editor.html
Earlier known as Media.io, this is a widely used online tool that supports a wide range of video-related functions, including trimming, cropping, adding, rotating, adjusting color parameters, and others. MP4, MOV, MKV, M4V, and other formats are supported by the tool. Saturation, contrast, and the brightness of the video can be edited using the program. The processed files can be downloaded to your PC or can be saved to the dropbox account.
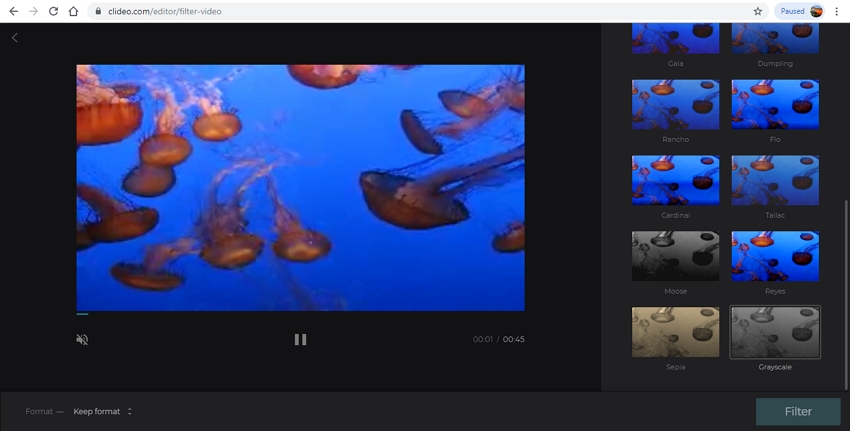
Clideo
URL: https://clideo.com/filter-video
With Clideo, not only the local but also the online and cloud storage files can be added to the program interface. Several filters like grayscale, Sepia, Reyes, and others are available at the program. If needed, you can also change the output format of the file. After the process is complete, the video can be downloaded to your PC from the interface itself.
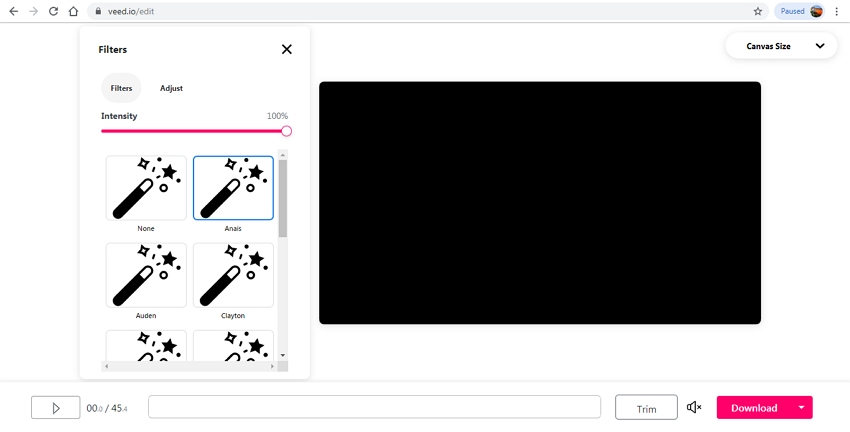
Veed
URL: https://www.veed.io/filter-video-online
With Veed files on your computer, link, or Dropbox can be added. Option to capture the file using the camera is also there. You can choose from the multiple filters available at the program interface. Possibility to adjust the contrast, saturation, brightness, and exposure is also there. With a simple interface, the tool is free to use and works from the browser interface.
Part 4. Top 10 Video Filter Apps for iPhone
If you are looking to add filters to your videos on your iPhone, multiple apps are present. Listed below are the popular ones in the category.
Chromic
URL: https://apps.apple.com/us/app/chromic-video-filters-editor/id724295125
Price: Free with in-app purchases
Pros:
- Comes with a variety of high-quality filters.
- Filters can be added to already existing videos and there is an option to capture live video and then add the effects.
Con:
- Limited free to use filters and for other you need to purchase.
- A lot of people complain in the file quality of preview and processed file.

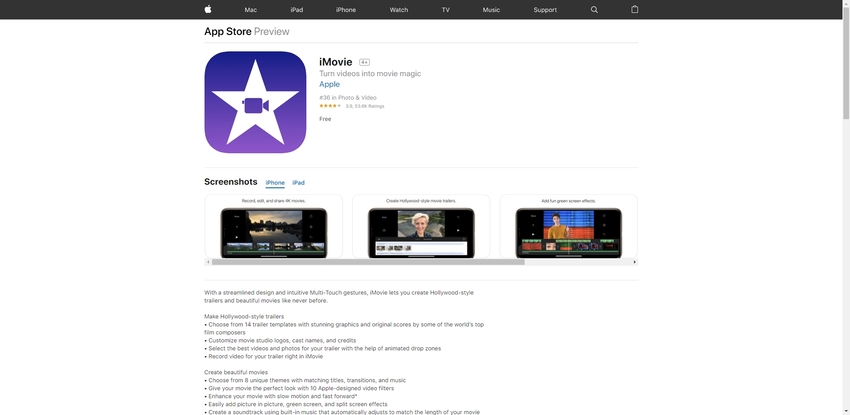
iMovie
URL: https://apps.apple.com/us/app/imovie/id377298193
Price: Free
Pros:
- Simple and user-friendly interface.
- Allows file access from multiple sources.
Con:
- MP4 format not supported.
- A lot of people complain about the issue of app crashing.
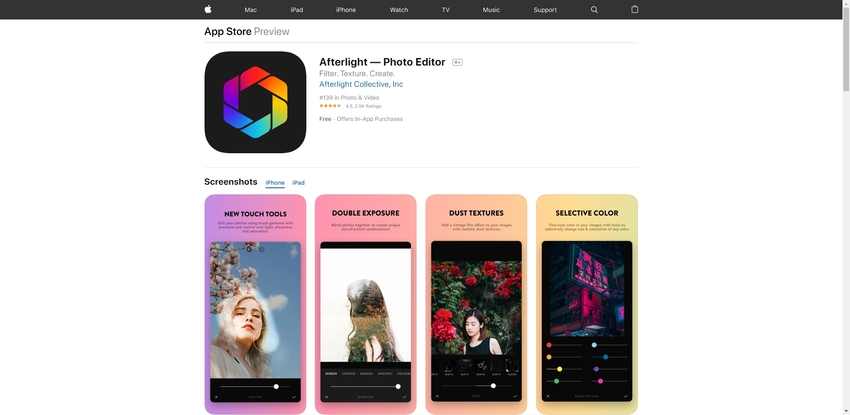
Afterlight
URL: https://apps.apple.com/us/app/afterlight-photo-editor/id1293122457
Price: $2.99 for the monthly membership
Pros:
- Comes with more than 130 unique filters.
- Support more than 20 advanced tools and 60 textures and overlays to enhance overall looks of the video.
Con:
- The screen at the time turns black after the file is added.
- Paid application.
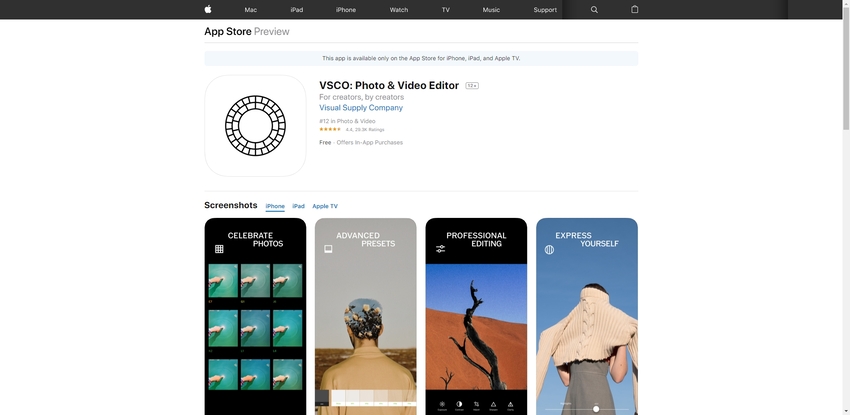
VSCO
URL: https://apps.apple.com/us/app/vsco-photo-video-editor/id588013838
Price: $0.99 each for a different set of tools
Pros:
- Comes with choice of multiple filters.
- Also features several presets and tools.
Con:
- Too many features make the app confusing.
- Crash issues.
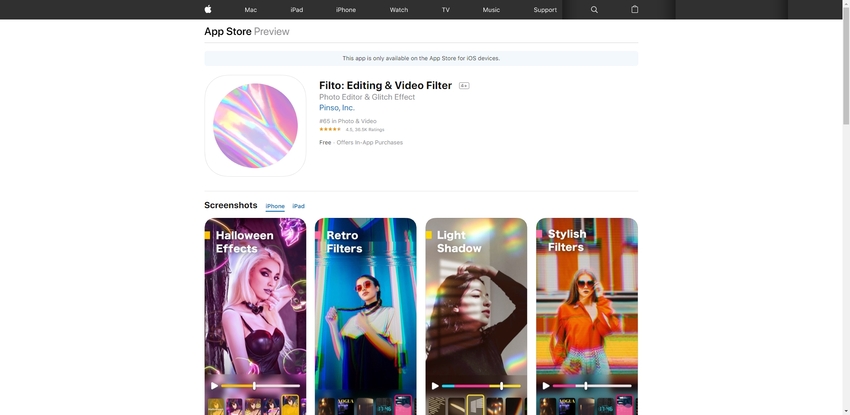
Filto
URL: https://apps.apple.com/us/app/filto-editing-video-filter/id1439415992
Price: $5.99 monthly
Pros:
- Comes with multiple filters like Vintage, sparkle, old movie, and others.
- Live filters are updated in real-time.
Con:
- Pricey subscription.
- Videos more than 3 minutes cannot be processed on the free version.
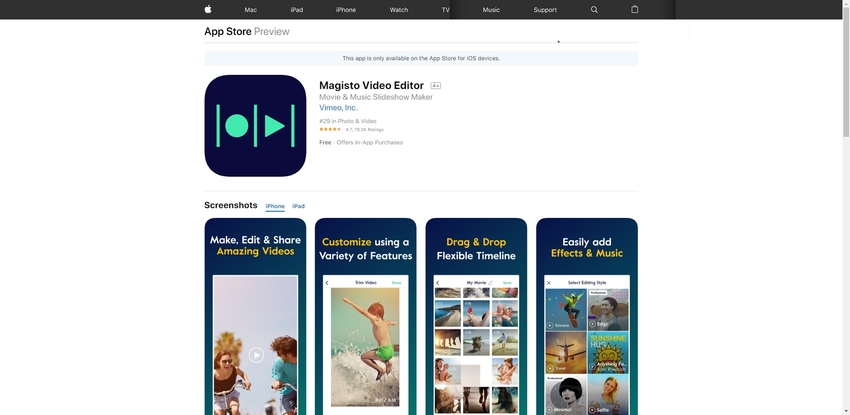
Majisto
URL: https://apps.apple.com/us/app/magisto-video-editor/id486781045
Price: $4.99 for a monthly plan
Pros:
- Comes with different types of filters to enhance the look of the video.
- The powerful editor of the app is powered by Artificial Intelligence.
Con:
- High subscription price.
- Too many functions make the app cluttered.
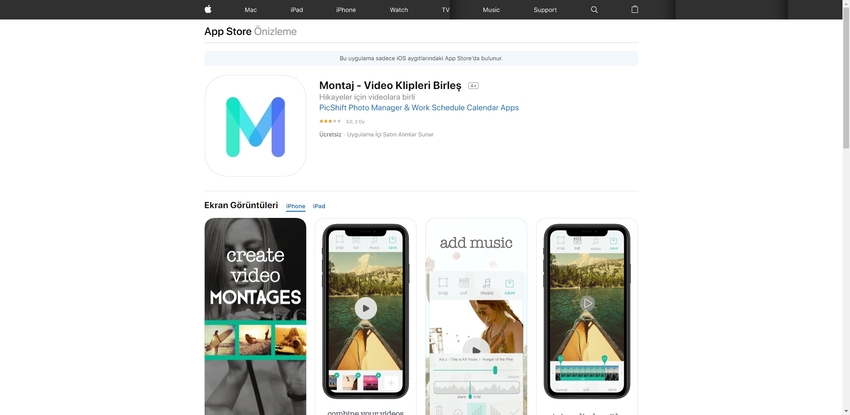
Montaj
URL: https://apps.apple.com/cy/app/montaj-video-klipleri-birle%C5%9F/id976714767?l=tr
Price: Free
Pros:
- Comes with multiple filters.
- Allows sharing processed files to social media networks.
Con:
- Maximum duration of the clips is 5 seconds.
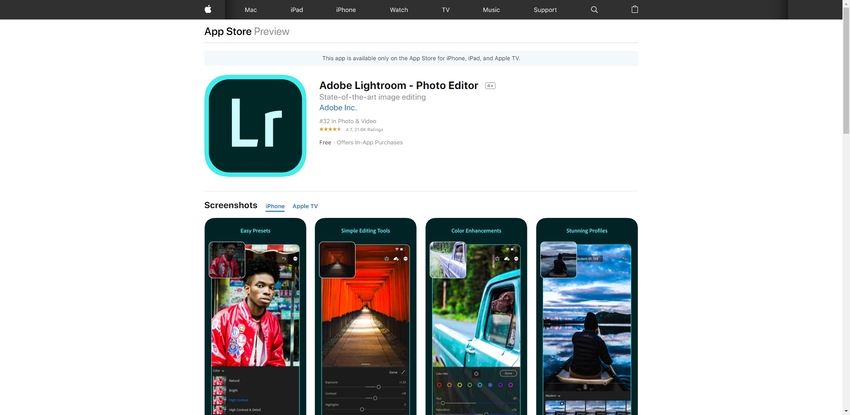
Lightroom
URL: https://apps.apple.com/us/app/adobe-lightroom-photo-editor/id878783582
Price: $4.99 for the premium plan
Pros:
- Powerful and intuitive photo editing tool with multiple features.
- Allows organizing and managing files as well.
Con:
- Multiple steps to process your files.
- The free version comes with limited features.
Ultralight
URL: https://apps.apple.com/us/app/ultralight-photo-editor/id972428565
Price: Free with in-app purchases for different tasks
Pros:
- More than 20 filter presets available along with high-quality filters.
- Support full-screen editing.
Con:
- Confusing menu.
- Need to have some knowledge about iPhone picture and editing while using the app

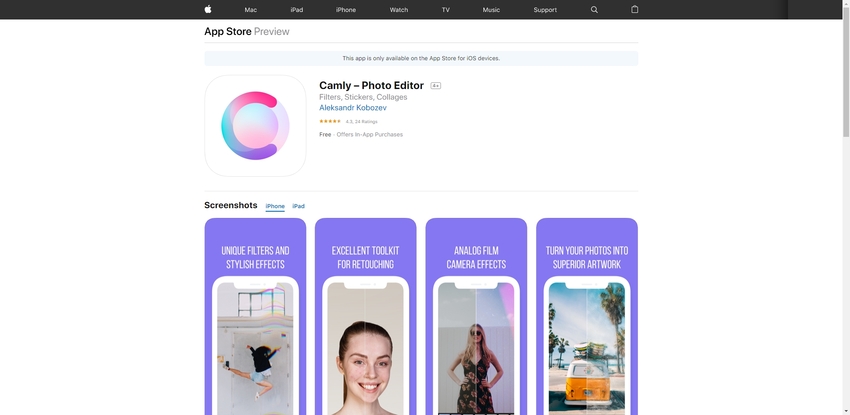
Camly
URL: https://apps.apple.com/us/app/camly-photo-editor/id906422741
Price: Free with in-app purchases starting from $0.99 for different features
Pros:
- Comes with unique filters, captions, and effects to make files look impressive.
- For professional users, advanced and delicate editing tools available.
Con:
- Need to pay for a different pack of functions.
Summary
So now, video filtering will not be an issue anymore as you are now aware of multiple tools to add interesting filters to your files. Wondershare UniConverter works as the best video filter software, while online tools, apps, and Filmora can be used as decent alternate options.