
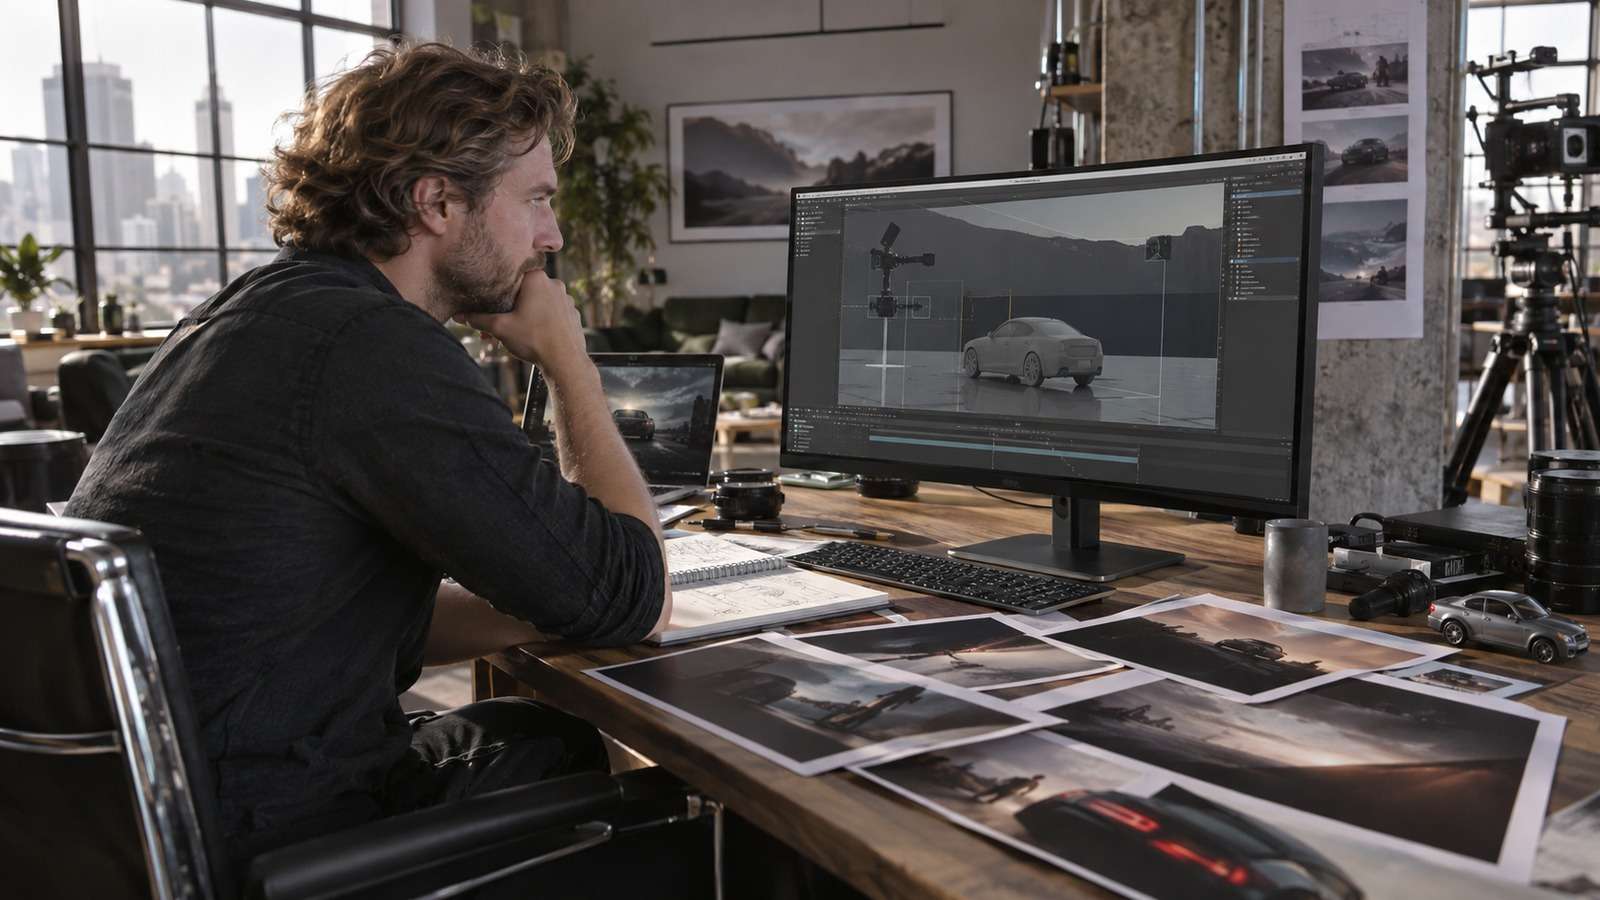
AI video generators can create impressive images, but creators often lose control over camera placement, subject scale, and continuity as soon as a project moves beyond one attractive clip. A Blender AI video workflow solves part of that problem by using a simple 3D scene to block the shot before generative models add the final look.
In this article
What Blender Adds to an AI Video Workflow
AI video generators are good at inventing texture, atmosphere, lighting, and motion. They are less reliable when a shot requires exact camera placement, repeatable blocking, or a vehicle and character to stay in the same relationship across several clips. That is where Blender becomes useful. You do not need to build a finished 3D film. You can use a lightweight Blender scene as a director’s blocking tool, then send the approved composition to an AI video model for visual development. For a broader production overview, see the AI filmmaking workflow.
The Core Idea: Block in 3D, Finish With AI
A practical Blender AI video workflow separates decisions into two groups. The first group is deterministic: lens choice, camera path, subject position, object scale, screen direction, and rough timing. The second group is generative: surface detail, weather, set dressing, lighting texture, smoke, fabric, and cinematic atmosphere. Keeping those groups separate makes iteration cheaper because you can change the look without rebuilding the shot, or change the camera without asking the model to guess the composition again. If you are planning a shot around a controlled camera move, the AI camera movement prompt guide is a useful reference.
Step 1: Start With a Shot Brief
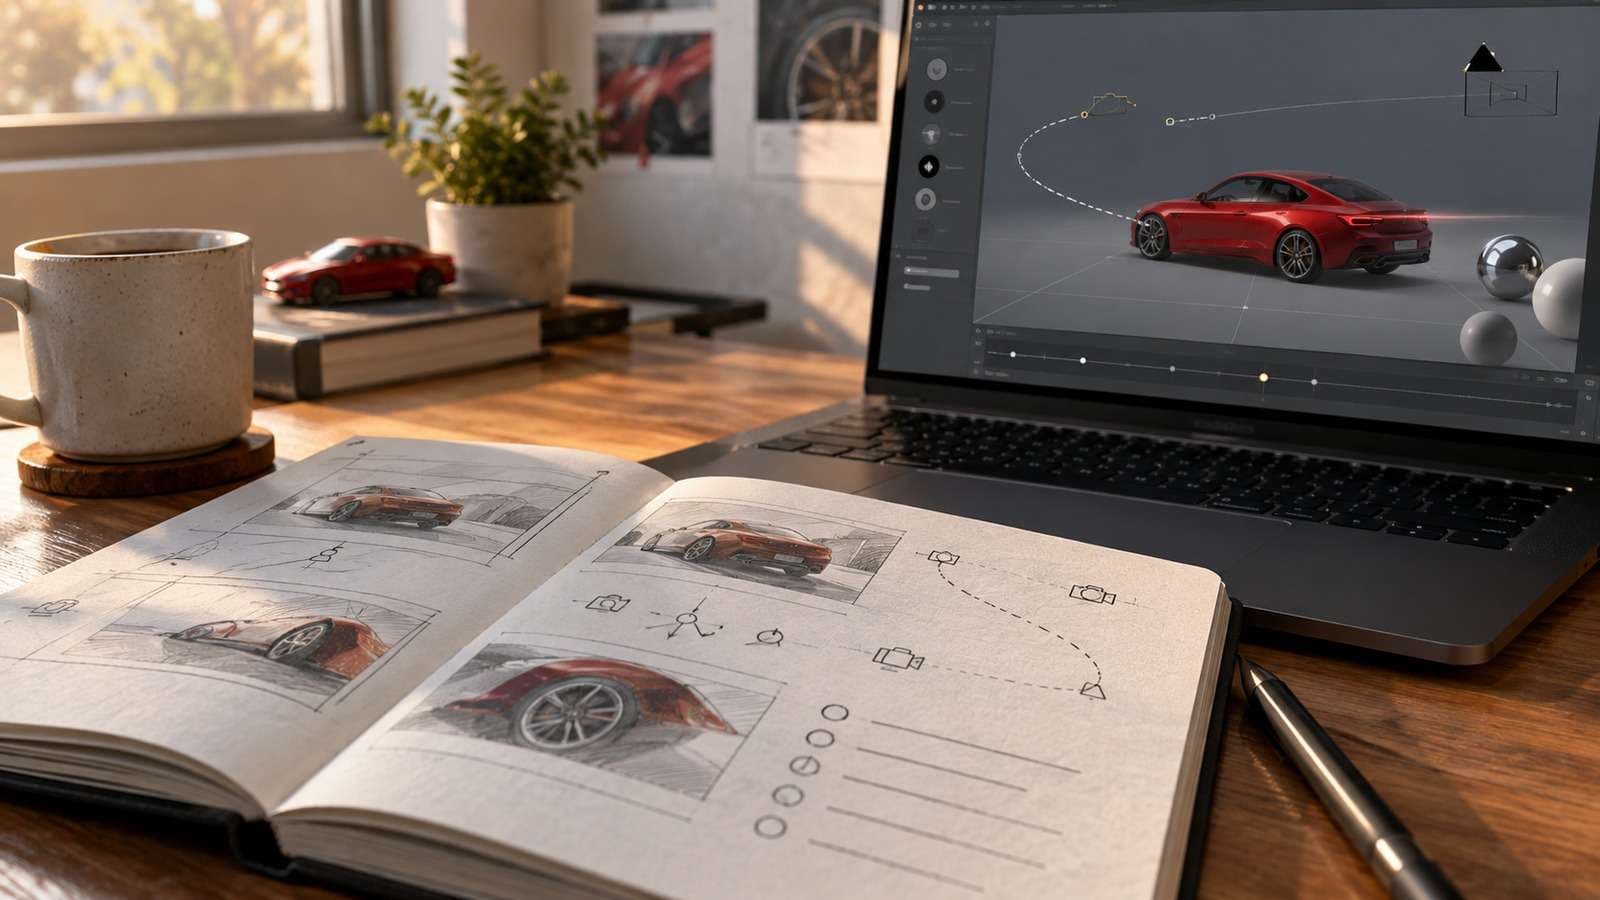
Before opening Blender, write a shot brief that can be checked in less than a minute. Include the subject, action, setting, camera movement, approximate lens, aspect ratio, and the visual reference. For example: “A red electric coupe exits a concrete parking garage at dawn. Low tracking camera, 35mm lens, front three-quarter angle, wet pavement, cool blue shadows and warm headlight reflections, six-second shot.” This is more useful than a long list of cinematic adjectives because every phrase corresponds to a decision you can review. For a model-specific proof test, you can compare the shot with a Seedance 2.0 4K image-to-video workflow.
Five Checks Before You Generate
- Is the subject readable at the intended output size?
- Does the camera move support one clear action?
- Are the start and end frames intentional?
- Is the reference image specific enough to preserve identity?
- Can the shot be tested in four to six seconds first?
Step 2: Build a Simple Blocking Scene
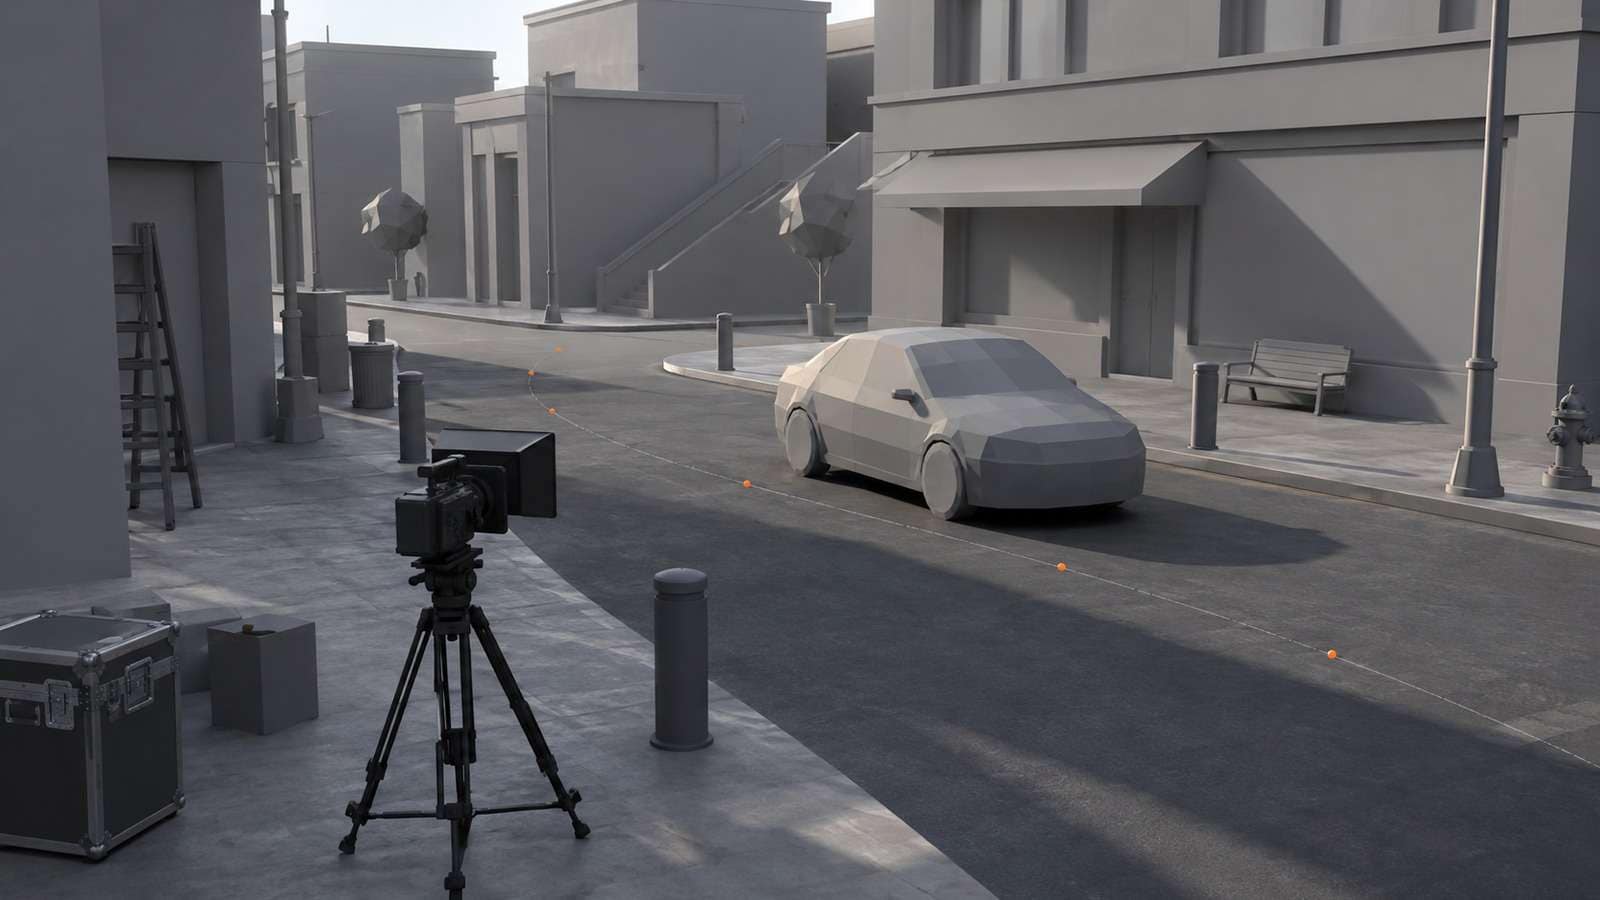
Use primitive geometry first. A cube can represent a building, a plane can represent the street, and a low-detail vehicle can stand in for the final car. Add a camera and establish the starting and ending frames. The purpose is not realism. The purpose is to answer practical questions: Does the subject enter from the correct side? Is the camera close enough to show the action? Does the background leave room for the subject to move? Is the shot too complicated for a short generation window? A reusable short film prompt collection can help turn the approved blocking into repeatable shot briefs.
Step 3: Control Camera and Character References
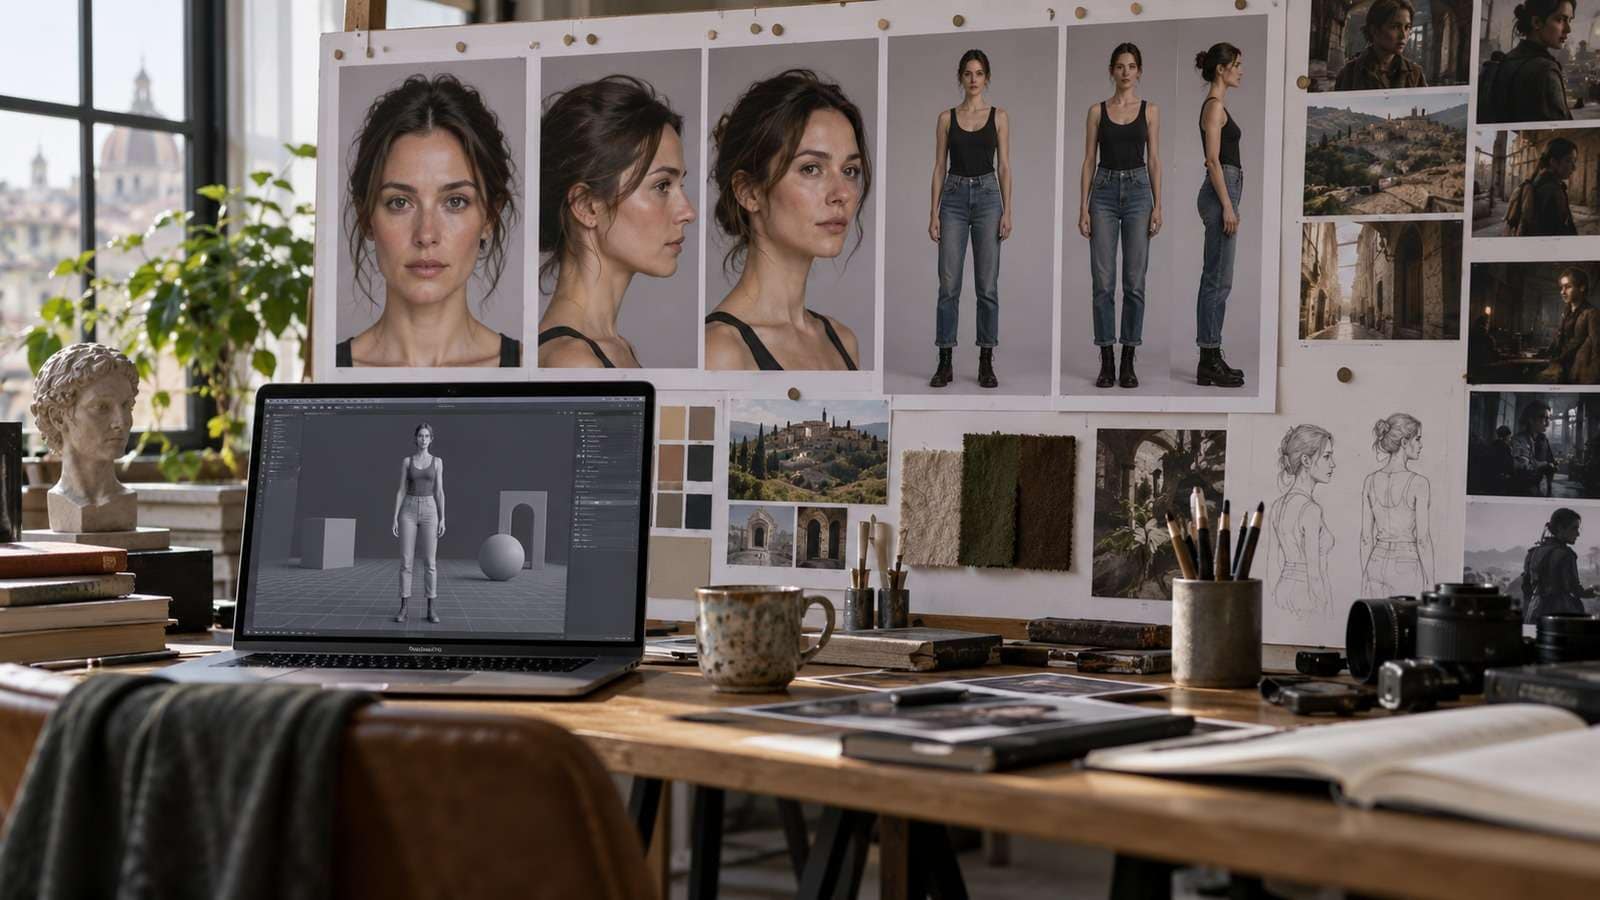
Camera blocking is one of the strongest reasons to combine Blender with an AI video generator. Create a few deliberate views instead of one attractive frame: a wide establishing shot, a medium tracking shot, a close-up, and a reverse angle. For character-led scenes, keep a reference sheet with front, three-quarter, profile, and full-body views. The reference images do not need to appear in the final video. They give the generation step a stable identity target. This separation also helps when an AI video agent workflow handles repetitive generation while the creator keeps approval authority.
Step 4: Generate a Short Proof Shot
Do not begin with a thirty-second sequence. Export a short preview from Blender and use it to create a four- to six-second proof shot. Check the most failure-prone details first: identity, direction of movement, object shape, hand placement, wheel rotation, and contact with the ground. If any of these fail, revise the reference or simplify the action before generating more clips. A short proof shot is a quality gate, not a disposable draft. For additional model testing, use the Seedance AI video prompt examples as a starting point, then adapt them to the blocked scene.
Step 5: Move From Blocking to Visual Development
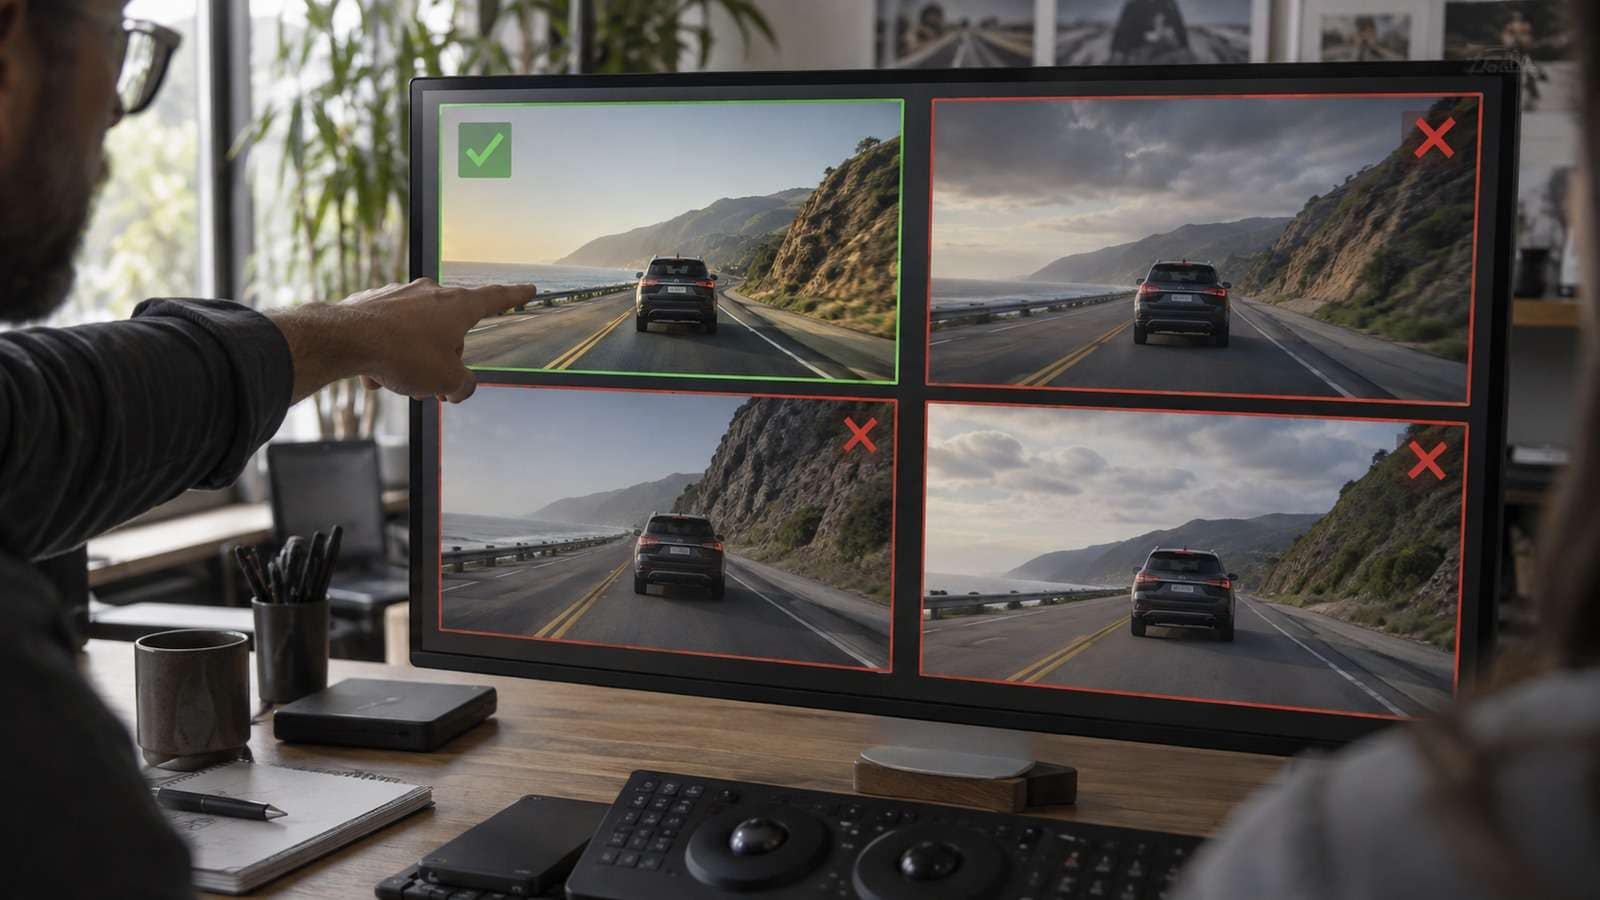
Once the composition works, ask the model to add visual richness without changing the layout. Describe the material and atmosphere in concrete language: brushed aluminum, wet asphalt, overcast morning light, shallow depth of field, practical headlights, light mist. Repeat the non-negotiable camera and subject instructions. A useful prompt often has four parts: what must stay fixed, what should be added, how the camera moves, and what the model must avoid. For a product-focused project, an AI commercial video workflow can turn the approved composition into several ad variations.
Step 6: Use Media.io for Fast Visual Iteration
When the blocking scene is approved, Media.io can be useful for testing image-to-video and text-to-video variations without rebuilding the scene by hand. The practical advantage is speed during visual exploration: you can compare atmosphere, lighting, wardrobe, product styling, or pacing while keeping the approved shot direction as a reference. For creators who need several social or commercial variations, this stage can also produce alternate crops and short versions before the final edit. In a commercial context, an AI commercial generator is most useful after the product framing and reference assets have already been approved.
Step 7: Review Continuity Before You Scale Up
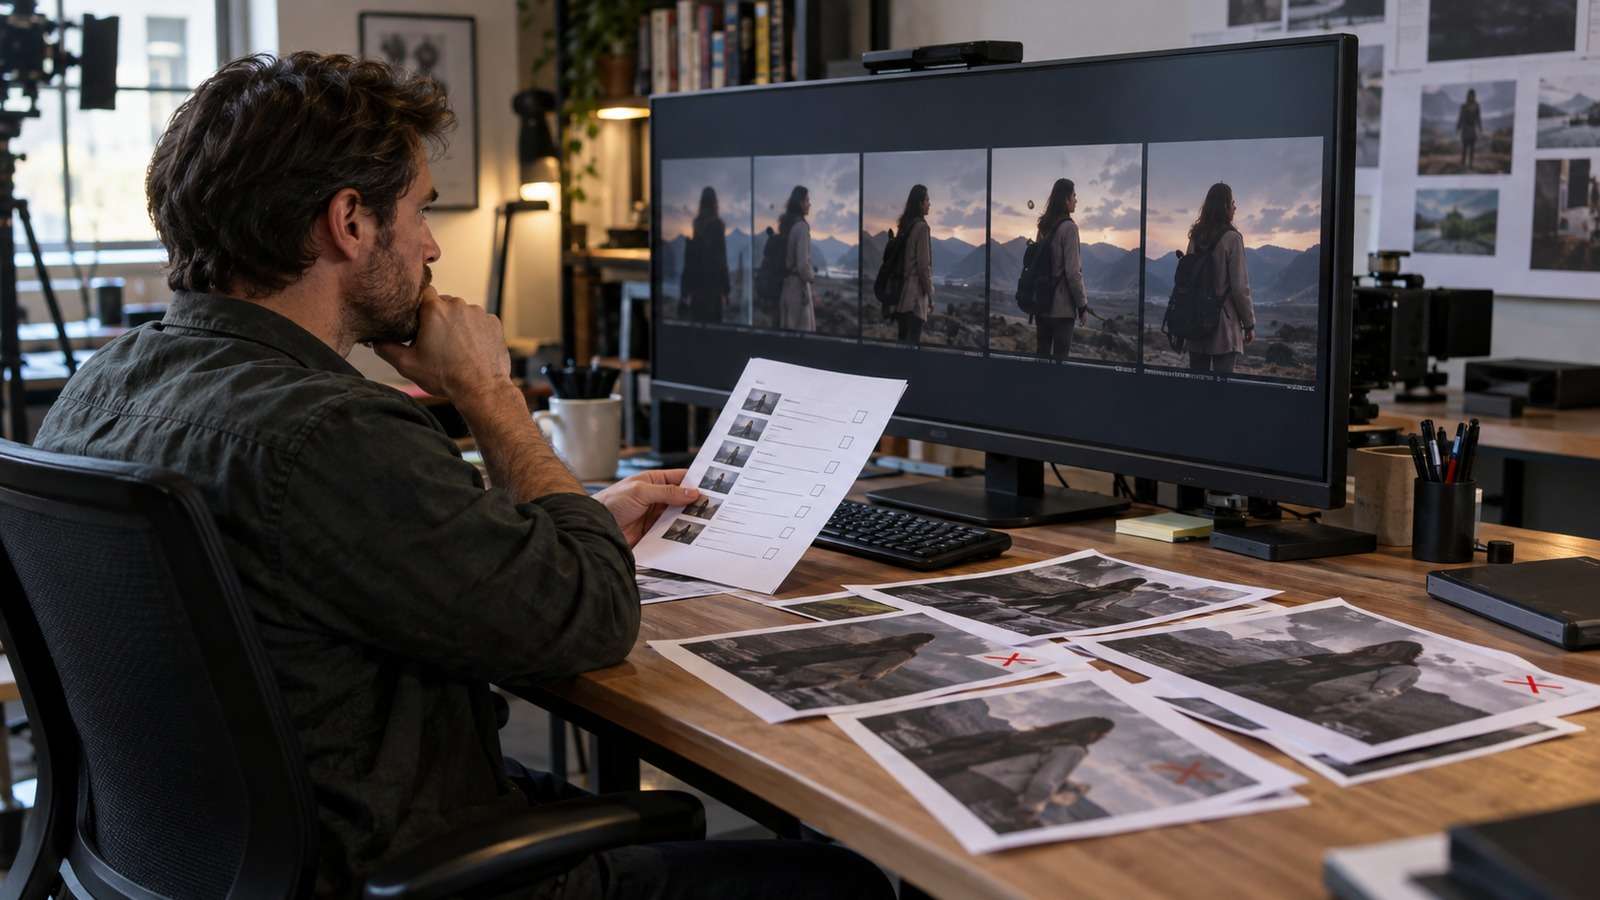
Review clips in sequence, not only as individual thumbnails. Compare screen direction, camera height, subject size, lighting direction, and the position of signature props. If a character turns left in one shot and appears to turn right in the next, the viewer will notice even when the individual frames look beautiful. Keep a simple continuity checklist and reject attractive shots that break the story logic. If the final sequence needs a delivery-quality pass, use 4K video enhancement after continuity review rather than enlarging every failed draft.

Common Failure Modes and Fixes
The first common failure is overloading the shot. Too many characters, fast camera movement, complex interactions, and a changing background give the model too many variables. Reduce the action and prove one movement at a time. The second failure is vague reference material. A single stylized portrait cannot define a full character. Add multiple angles, wardrobe notes, and a clear age and body description. The third failure is asking for a new style and a new composition in the same revision. Change one variable per iteration so you know what improved the result. A simple image-to-video proof is often enough for the first test, while more complex scenes can stay in the controlled pipeline.
A Practical Cost and Quality Strategy
The cheapest workflow is not the one with the lowest price per generation. It is the one that produces an approved shot with the fewest failed attempts. Track the number of proof clips, rejected clips, successful clips, editing minutes, and final exports. Use low-cost previews for camera and blocking decisions, then reserve higher-quality generations and enhancement for shots that already passed the composition check. This approach turns Blender into a quality-control tool and keeps the generative stage focused. When you need a fast visual concept before building the full scene, an AI video generator can be used for early exploration.
When This Workflow Is Worth Using
Use Blender plus AI video when the scene needs repeatable camera work, multiple angles, a vehicle or product to stay consistent, or a sequence that will be revised later. It may be unnecessary for a one-off mood clip, a simple talking-head visual, or a loose abstract animation. The goal is not to add 3D software to every project. The goal is to use deterministic blocking only where it prevents expensive ambiguity.
A Repeatable File and Prompt Structure
A small amount of project organization makes this workflow much easier to reuse. Keep one folder for the Blender scene, one for reference images, one for approved proof frames, one for generated clips, and one for final exports. Name files by scene, shot, and version instead of relying on dates alone. For example, `scene-03-shot-05-proof-v2` tells you what the file is before you open it. Store the shot brief next to the reference frame so a second editor can understand the intended camera and action without searching through a chat history.
How to Judge a Generated Shot
A beautiful frame is not automatically a successful shot. Review every generation against the brief. First, check composition: is the subject in the intended position and is the camera moving in the correct direction? Second, check identity: do the character, product, vehicle, and signature props remain recognizable? Third, check physical logic: do feet touch the ground, do hands interact with objects, and do reflections follow the light? Fourth, check editability: can the clip be cut before the visual error becomes obvious? A simple pass-or-reject table prevents the team from approving a clip because of one impressive moment while overlooking continuity problems.
A Production Checklist for Each Shot
Before generation, confirm that the brief names one clear action and one dominant camera move. Confirm that the Blender preview shows the subject at a readable scale and that the start and end frames are intentional. Before approving a reference image, check the face, wardrobe, product shape, and important props. During generation, create only a small set of controlled variations so the team can compare them meaningfully. After generation, watch the clip at normal speed and again frame by frame. Record the reason for rejection in plain language, such as “camera drifts left,” “wheel changes shape,” or “character loses red jacket.” This feedback is more useful than simply labeling a result bad because it tells you what to change in the next prompt. Finally, keep the approved preview, prompt, reference images, and final clip together. That record makes later revisions faster and helps a second creator reproduce the shot instead of starting from an unexplained finished file.
Prompt Design for a Blender Reference
A Blender preview is most useful when the prompt explains its role instead of describing the final image alone. Start with an instruction such as “Use the attached 3D blocking preview as the composition reference.” Then state the elements that must remain fixed: camera height, screen direction, subject position, and approximate lens. Follow with the desired visual development: time of day, materials, atmosphere, and motion texture. End with a short avoid list. For example, avoid changing the car silhouette, adding extra people, reversing the camera direction, or introducing text and logos. This structure prevents the model from treating the reference as a loose mood image. It also makes the prompt easier to reuse when you test a different lighting style or environment. If a result fails, change only the line connected to the failure. A targeted revision is easier to evaluate than a complete rewrite that changes five variables at once.
From One Approved Shot to a Reusable System
Once a shot works, turn it into a reusable production pattern. Save the camera setup, reference frame, prompt blocks, negative constraints, and review notes as a small template. The next project can change the subject and environment while keeping the proven logic. This is particularly useful for product campaigns, episodic content, and social series where every video needs a related visual language. A template should not force every project to look the same. It should preserve the decisions that are expensive to rediscover, such as how the team names shots, approves references, handles continuity, and prepares final exports. Creative variation can then happen inside a stable production system.
Where Human Judgment Still Matters
Generative video can accelerate exploration, but the director still decides what belongs in the story. Human review is especially important for brand details, product proportions, readable text, cultural context, likeness, and claims made in an advertisement. It is also needed when the model introduces a visually attractive event that was not in the brief. Treat unexpected details as suggestions to evaluate, not as automatic improvements. This keeps the workflow creative without allowing the model to quietly rewrite the message.
Final Takeaway
Blender does not have to compete with AI video generators. It can give them a clearer stage direction. Block the shot, approve the camera, establish references, generate a short proof, and only then invest in richer visual development. This hybrid workflow gives creators more control over composition while preserving the speed and visual variety of generative video.
Frequently Asked Questions
-
Do I need advanced Blender skills?
No. A simple scene with primitive geometry, a camera, and basic keyframes is enough for blocking. The goal is composition control, not finished 3D modeling. -
Should I generate in 4K from the beginning?
Usually no. Test camera, identity, and movement with short previews first. Use higher-quality generation or enhancement after the shot passes review. -
Can Blender guarantee character consistency?
No. It improves spatial blocking and repeatability, but character identity still depends on reference quality, prompt discipline, and model behavior. -
Is this workflow useful for product videos?
Yes. It is especially useful when a product needs repeatable camera angles, controlled movement, or several ad variations built from the same composition.


