
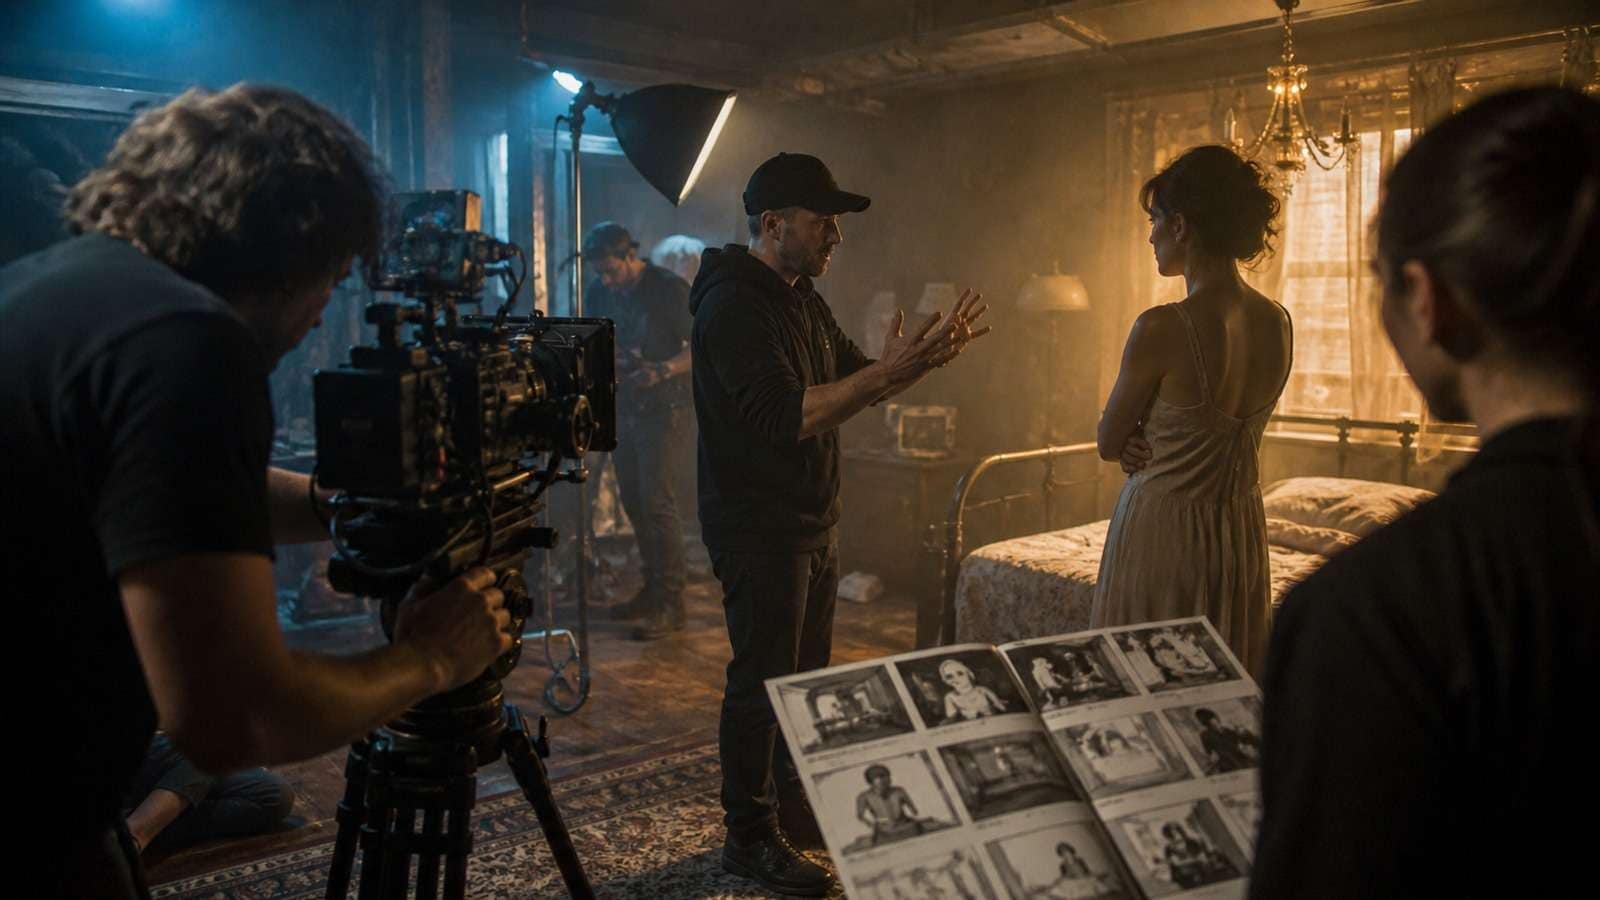
An AI filmmaking workflow is the repeatable process that turns a story idea into a coherent finished video. The strongest workflows do not begin by generating random clips. They begin with a production brief, lock the story and visual rules, create reusable references, design shots, generate motion selectively, and finish the result with sound and editing. This guide synthesizes patterns demonstrated across high-view AI filmmaking tutorials from creators including Dan Kieft, Youri van Hofwegen, and AI Video School, then translates them into a practical system that can be used with different models and tools.
In this article
What an AI Filmmaking Workflow Includes
AI filmmaking combines familiar production decisions with generative tools. The tools may create scripts, storyboards, images, motion, voices, music, or effects, but the filmmaker still controls what the audience sees, when they see it, and why each shot exists.
A useful AI video production workflow therefore has nine connected layers: concept, script, visual bible, storyboard, keyframes, video generation, audio, edit, and review. Skipping an early layer usually creates expensive corrections later. A character designed after several shots have already been generated, for example, forces the team to regenerate footage or accept continuity errors.
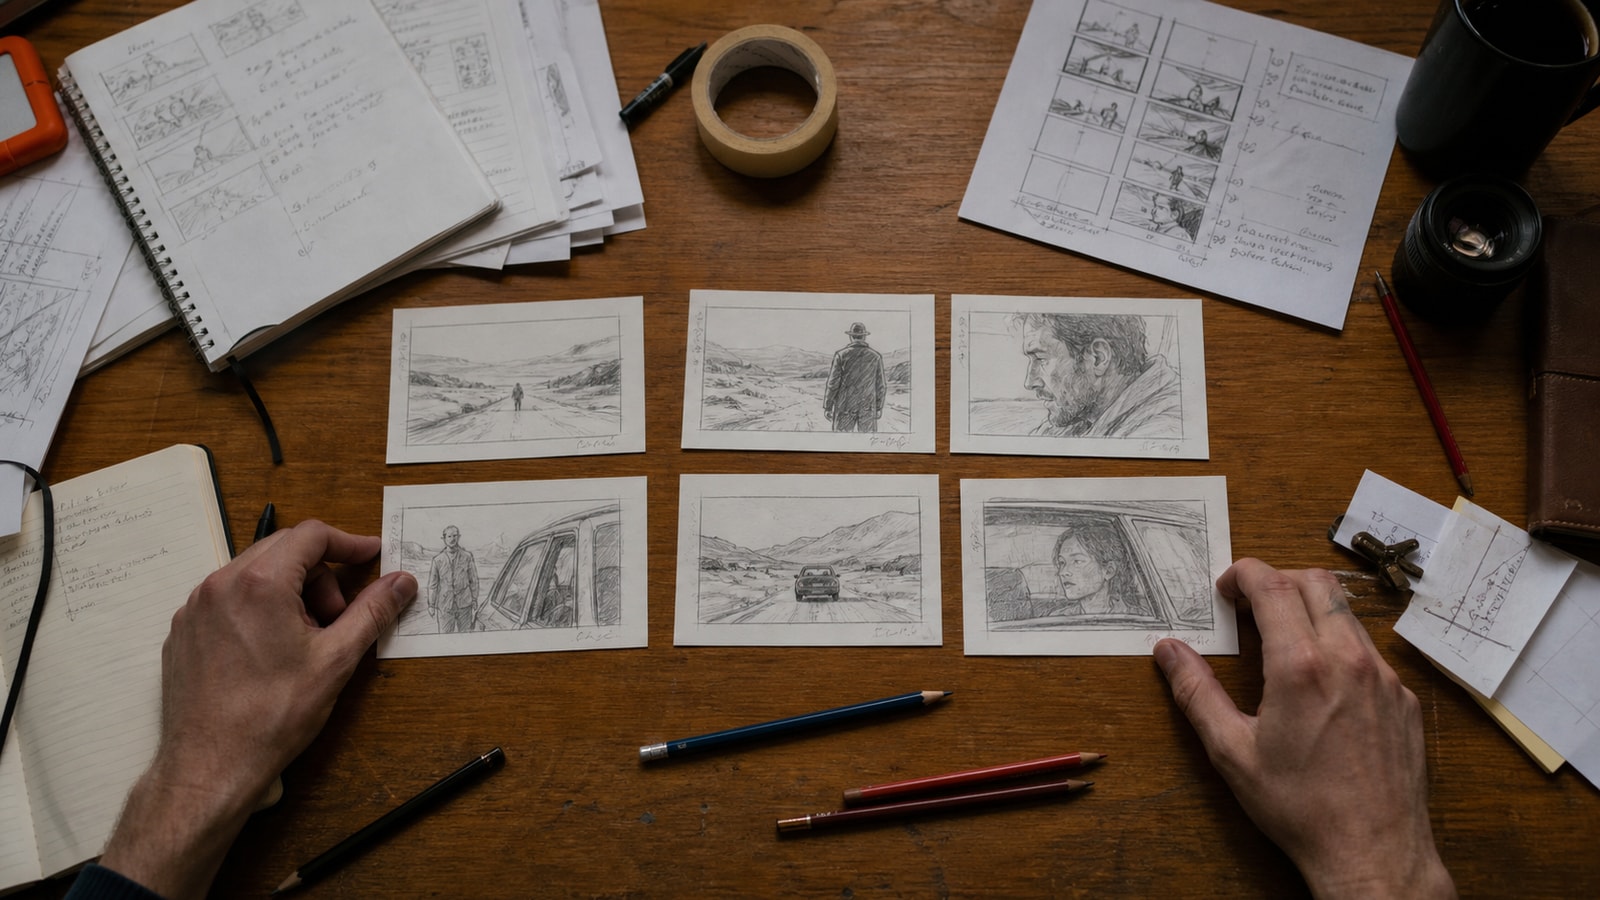
The 9-Step AI Filmmaking Workflow
Step 1: Define the Film Before Choosing a Model
Write a one-page production brief before opening an image or video generator. Define the audience, format, duration, platform, central emotion, visual style, aspect ratio, and non-negotiable story beats. This keeps model selection subordinate to the film rather than letting a newly released tool determine the creative direction.
For a 60-second short, the brief can be extremely compact: one protagonist, one goal, one location change, eight to twelve shots, and one emotional turn. Longer projects need a scene list and continuity tracker, but the same principle applies: reduce ambiguity before generation.
Step 2: Turn the Idea Into a Production-Ready Script
A screenplay for AI generation should describe visible actions, locations, framing opportunities, and audio cues. Avoid writing long internal monologues that cannot be shown. Break the script into scenes, then convert each scene into individual shots with a clear subject, action, environment, camera distance, and approximate duration.
Before generating motion, convert the script into a shot list with a clear subject, action, environment, camera distance, and approximate duration. The goal at this stage is not polish; it is to confirm that every planned shot has a narrative purpose and can be produced within the available time and generation budget.
Step 3: Build a Visual Bible for Characters and Locations
Character consistency is easier when the production uses a small approved reference set instead of rewriting appearance details for every prompt. Create front, three-quarter, profile, full-body, expression, and wardrobe references. Record stable details such as age range, hair, facial proportions, costume materials, color accents, and signature objects.
Use the same method for recurring locations. Define architecture, geography, time of day, lighting direction, dominant colors, and objects that must remain in the scene. A visual bible is not decorative concept art; it is a constraint system for later generations.
Step 4: Storyboard the Sequence Before Generating Video
Storyboards reveal pacing, shot repetition, missing transitions, and impossible continuity. They also let the filmmaker test coverage: establishing shot, action, reaction, insert, and transition. A storyboard does not need final image quality. Its job is to prove that the sequence communicates.
Keep each panel connected to a shot ID. Record framing, camera movement, action, intended duration, dialogue or sound, and the reference assets required. This shot list becomes the central production tracker. If you need a fast visual pass before committing to motion, the Media.io AI Storyboard Generator can turn scene descriptions into draft panels that you can rearrange and evaluate.
Step 5: Create Keyframes That Can Survive Motion
The first frame should be composed as a video frame, not simply as an attractive still image. Leave space for the subject to move, avoid tangencies that will distort during animation, and keep important objects away from the crop edge. Generate or design keyframes at the final aspect ratio.
For difficult shots, create both a start frame and an end frame. The pair establishes direction, composition, destination, and continuity. Image-to-video generation is often more controllable than text-to-video because the starting composition is already approved.
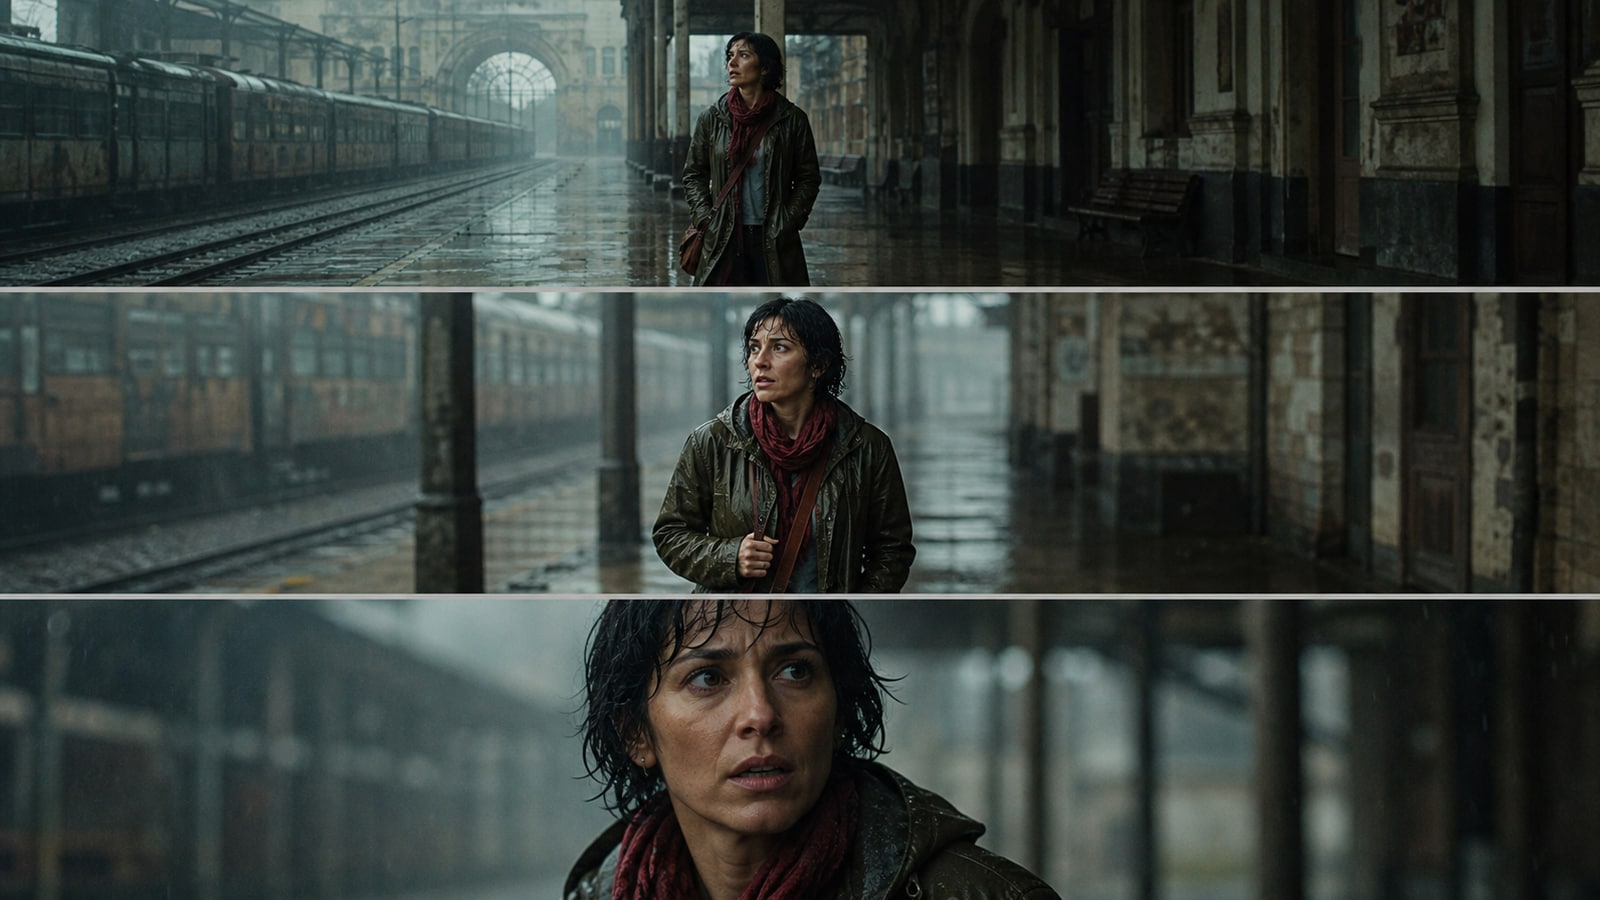
Practical Media.io Workflow: Animate an Approved Keyframe
This is the point where a browser-based workflow can save time. Start with a keyframe that already passes your composition and character checks, animate only one clear subject action and one camera move, then review the resulting clip for identity drift, edge distortion, and unwanted background motion.
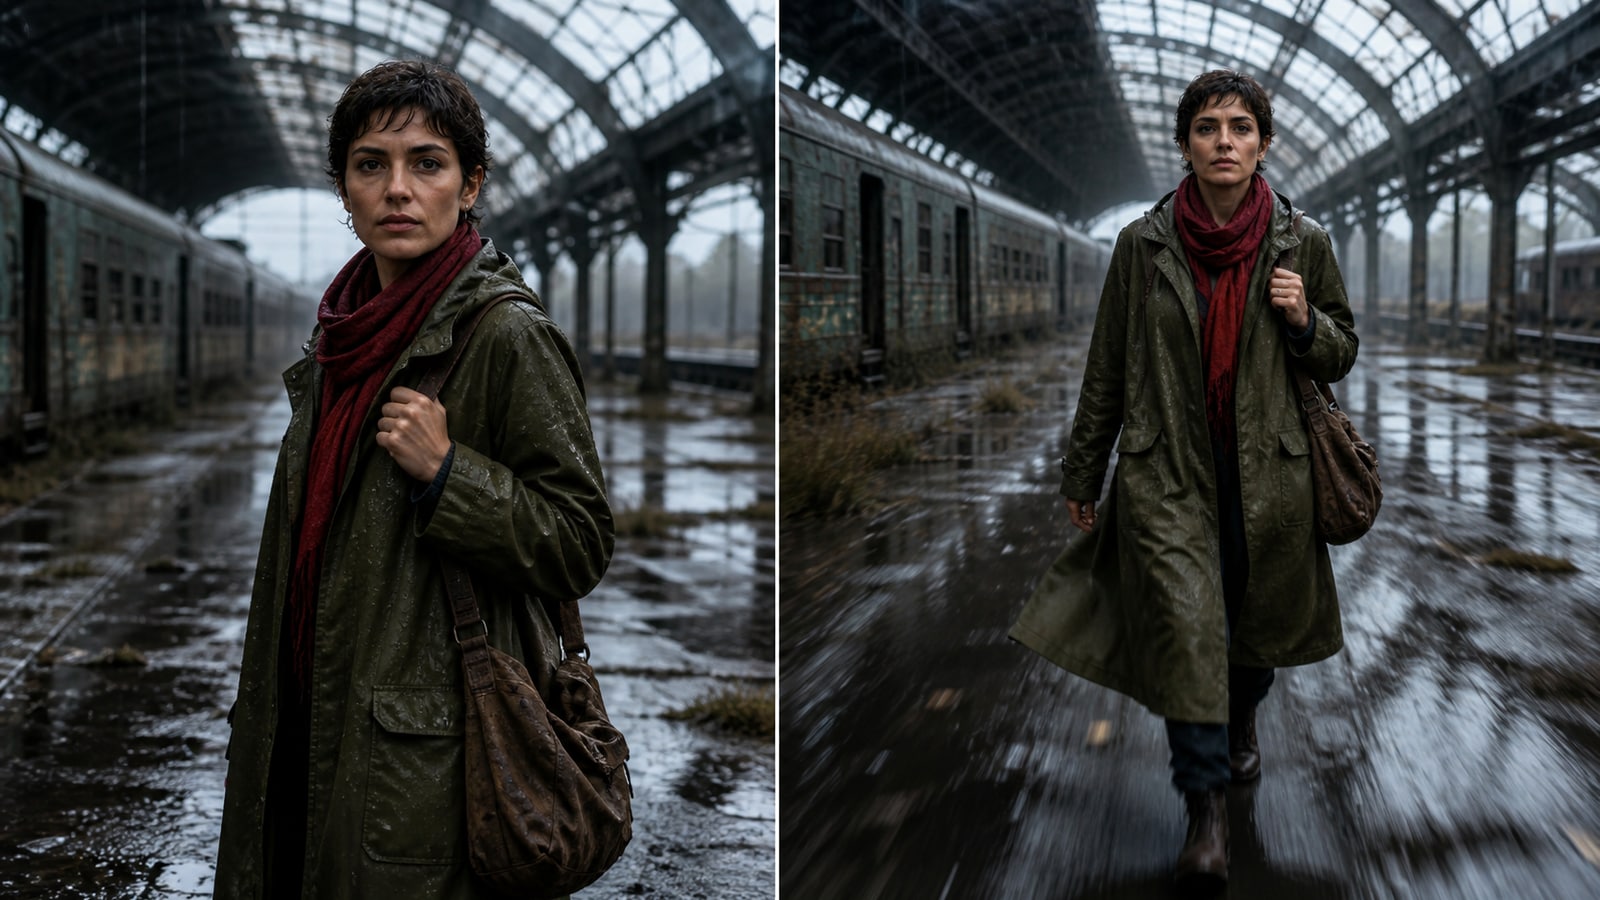

Turn an approved keyframe into video with Media.io →
Step 6: Prompt Motion, Camera, and Performance Separately
A useful video prompt describes three things: what the subject does, what the camera does, and what must stay stable. Simple motion usually produces cleaner results than stacking multiple actions into one short clip. Instead of asking a character to run, turn, speak, pick up an object, and enter a vehicle in five seconds, divide the action into separate shots.
Camera instructions should support the story. A slow push-in increases attention, a lateral track follows movement, a locked camera emphasizes performance, and a handheld move can add urgency. Do not add camera movement simply because a model supports it.
Step 7: Generate Short Shots and Edit for Continuity
Most reliable AI films are assembled from short clips rather than generated as one continuous scene. Generate handles at the beginning and end of each shot, then cut before artifacts become obvious. Match screen direction, eyelines, subject scale, lighting, and background geography across adjacent shots.
If two clips do not connect naturally, use a reaction, insert, environmental detail, or sound bridge. These are normal filmmaking techniques, not workarounds. Good editing converts separate model outputs into a continuous experience.
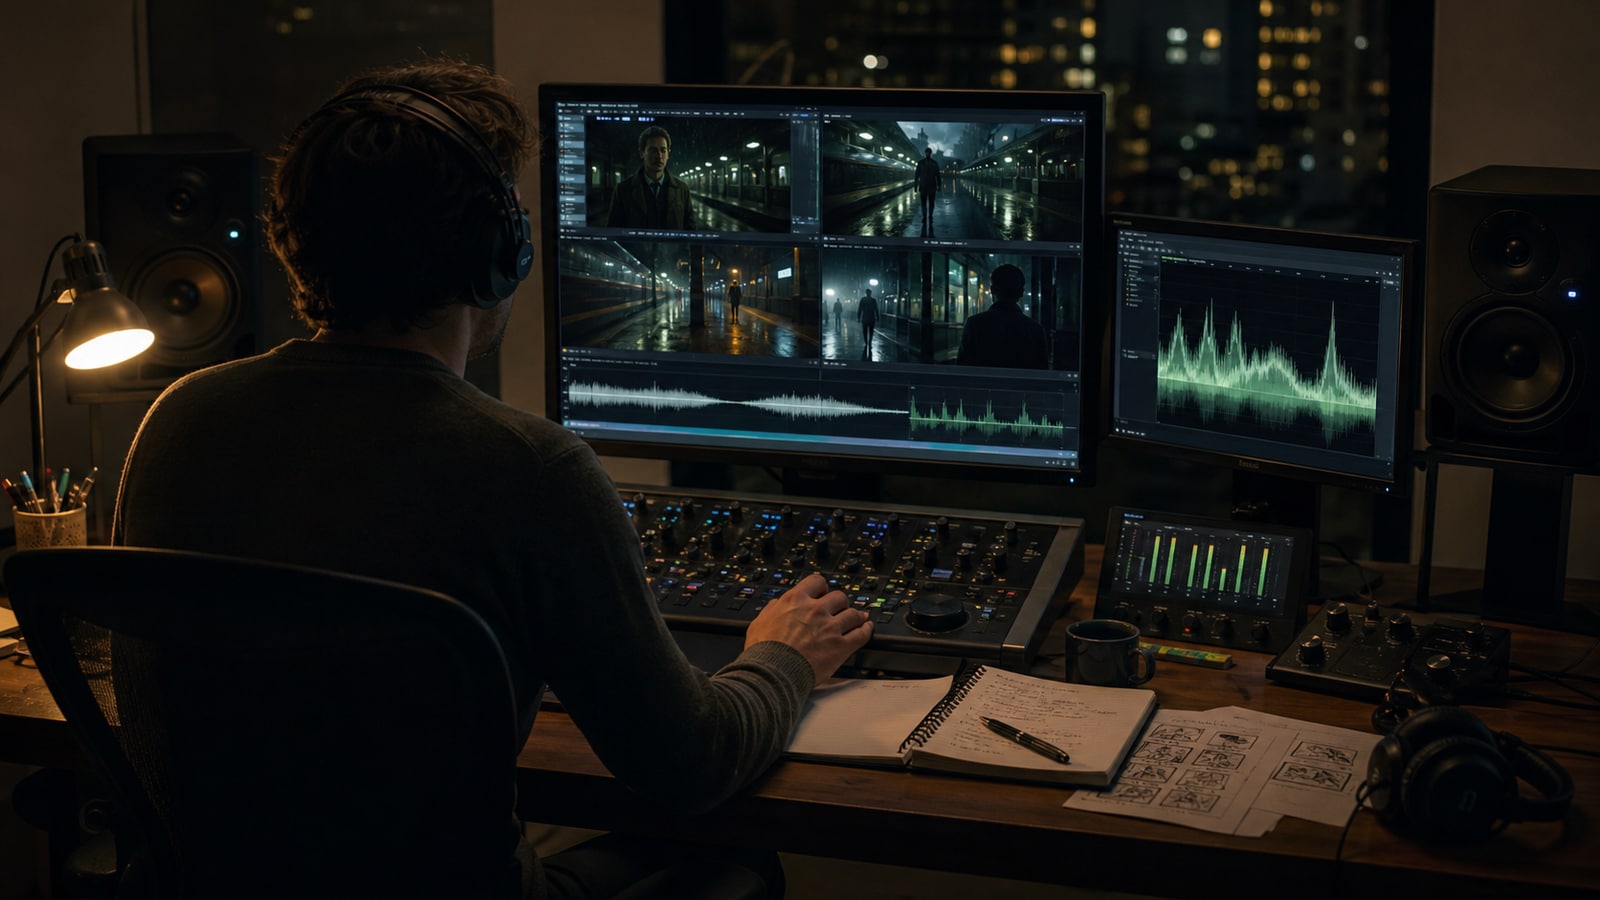
Step 8: Treat Sound as Half of the Film
Sound gives synthetic images weight and space. Build the audio in layers: dialogue or narration, room tone, environmental effects, specific actions, transitions, and music. Use text-to-speech only after the script is locked, and review names, emotional emphasis, pauses, and pronunciation before editing the picture tightly around the voice.
Music should support the emotional curve rather than cover weak pacing. Environmental sound can also hide visual cuts and connect shots produced by different models.
Step 9: Run a Continuity and Artifact Review
Watch the film several times with a different purpose on each pass. First review story clarity without pausing. Then inspect character identity, wardrobe, hands, object position, camera direction, lip sync, frame edges, flicker, and background changes. Finally, listen without watching to check dialogue, noise, transitions, and music balance.
Prioritize errors by audience impact. A one-frame background change may not justify regeneration, while a different face, broken hand interaction, unreadable story beat, or distracting lip-sync error usually does.
Production Stack, Mistakes, and Practical Decisions
A Practical Tool-Agnostic Production Stack
Use the smallest stack that can complete the film. A typical production needs one writing assistant, one image generator, one primary video generator, an alternative model for difficult shots, a voice or music tool, and an editor. Too many tools create file-management and style-consistency problems.
The workflow should remain portable: references, shot IDs, prompts, file names, and review criteria should not depend on one model. Consolidating tools can reduce handoffs, but only when it does not weaken control over character identity, shot design, or the final edit.
Common AI Filmmaking Mistakes
Generating before the script is stable; changing aspect ratio halfway through production; relying on long text-to-video prompts without reference images; redesigning the character in every shot; asking for too many actions in one clip; judging shots individually instead of in sequence; postponing sound until the final export; and keeping technically impressive shots that do not advance the story are the most common causes of wasted generations.
The cure is not a more complicated prompt. It is a production system with approved inputs, small decisions, and visible quality gates.
Final AI Filmmaking Workflow Checklist
- Before generation: approve the production brief, script, aspect ratio, reference pack, locations, storyboard, and shot list.
- During generation: label every file, record the model and prompt, keep approved references unchanged, and generate alternatives only for shots that matter.
- Before export: check continuity, artifacts, dialogue, sound balance, captions, rights, resolution, and final platform specifications.
The central lesson from advanced AI filmmaking creators is consistent: cinematic results come from sequencing decisions, not from one perfect generation. Treat AI models as departments inside a production pipeline, and the film becomes easier to direct, revise, and scale.
When you are ready to test the workflow, start with one short scene rather than a complete film. Create a first AI film draft with Media.io, then apply the same storyboard, continuity, sound, and review checks described above.
Frequently Asked Questions
-
What is an AI filmmaking workflow?
It is a structured process for moving from concept and script through storyboards, visual references, AI-generated shots, sound, editing, and final quality control. -
What is the best way to keep AI film characters consistent?
Create a locked character reference pack, reuse the same approved images and description, control wardrobe and lighting, and review adjacent shots together rather than individually. -
Is image-to-video better than text-to-video for filmmaking?
Image-to-video is often easier to direct because composition and character appearance are approved before motion begins. Text-to-video can still be useful for exploratory shots and environments. -
How long should individual AI video shots be?
Short shots are generally easier to control. Many workflows generate several seconds per shot, then cut before motion or identity errors become distracting. -
Do I need one AI tool for the whole film?
No. A small tool stack is usually more practical. Keep the workflow, references, file naming, and quality checks independent from any one model. -
Where should sound be added in the workflow?
Plan sound during scripting, lock dialogue or narration before precision editing, and build effects, ambience, and music alongside the picture edit rather than after it.


