
To make an AI video, do not begin by asking a model for an entire finished film. Begin with a format, an audience, and a sequence of short shots. A complete AI video production workflow starts by writing the idea as a script or shot list, approving the visual identity in still images, animating one clear action per clip, then assembling the strongest takes with voice, music, captions, and deliberate editing.
This workflow reflects the production principles repeatedly demonstrated in high-view AI filmmaking tutorials from Youri van Hofwegen and Dan Kieft: strong AI video is built shot by shot, consistency is solved before motion, and editing is where separate generations become one coherent story. The same production logic can also be applied to a local AI video workflow when you prefer to generate and manage footage on your own hardware.
In this article
How to Make AI Videos: The Complete Workflow
The most reliable process separates creative decisions from generation. Decide what the video needs to communicate before choosing a model. Approve the visual design before creating motion. Generate short clips rather than one long sequence. Then use editing and sound to control rhythm, continuity, and meaning.
| Stage | Main decision | Useful output |
| 1. Format | Audience, platform, duration, aspect ratio, and communication goal | One-sentence creative brief |
| 2. Story | What happens and what viewers should understand or feel | Script, beat sheet, or shot list |
| 3. Visual design | Characters, products, locations, composition, lighting, and style | Reference sheet and approved keyframes |
| 4. Motion | One action and one camera behavior per shot | Several short generated takes |
| 5. Sound | Voice, ambience, effects, and music | Audio layers aligned to the story |
| 6. Edit | Shot selection, pacing, continuity, captions, color, and export | Publishable master and platform versions |
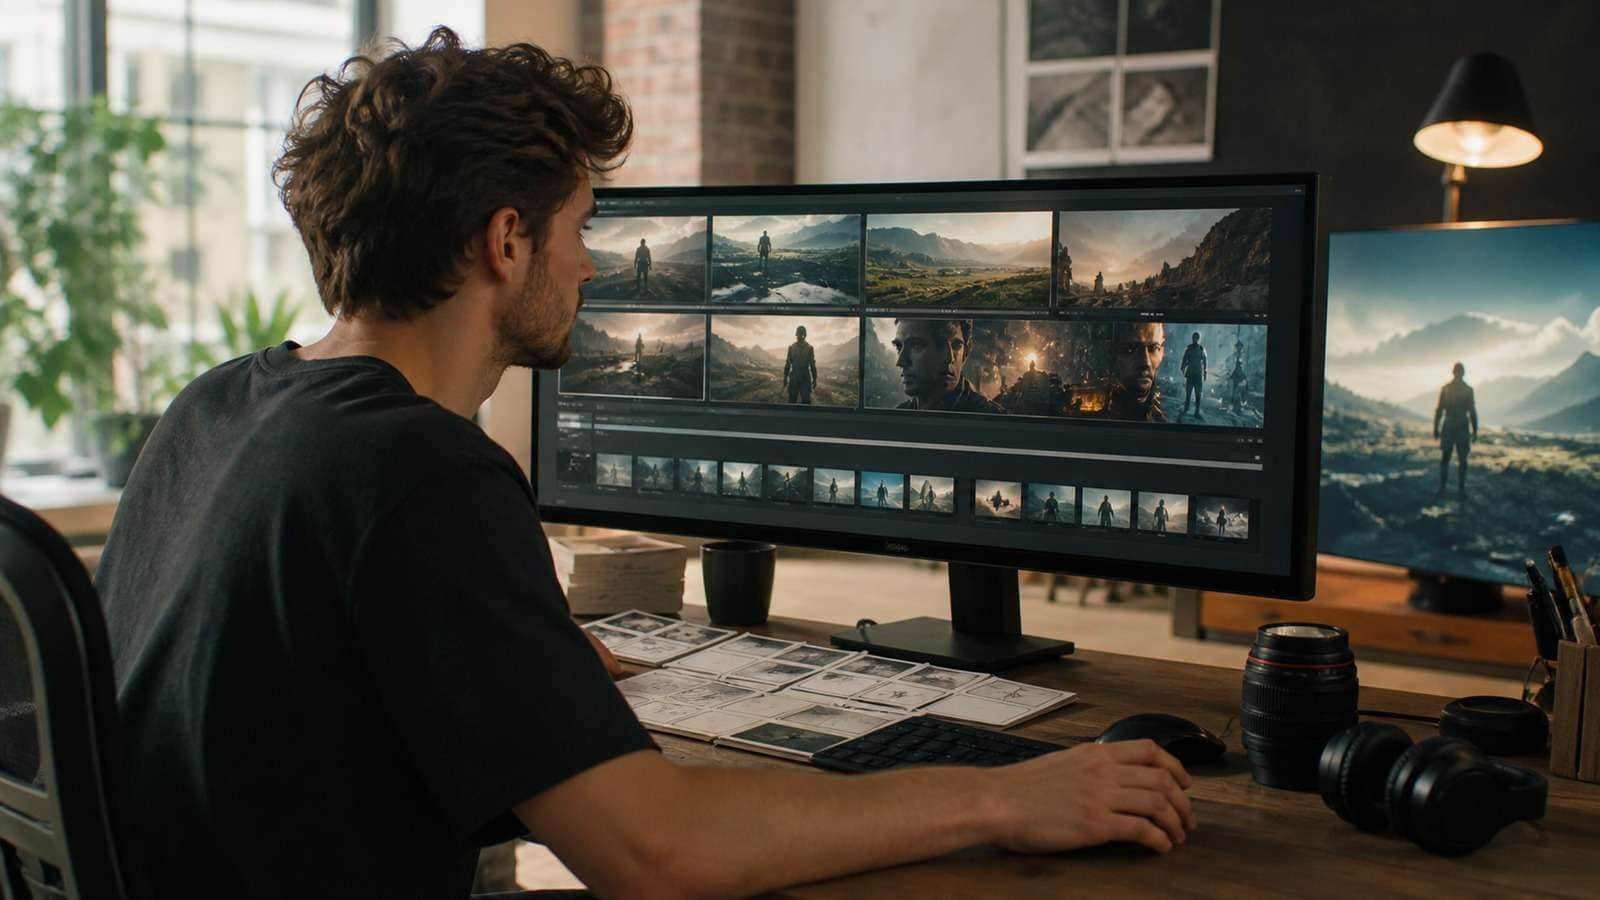
A browser tool such as the Media.io AI Video Generator can cover the early text-to-video or image-to-video stage without a software installation. The production method below remains useful regardless of which model you choose.
Step 1: Choose the Right AI Video Format
The search phrase “make an AI video” can describe several different jobs. A cinematic story, a product ad, an avatar explainer, and a vertical social clip require different inputs and different measures of success. Define the format first so you do not optimize a beautiful shot that cannot solve the actual communication problem.
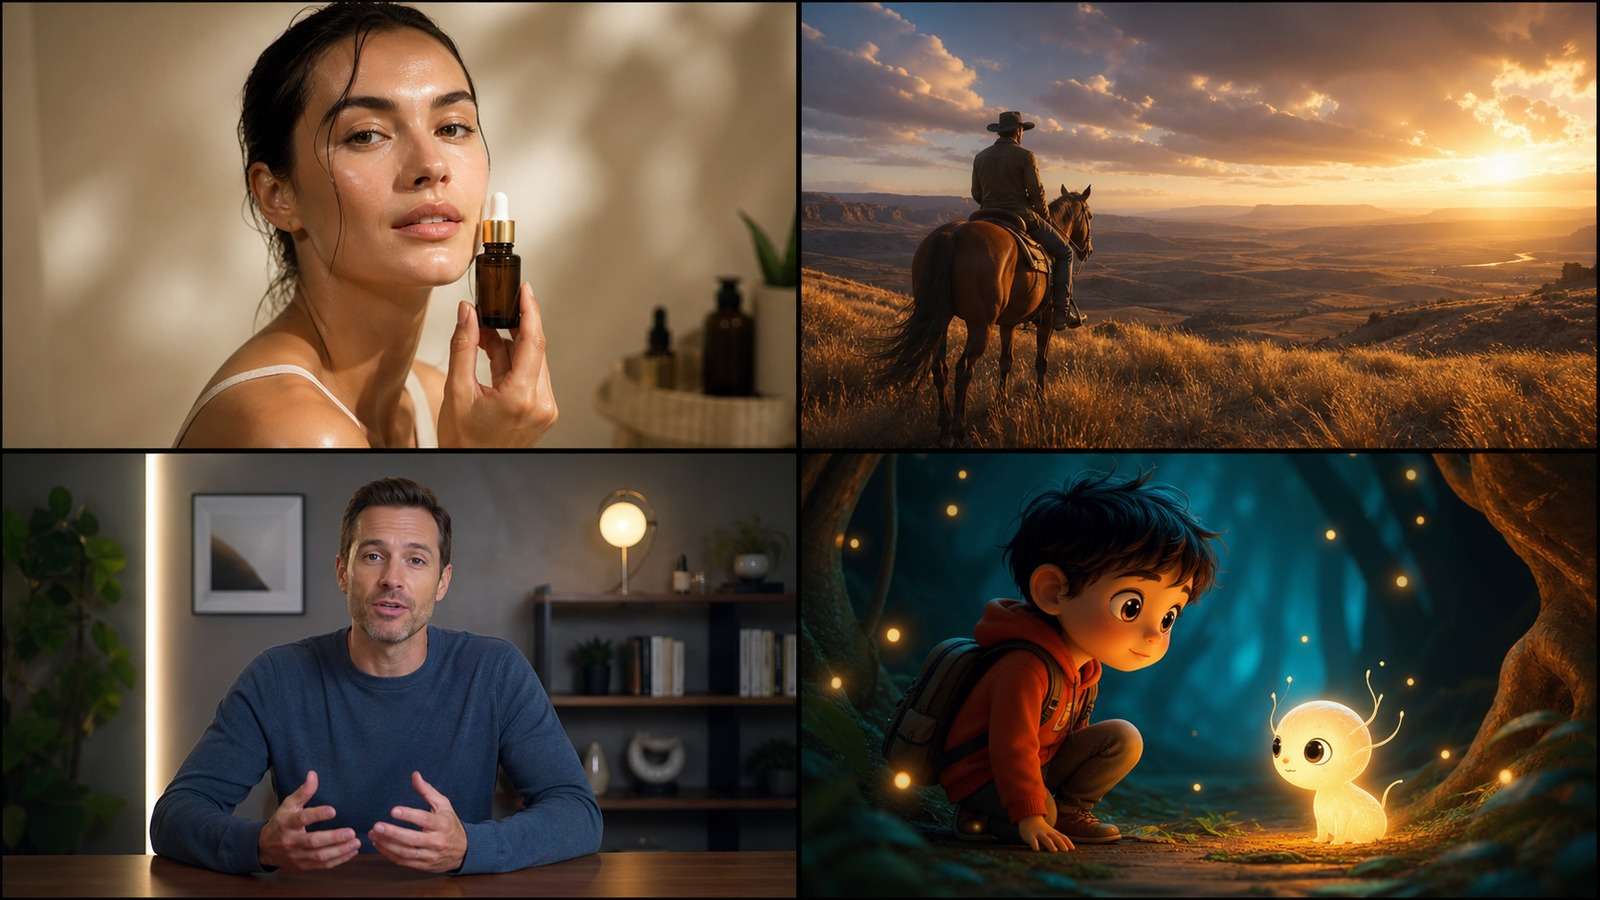
- Cinematic or narrative video: prioritize shot design, character and location continuity, camera language, atmosphere, and sound bridges.
- Product or advertising video: prioritize product shape, brand colors, material accuracy, clean object interaction, and a clear benefit or offer.
- Presenter or explainer video: prioritize script clarity, voice credibility, lip sync, captions, and trust.
- Short-form social video: prioritize a strong first second, vertical framing, fast visual change, readable captions, and a loop or payoff.
- Music or mood video: prioritize rhythm, visual motifs, transitions, and a consistent art direction rather than literal dialogue.
Write a one-sentence brief using this structure: Create a [duration and format] video for [audience] that makes them [understand, feel, or do something], using [visual approach] and ending with [payoff or CTA].
For example: “Create a 20-second vertical skincare launch video for first-time buyers that makes the formula feel gentle and premium, using warm macro product shots and ending on a clean product reveal.” That sentence becomes a filter for every later choice.
Step 2: Turn the Idea Into a Script and Shot List
Generative models perform better when the story is divided into visible events. A script explains what is said; a shot list explains what viewers see. Even a ten-second clip benefits from a beginning, development, and payoff.
Use beats before detailed prompts
- Hook: the first visual question, contrast, movement, or surprising result.
- Context: enough information to understand the subject or problem.
- Progression: the action, transformation, demonstration, or emotional change.
- Payoff: the strongest result, reveal, conclusion, or next action.
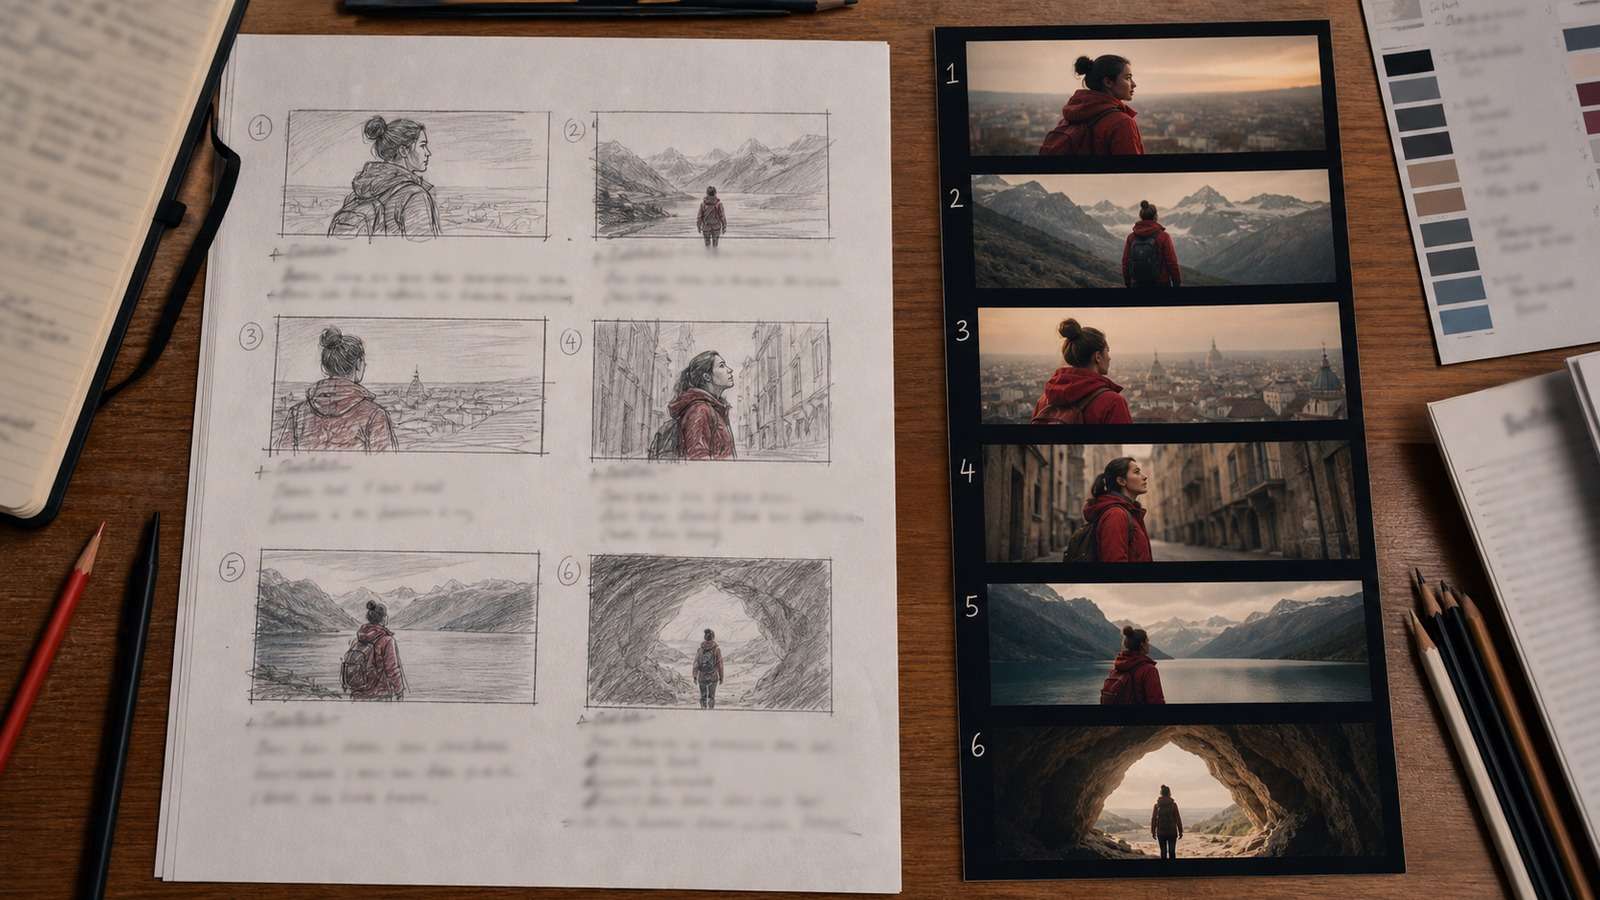
Convert each beat into one or more shots. A useful shot-list entry includes the shot number, purpose, subject, action, framing, camera movement, location, lighting, expected duration, and transition. Keep the first version short; six carefully designed shots usually teach you more than twenty loosely defined generations.
If writing is the bottleneck, an AI film maker workflow can help turn a premise into a structured starting point, while an AI storyboard generator can make the planned sequence visible before video credits are spent.
Step 3: Write Better AI Video Prompts and Approve Keyframes
A useful AI video prompt behaves like a compact shot direction, not a novel. Describe what the camera can see and what should change during the shot. The most controllable prompts normally contain one primary subject action and one camera instruction.
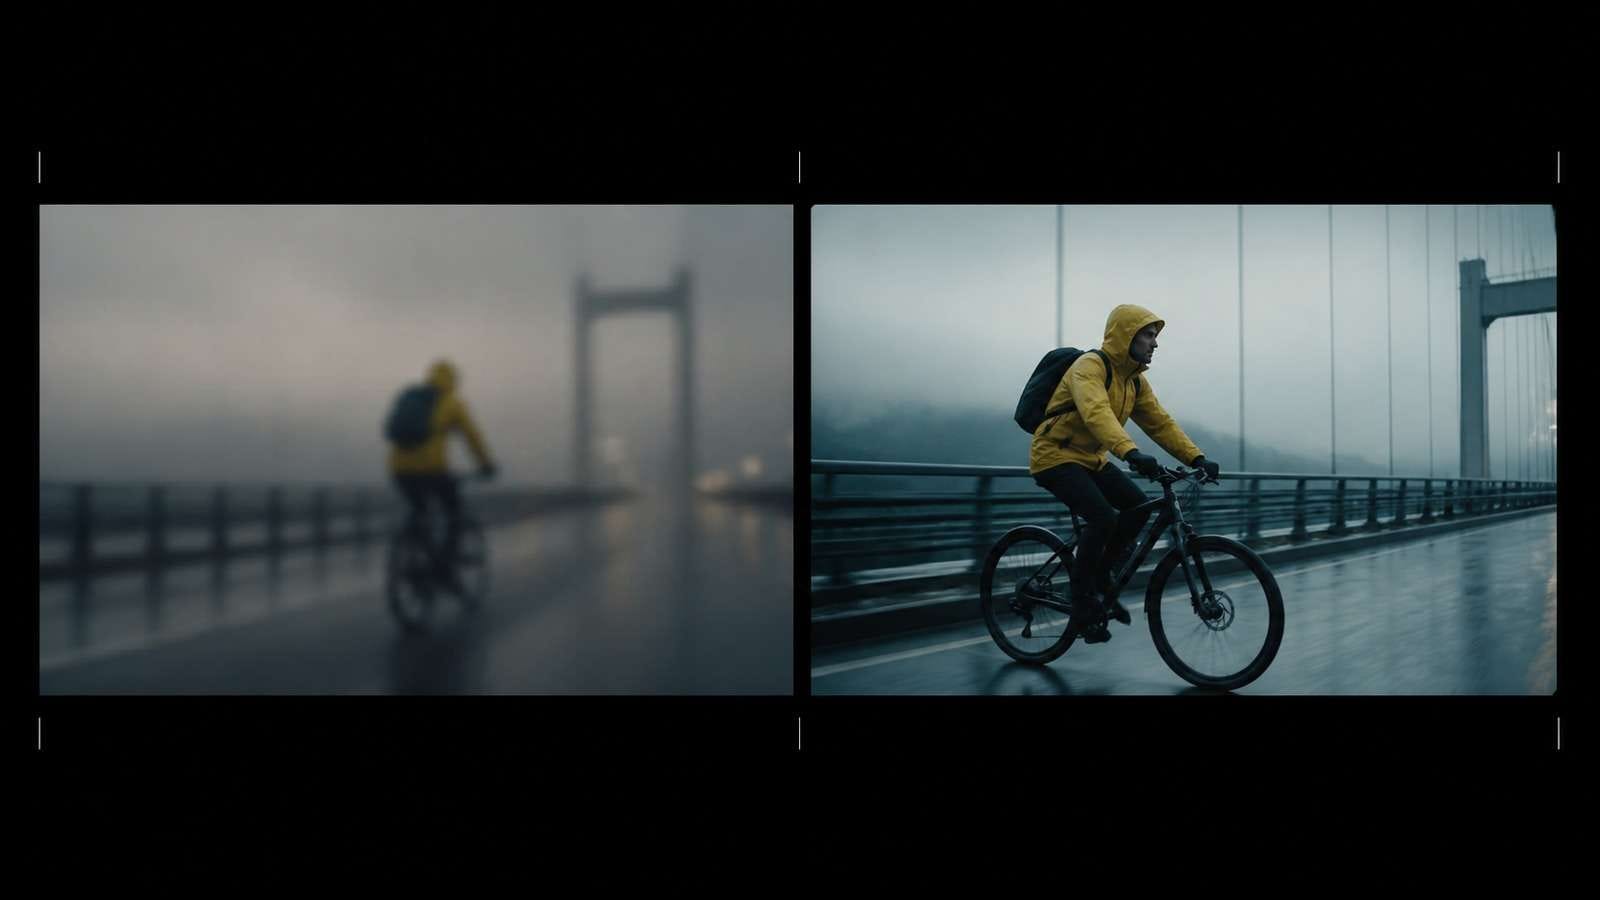
Avoid vague praise words such as “amazing” or “epic” unless you also describe the visible result. Replace “make it cinematic” with concrete direction: low-angle medium shot, shallow depth of field, slow push-in, warm backlight, restrained contrast, natural motion.
Why approved still images matter
Text-to-video is useful for exploration, but image-to-video gives you a locked starting composition. Create or select the character, product, location, wardrobe, and lighting in a still frame first. Fix visible problems while they are inexpensive. Then animate that approved keyframe.
- Use clean images with one readable focal subject and enough space for the expected movement.
- Create a character or product reference sheet before generating many scenes.
- Reuse distinctive wardrobe, hair, accessories, colors, and proportions in every relevant prompt.
- Change one major variable at a time so you can identify what caused an improvement or failure.
Step 4: Generate Motion Shot by Shot
Generate the shortest clip that can express the planned action. Three to eight seconds is a practical starting range for many scenes. Short shots reduce identity drift, physics errors, and unwanted narrative invention while giving the editor more control.
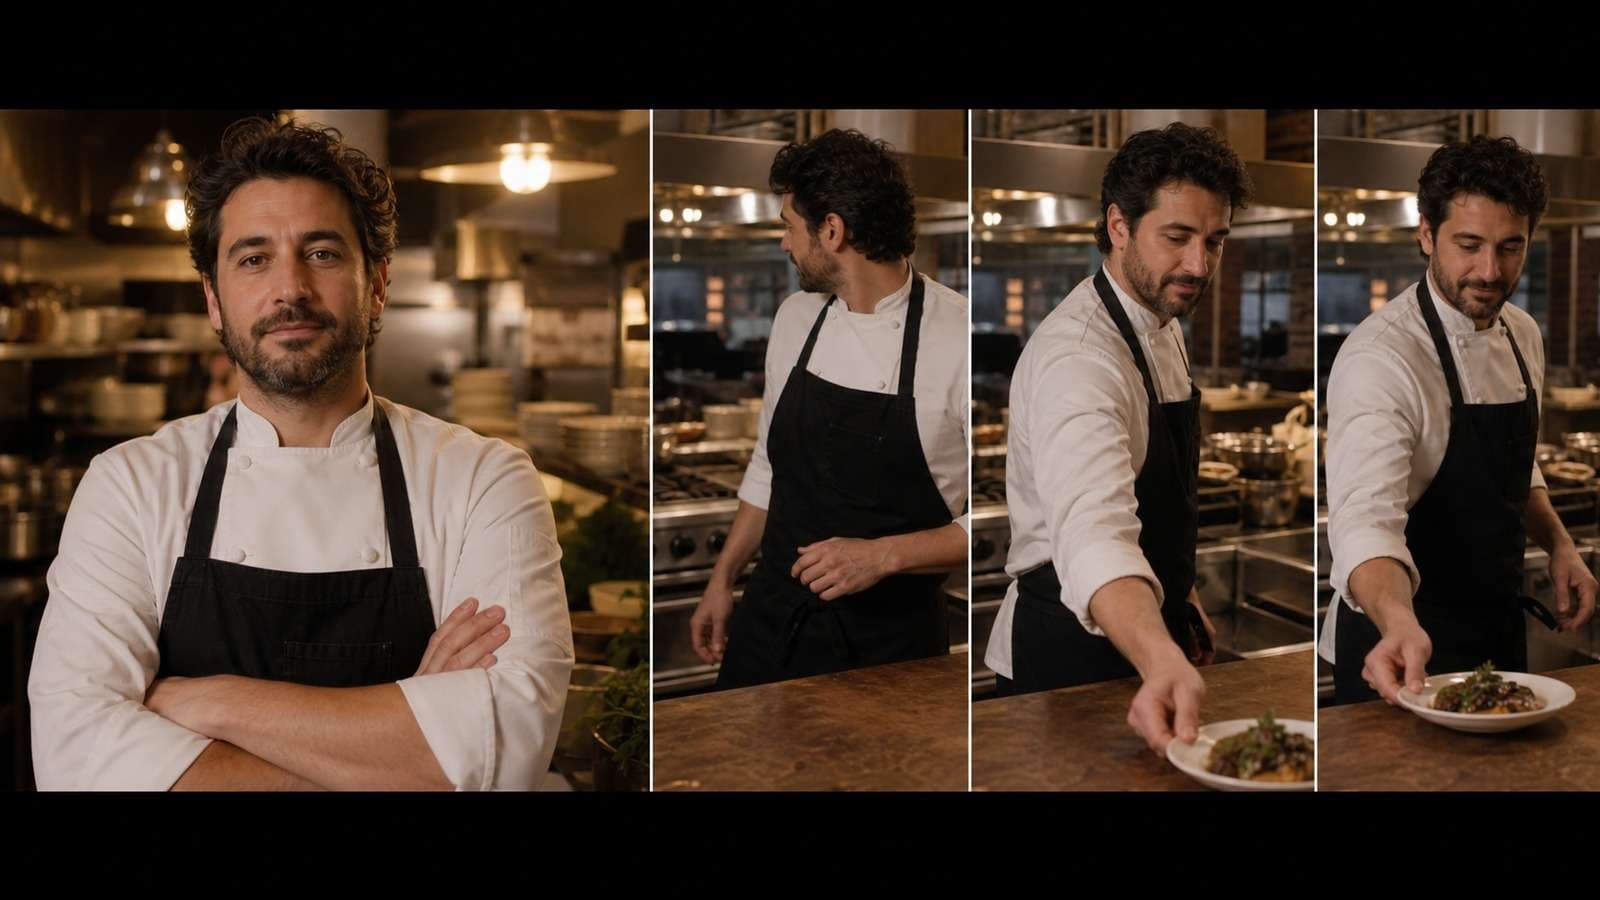
For each shot, produce several takes with the same core prompt. Do not rewrite everything after one failure. First adjust the element that failed: simplify the action, reduce camera movement, improve the source frame, clarify the subject, or shorten the duration.
A browser-based image-to-video workflow in Media.io
When the goal is to animate an approved still without building a complex production stack, Media.io provides a direct image-to-video workflow. The interface separates image input from text-only generation, so a new creator can see exactly which frame the model must preserve.
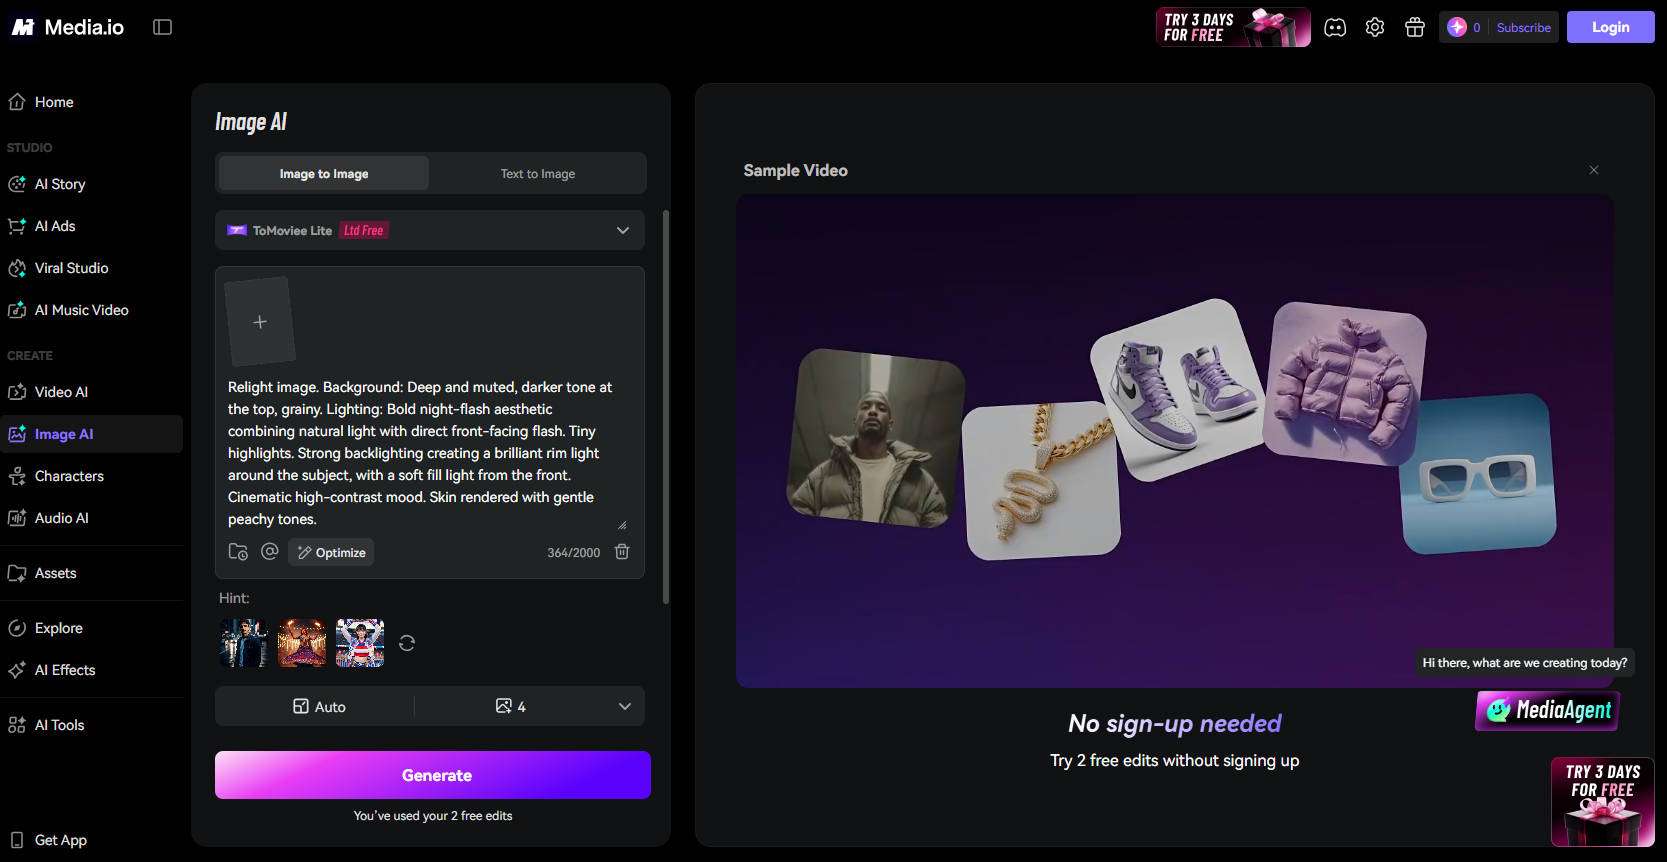
- Upload the clean approved keyframe rather than an unfinished concept image.
- Describe only the intended subject motion, camera behavior, and atmosphere.
- Generate a short take and inspect the face, hands, product shape, edges, and background motion.
- Keep the strongest result, then trim unstable opening or ending frames in an online video editor.
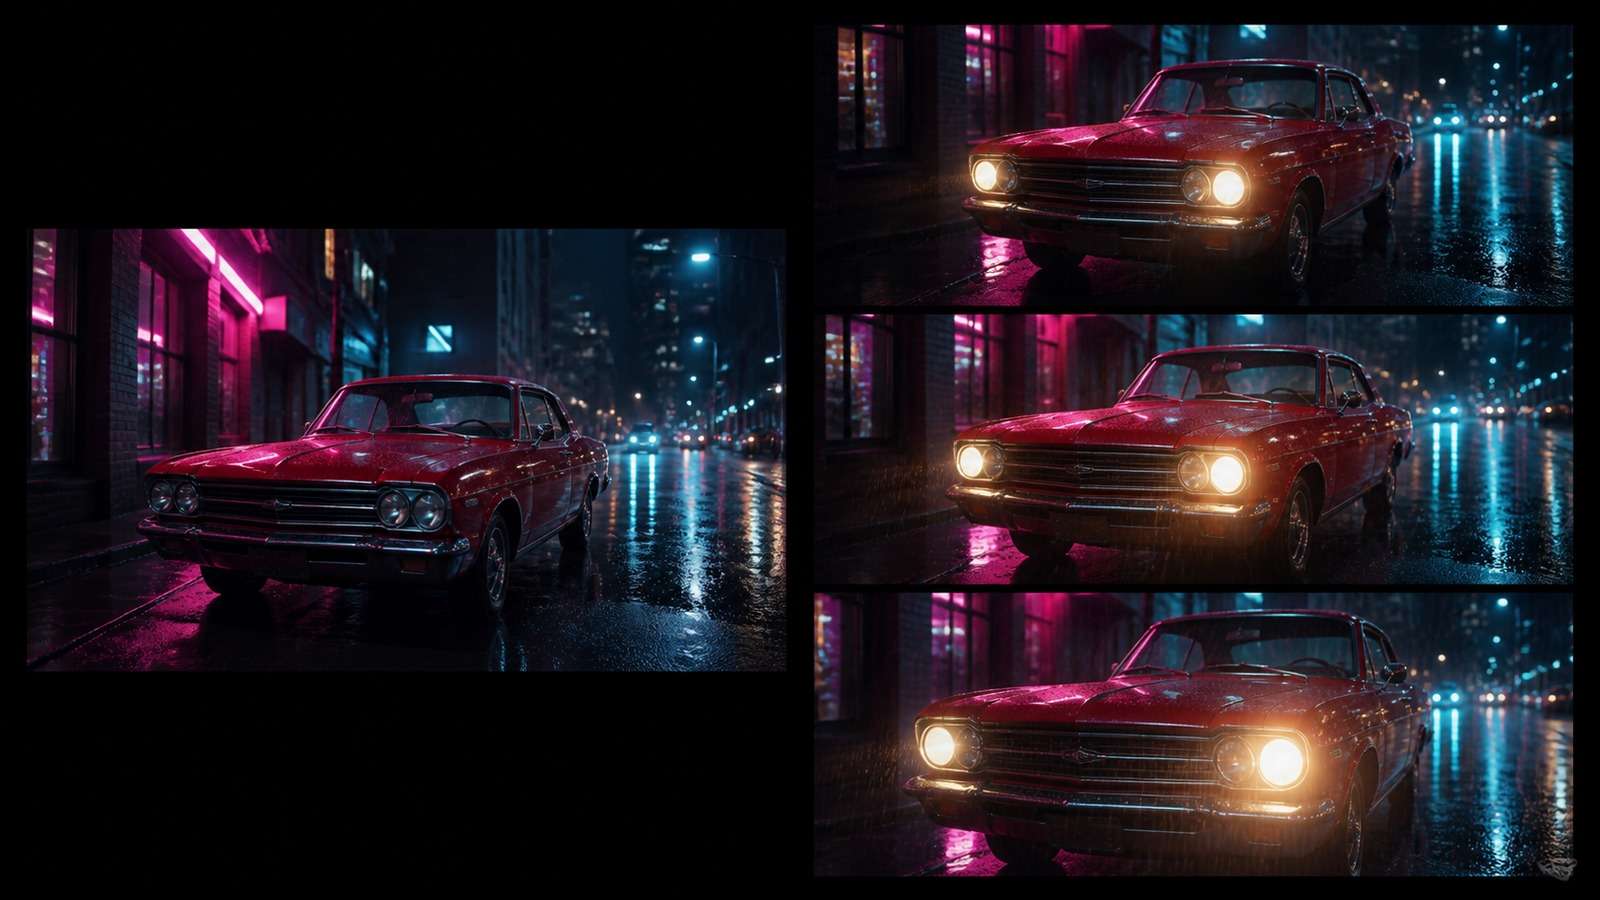
This approach is especially relevant for product shots, portraits, stylized keyframes, and scenes where composition matters more than random discovery. It is less suitable when you need node-level model control or a highly specialized local workflow.
Animate one approved keyframe with Media.io →
Score usable takes instead of impressive accidents
Judge every result against the shot list. Check instruction accuracy, subject identity, motion quality, object permanence, background stability, camera behavior, and editability. A quieter shot that cuts cleanly into the sequence can be more valuable than a spectacular result that changes the character or contradicts the story.
Step 5: Add Voice, Music, Sound, and Editing
Sound turns disconnected visual experiments into a continuous experience. Viewers often forgive a small visual imperfection when the voice, ambience, music, and cuts feel intentional. They notice a technically beautiful image immediately when the audio is harsh, empty, mistimed, or inconsistent.
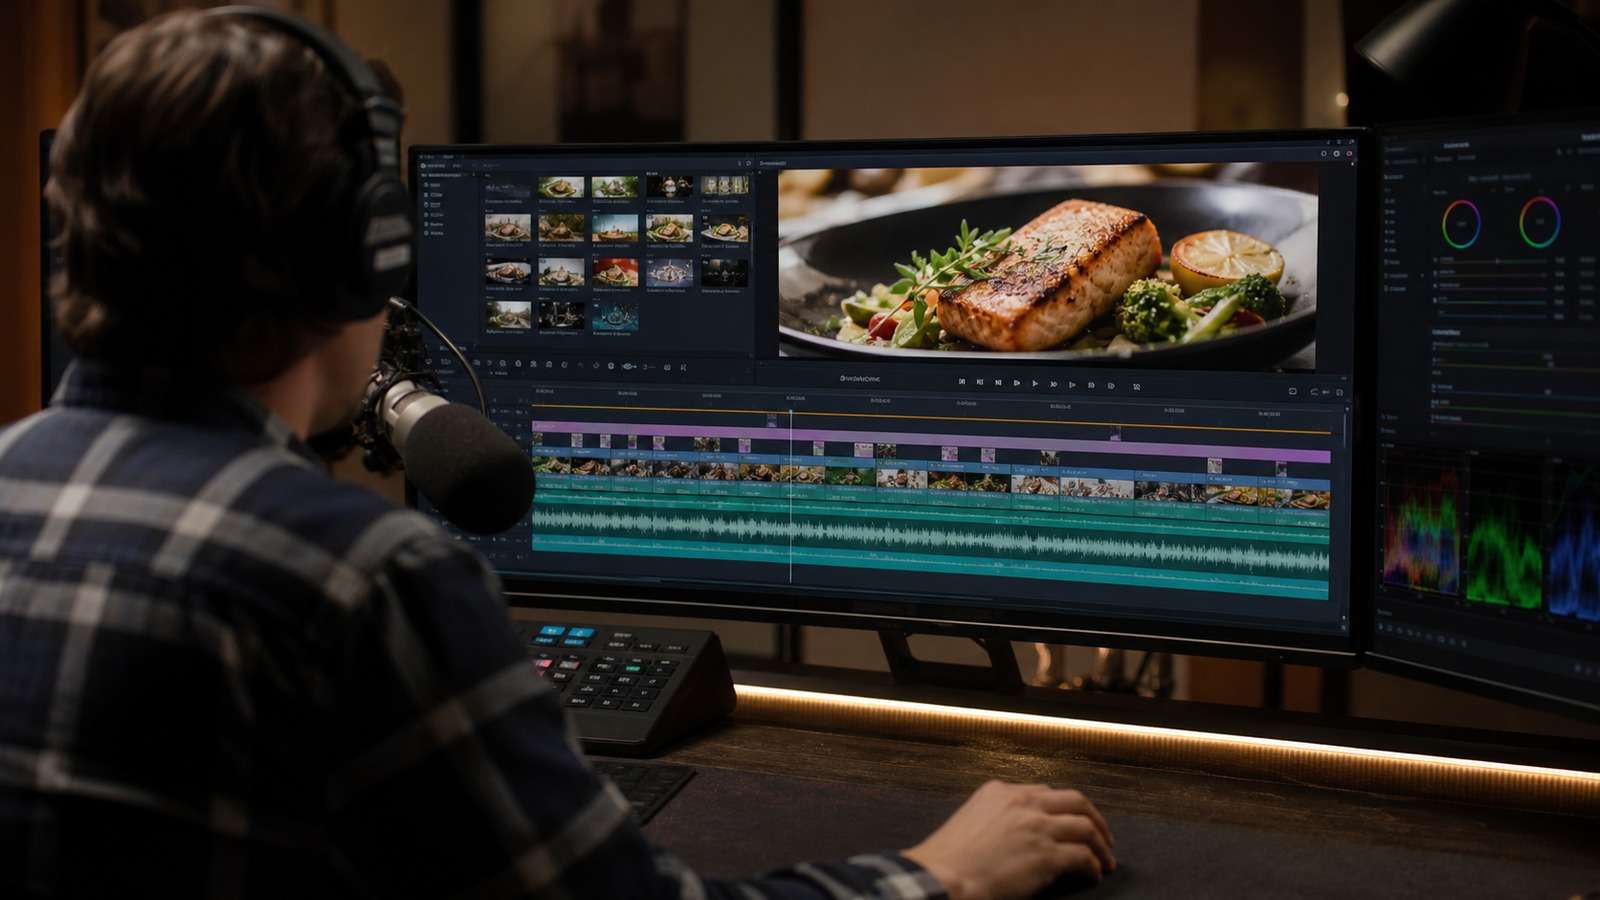
- Voice: record or generate the narration after the script is stable. Keep pronunciation and pacing consistent. A text-to-speech tool can create a temporary or final narration when appropriate.
- Ambience: add room tone, wind, traffic, crowd, nature, or machine sound to make each location believable.
- Effects: synchronize footsteps, object contact, doors, impacts, fabric, and other visible actions.
- Music: support the emotional arc without masking speech. Use changes in rhythm or intensity to reinforce transitions.
- Captions: add readable subtitles for silent viewing and accessibility. An automatic subtitle generator can provide the first timed draft, but names and specialist terms still need review.
Edit for meaning before polishing. First choose the strongest take for each beat and build a clear sequence. Then adjust timing, transitions, audio balance, color, speed, and captions. Remove shots that repeat information or exist only because they were expensive to generate.
Use sound bridges to hide the fact that clips came from separate generations. Let narration, ambience, or music continue across a cut. This creates continuity even when the camera angle, background detail, or lighting changes slightly.
Step 6: Fix Common AI Video Problems
| Problem | Likely cause | Best first fix |
| Character changes between shots | No locked reference or too many changing visual details | Reuse approved keyframes and a short character identity block; change only pose or camera |
| Hands or object contact deform | Complex interaction and ambiguous starting geometry | Simplify the action, use a clearer source frame, or hide the contact with framing and editing |
| Camera motion feels chaotic | Several camera instructions compete | Request one movement only: push-in, pan, tilt, orbit, tracking, or static |
| Scene invents new objects | Long duration or overloaded prompt | Shorten the shot and explicitly preserve the important subject and environment |
| Video feels like unrelated clips | No repeated visual motif or audio continuity | Match color, direction, framing, props, and sound across adjacent shots |
| Result is polished but boring | No visual change or narrative beat | Add a clear action, reveal, contrast, reaction, or camera motivation |
Editing around a limitation is often faster than regenerating indefinitely. Cut before a hand breaks, use a reaction shot to cover an interaction, add a close-up for product detail, or replace a complex action with two simpler shots. Traditional filmmaking language remains useful because it lets you solve problems across several images rather than forcing one generation to do everything.
Step 7: Export, Publish, and Improve the Next Version
Before export, watch the complete video without stopping. Check whether the opening communicates quickly, every shot advances the message, audio levels remain comfortable, captions are accurate, identities and products remain stable, and the ending feels intentional.
- Export a high-quality master before creating smaller platform versions.
- Reframe deliberately for 16:9, 9:16, or 1:1 rather than blindly cropping important subjects.
- Check the first frame, thumbnail, caption safe areas, and final CTA on the actual target platform.
- Record which prompts, source frames, model settings, and edit decisions produced usable shots.
- Verify commercial rights for generated outputs and every uploaded image, face, voice, track, logo, or trademark.
Your first AI video does not need a complicated pipeline. One clear idea, four to six planned shots, approved keyframes, simple motion, clean sound, and decisive editing are enough to create a coherent result. If you want to keep generation and basic finishing in the browser, you can start your first AI video with Media.io and apply the same shot-by-shot checks from this guide.
Frequently Asked Questions
-
How do you make an AI video from scratch?
Choose one clear format and audience, write a short script or shot list, create strong source frames, generate short clips, add voice and music, edit for continuity, then export and review the complete video. -
Is text-to-video or image-to-video better for beginners?
Text-to-video is faster for exploring ideas. Image-to-video is usually easier to control because the subject, composition, wardrobe, product, and lighting are approved before motion begins. -
How long should each AI-generated clip be?
Start with short shots of roughly three to eight seconds. Short clips make motion easier to direct, reduce continuity failures, and give the editor more control over pacing. -
What should an AI video prompt include?
Describe the subject, one main action, environment, framing, camera movement, lighting, visual style, and any important constraints. Avoid packing several unrelated actions into one prompt. -
How can I keep characters consistent across AI video scenes?
Create a character reference sheet, lock distinctive features and wardrobe, reuse approved keyframes, keep prompts stable, and change only one major variable at a time. -
Can I make AI videos without editing experience?
Yes, but basic trimming, shot ordering, audio balancing, captions, and aspect-ratio adjustment still make a large difference. A browser-based generator and editor can reduce the learning curve. -
Can AI-generated videos be used commercially?
Commercial use depends on the tool's current plan and terms plus the rights attached to uploaded images, faces, voices, music, trademarks, and other source material. Verify these conditions before publishing.


