
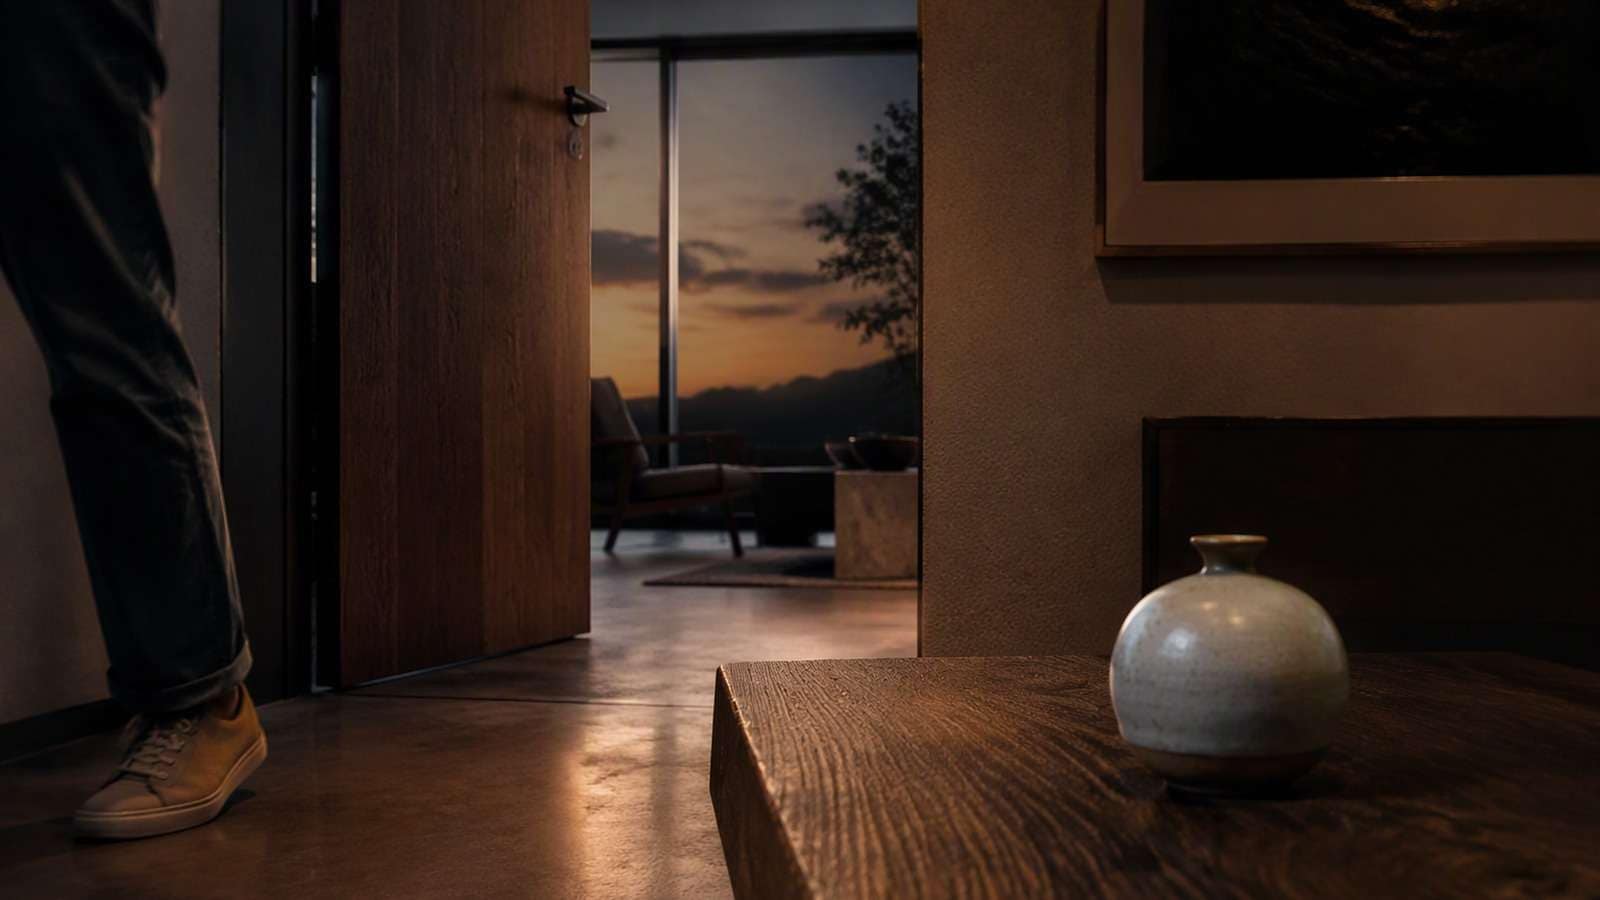
An AI video can look convincing yet feel incomplete without sound. Music sets a mood, but it may not explain a footstep, a closing door, or a change of location. Sound design for AI videos starts with a simpler question: what does the viewer need to hear to understand this scene?
This guide is for creators finishing short narrative clips, product sequences, and social videos. It follows an illustrative 45-second scene: a person walks through a room, opens a door, and places an object on a table. The timings are planning examples, not measured tool results or a universal mixing standard.
In this article
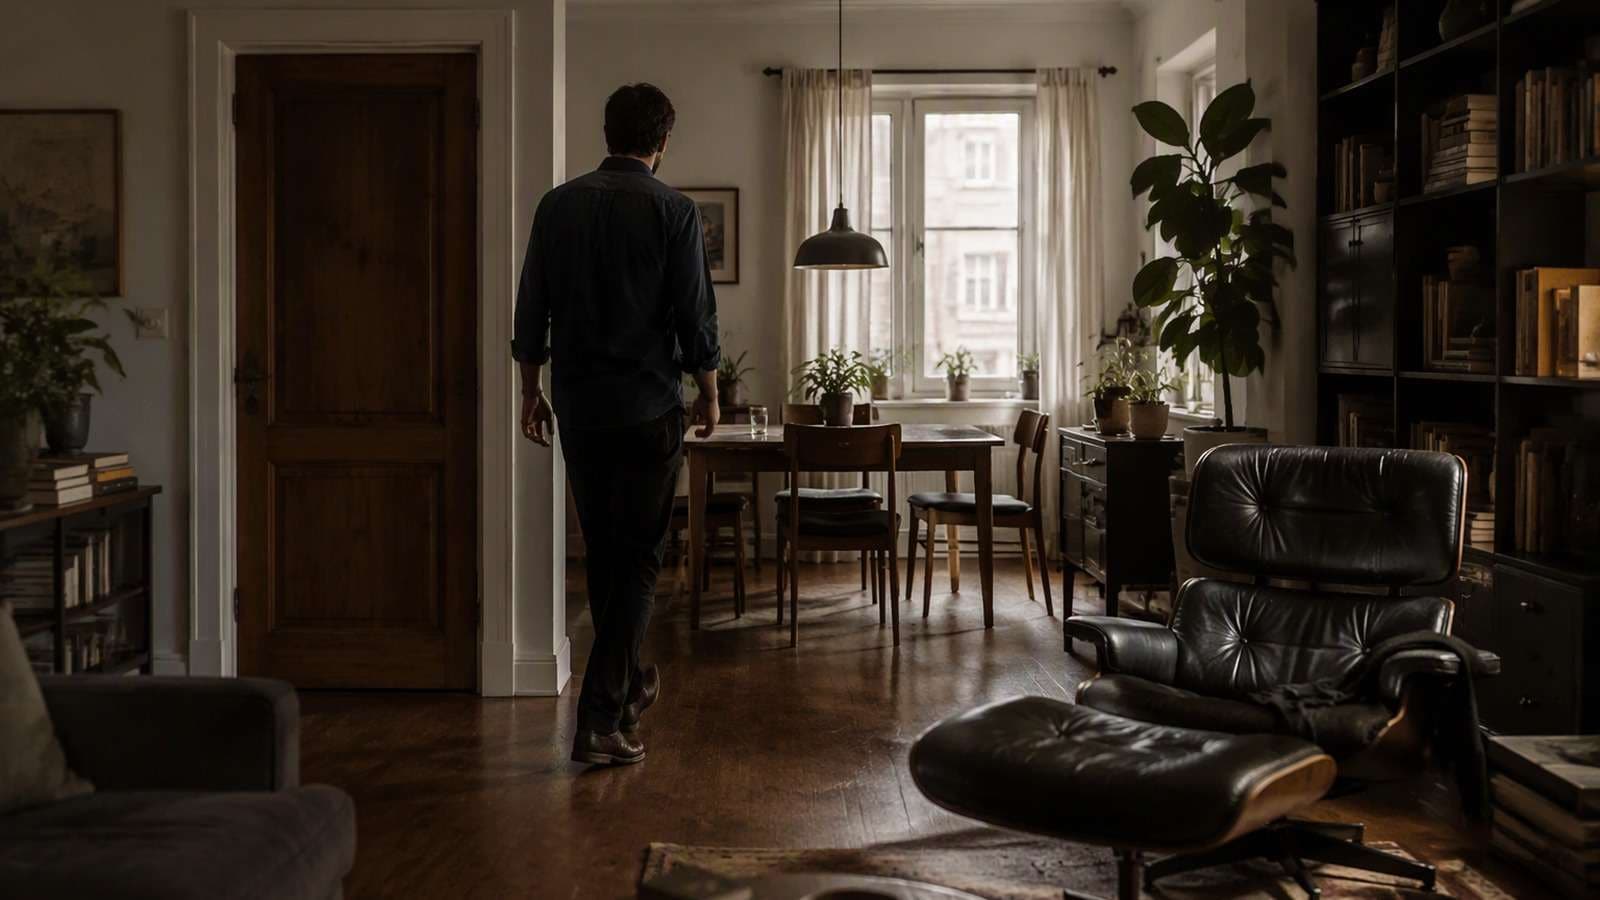
Plan Sound Design for AI Videos Before Choosing Effects
Choose a picture version that is stable enough for sound editing. A later trim changes the timing of every event after it, so keep the current version clearly named. You can explore a sound concept earlier, but do not pretend that detailed synchronization will remain intact while the picture continues to change.
Watch the sequence without music. Identify what the viewer should understand from each action and location. The room may need a subtle background, the door needs a readable contact event, and an object placed on the table needs a different texture. Some actions can remain quiet if that supports the scene; not every visible movement requires an emphasized effect.
Treat a generated effect as an audio asset, not a finished mix. Decide which visible event it should support, audition it against the picture, and place it deliberately. Creating the sound, aligning it, and balancing it with other layers are separate steps.
Describe the scene's sonic intention in one sentence. For this example: a quiet room, close and restrained action sounds, and a clear door transition. Use that sentence to choose between effects. Even a polished dramatic sound is the wrong choice if it turns a calm interaction into suspense.
Build a Spotting Sheet With Explicit Events
A spotting sheet links picture events to sound tasks. It should include the event, approximate time, desired sound, source status, and review note. Use the timecode convention of the actual sequence rather than mixing frame counts and decimal seconds without explanation. The example below uses approximate seconds only to illustrate the record.
| Example location | Picture event | Sound task | Review question |
| 0–45 seconds | Interior scene | Quiet room ambience | Does the space remain coherent? |
| Around 6 seconds | First visible step | Footfall with suitable surface | Does the contact feel aligned? |
| Around 18 seconds | Door begins moving | Handle and hinge detail | Does the sound follow the movement? |
| Around 29 seconds | Object touches table | Short contact sound | Do the weight and material feel plausible? |
| Final section | Scene resolves | Controlled sound tail | Does the ending feel intentional? |

Do not fill the table with a sound for every frame. List the events that establish space, clarify action, or support a transition. Give important sounds a purpose and leave space around them. An overloaded track can make a small room sound crowded even if each individual effect is technically clean.
Add source and permission fields to the working sheet. A generated file, a recorded effect, and a library effect should remain identifiable. You need this record when replacing a sound, updating the mix, or checking whether an asset is suitable for the intended distribution. Keep the source filenames rather than relying only on timeline clip names.
Separate the Three Basic Sound Layers
Organize dialogue, action sounds, and ambience separately. If the scene has no speech, leave the dialogue layer unused rather than filling it with unnecessary voiceover. Treat music as an additional layer with its own purpose. This organization makes it easier to adjust one part of the mix without disturbing everything else.
Dialogue or Narration
Speech carries words and performance. Review its clarity before layering other sounds around it. If a generated video contains unusable background audio, decide whether you are replacing that audio or preserving part of it. Do not accidentally mix a new voice with an unwanted old voice in the export.
Action and Foley
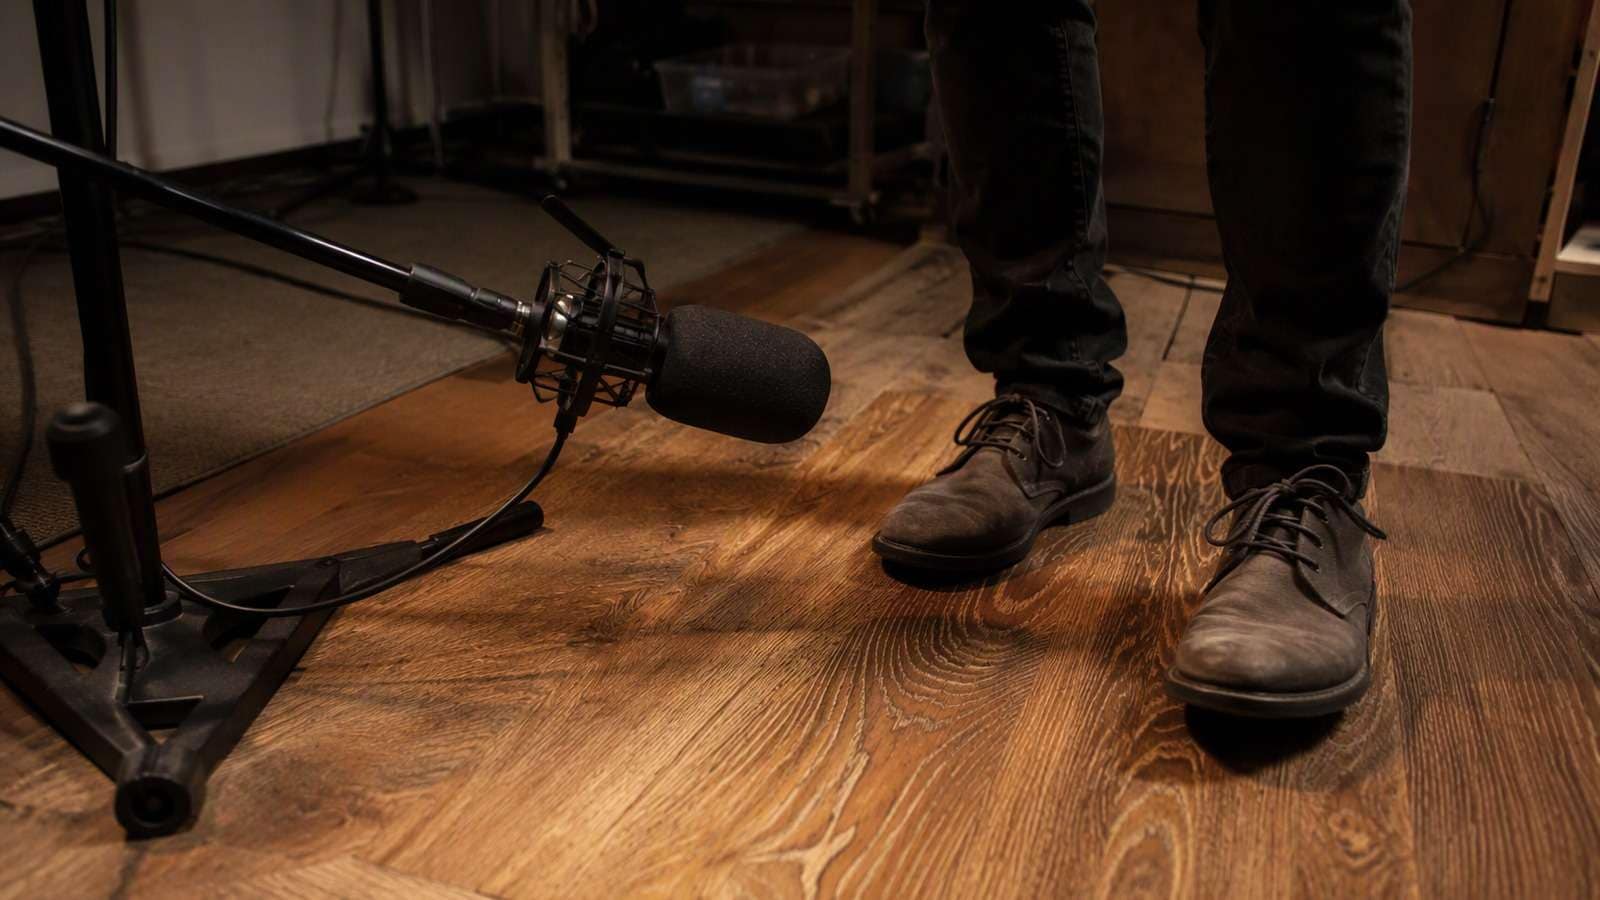
Action sounds include contact, clothing, steps, and object movement. Choose a sound that fits the visible material and weight: an oversized impact or drop sound can make a light object feel wrong. Foley should clarify the action, not make every movement louder or more dramatic.
Ambience
Use ambience sound effects to establish the space between actions. Check continuity across cuts so a room does not become acoustically different without an intended reason. A low-level background can support the scene, while an obvious loop or sudden stop may draw attention away from the picture.
Organize dialogue, action sounds, and ambience on separate tracks so their placement and levels can be reviewed independently. Name each clip by its event and version, and keep the source file available. This structure makes revisions easier to trace without requiring one particular audio application or generation interface.
Write Sound Briefs That Describe the Event
Describe the source, action, perspective, environment, and intended duration. For footstep sound effects, identify the surface and whether the listener is close to the action. For a door, distinguish the handle movement from the door body and the final closure. Splitting a complex action into components can give the editor more useful material.
Illustrative Sound Brief
A single restrained footstep on a wooden interior floor, heard close to the person, with a short natural room tail. No speech or music. The sound is intended as source material for a visible contact event; exact placement will be handled in the editing timeline.
Ask for manageable material, then audition the actual result. A file may contain unwanted speech, a long lead-in, an unsuitable reverb, or a second impact that was not requested. Inspect and listen before inserting it into the scene. The written brief describes the target, not proof that the generated file meets it.
Keep a few suitable alternatives for important actions, then compare their material, distance, and editing flexibility against the picture. Test the first useful sound before generating a large collection. A quick scene-level audition gives the next prompt a clearer direction.
Align Sound to the Visible Action
Align an action sound with the visible contact or movement that motivates it, then review the result at normal speed. The loudest part of the file may not be the right sync point. Find the contact or attack within the recording instead of aligning only its beginning.
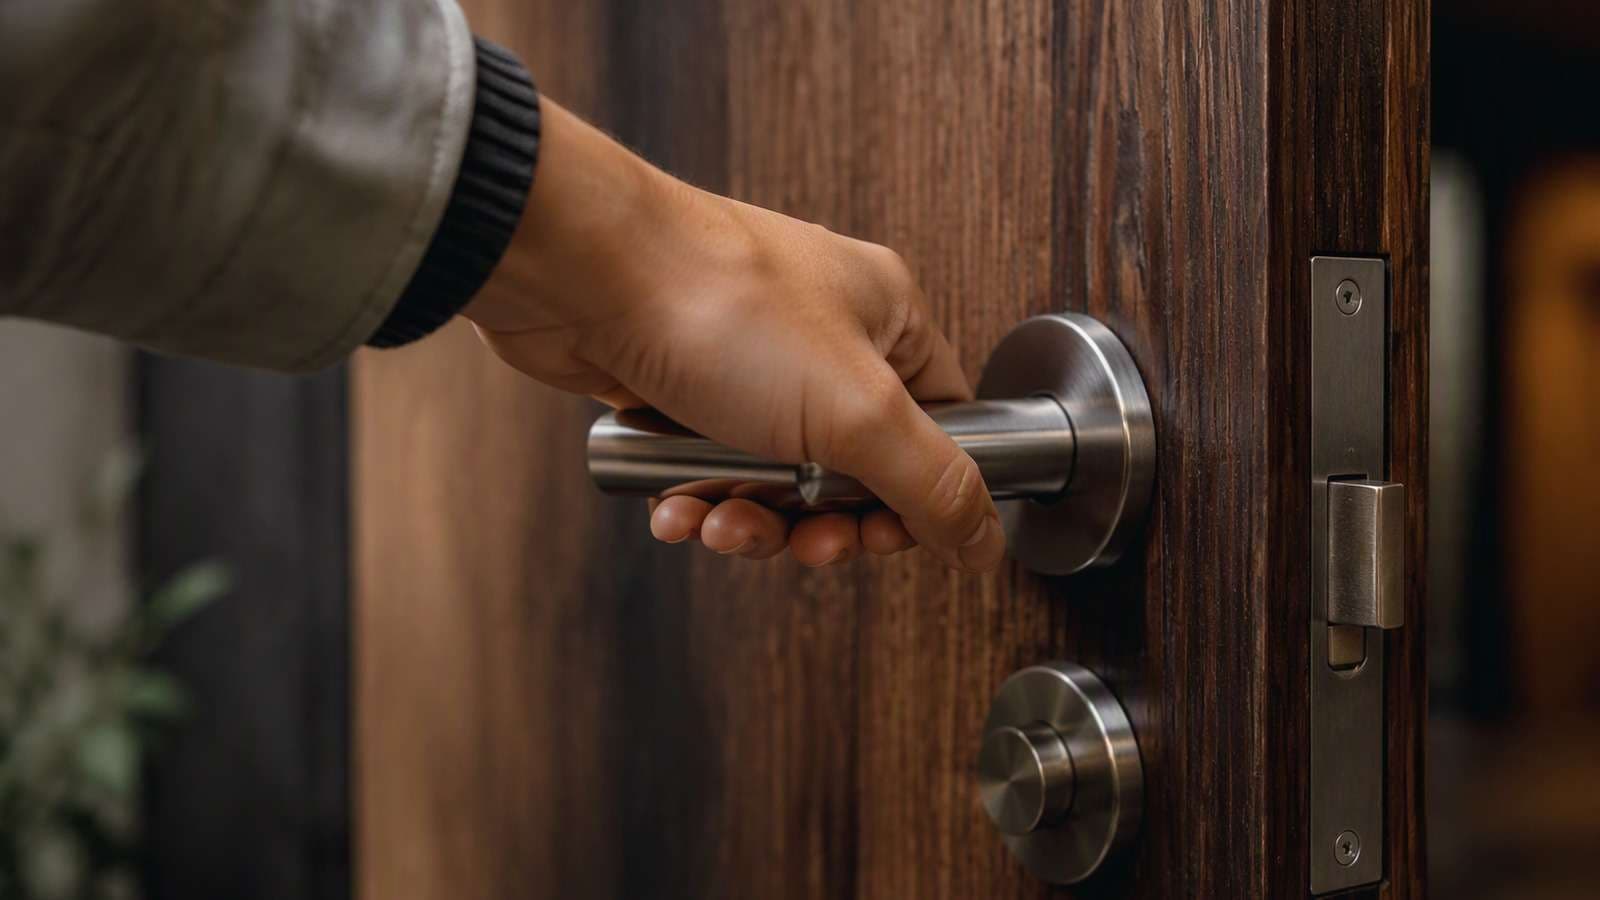
For the door sequence, audition creaky-door sound effects as separate handle, movement, and closure layers. Adjust each to the visible action, then listen to the combined event. Do not assume three individually good sounds will blend without editing. Overlapping tails or mismatched perspectives can make the door feel like several unrelated objects.
Use an appropriate fade to avoid abrupt clip edges, but do not blur a contact that should remain clear. A fade controls the transition at an edge; a level adjustment controls how the sound sits in the mix. Choose both by listening against the picture rather than applying one fixed length to every event.
For a transition between spaces, review the ambience before and after the cut. Decide whether the sound should change with the picture, continue briefly across it, or intentionally create a contrast. Keep that decision in the spotting sheet. A deliberate transition is easier to review than an unexplained background discontinuity.
Watch How Sound Layers Support an Edit
This embedded SternFX tutorial illustrates how generated effects, timing, and layering work together in an edit. Watch for the way individual sounds support visible events, then apply that approach to your own spotting sheet. It is an external technique demonstration, not a Media.io interface tutorial.
Mix for Clarity Rather Than Constant Loudness
Begin with the sound that carries the main information. When speech is present, make the words understandable before adding more action and music. Then introduce ambience and effects to support the scene. Listen to the full sequence rather than balancing every clip in isolation.
Not every layer needs to stand out. A quiet background can establish space, while a restrained contact makes an action readable without competing with speech. Judge the layers together: solo playback can hide the clutter you hear in the full mix.
Adjust levels over time when a voice, action, or transition needs space in the mix. Make the change intentional and listen through its entrance and exit. Confirm delivery loudness and peak requirements with the actual destination; an example workflow is not a universal broadcast or platform specification.
| Mix check | Listen for | Possible next action |
| Speech clarity | Words obscured by other layers | Reduce or reposition competing sounds |
| Action readability | Contact feels late or unclear | Adjust timing or choose another source |
| Space | Background changes unintentionally | Repair ambience transitions |
| Output | Distortion or an abrupt ending | Review levels and sound tails |
Compare Three Versions of the Same Scene
Create a simple comparison using the locked picture: music only, music plus selected action sounds, and the full designed mix. These are illustrative review versions, not a listener study. Compare whether each additional layer clarifies the action or merely makes the scene busier.
Keep the playback conditions similar. Listen on the device most relevant to delivery, then check another practical playback setup when possible. A sound that is obvious on headphones may be less clear on a phone speaker. Record the observation instead of inventing a universal listening score.
Ask a reviewer to describe what they understood about the scene before explaining the sound choices. If the object feels heavier than intended or the room seems to change, revise the relevant layer. Feedback tied to picture meaning is more useful than a general request to make the audio more professional.
Deliver a Documented Final Mix
Export the picture and sound together and watch the resulting file from beginning to end. Check the start, the contact events, the room transition, and the final tail. Keep the approved picture version, source sounds, spotting sheet, and final mix version in the handoff so a later edit can be traced.
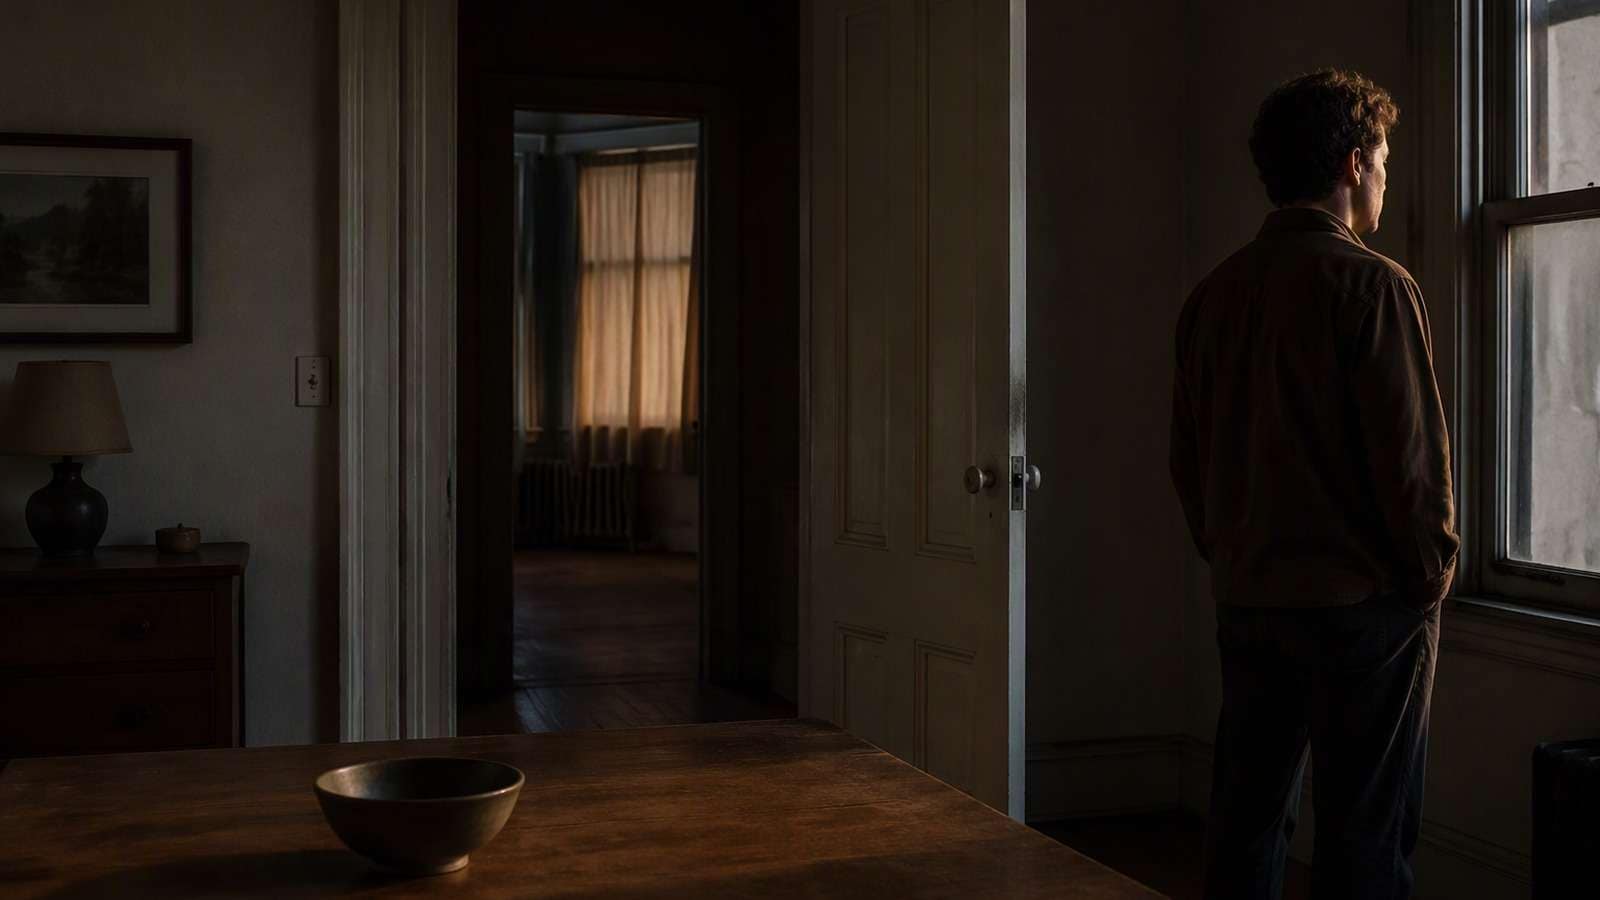
Sound design for AI videos is a finishing workflow, not a single generation request. Start from a locked scene, choose sounds for a clear purpose, and edit them around the visible actions. Use generated source material where it helps, then retain responsibility for synchronization, balance, transitions, and the actual delivered file.
Need a starting point for footsteps, clothing, or object movement? Explore Media.io foley sound effects, then choose and align each sound using your spotting sheet.
Frequently Asked Questions
Can a Sound Generator Automatically Finish My Video Mix?
Do not assume so. Sound generation produces source material, while a finished mix also requires spotting, timing, transitions, level decisions, and export review. Check the specific tool's supported workflow. Even when a feature automates part of that process, inspect the result against the locked picture and intended delivery.Do I Need Sound for Every Visible Movement?
No. Choose sounds that establish space, clarify important actions, or support the story. A quiet movement can remain quiet. Adding an effect to every event may crowd the scene and compete with speech or music. Use the spotting sheet to decide what matters before building the timeline.Why Does a Synchronized Effect Still Feel Wrong?
Timing is only one part of the match. The material, weight, distance, and environment may differ from the visible action. Listen to the source and compare its perspective with the picture. A different sound, a simpler layer, or a revised ambience may solve the problem better than moving the same effect again.What Should I Keep After Delivery?
Keep the approved picture, source sounds, permission records, spotting sheet, editing session, and final export version. These records explain what was used and where it belongs. If the picture or dialogue later changes, you can identify which sound events need revision rather than reconstructing the mix from an exported file.


