
Start with the motion, not the prompt. First and last frame control is easiest to understand when you can see a model travel between two approved visual states instead of inventing an ending on its own.
Creator Adrian Rohnfelder's Kling start-and-end-frame demo shows the core idea in motion: the opening image establishes identity and composition, the ending image sets a destination, and the generation has to build a believable path between them. Watch the example first, then use the workflow below to design endpoint pairs that do not fight each other.
In this article
- What First and Last Frame Control Actually Does
- Build Two Frames That Belong to the Same Shot
- Write the Prompt as a Motion Path, Not a Second Image Description
- Choose a Transition the Model Can Finish in the Available Time
- Use First and Last Frames for Product Reveals and Controlled Transformations
- Make Loops by Designing the End Before You Generate
- Know When First and Last Frames Are the Wrong Control Method
- Fix Common Start and End Frame Failures
- A Practical Media.io Workflow for Turning Approved Frames Into Video
- Final QA Checklist Before You Export
- FAQs About First and Last Frame AI Video
What First and Last Frame Control Actually Does
First and last frame control is not the same as uploading two random images and asking AI to blend them. The model needs to infer a believable temporal path between two fixed visual states. That path can include subject motion, camera movement, environmental changes, or a combination of all three.
A strong start frame defines identity, composition, lighting, and the initial state of the scene. A strong end frame defines the destination. If the two images are compatible, the generator can spend more of its capacity on motion and transition quality. If the images conflict too much, the model may distort the subject, invent extra objects, or rush the transition in the final seconds.
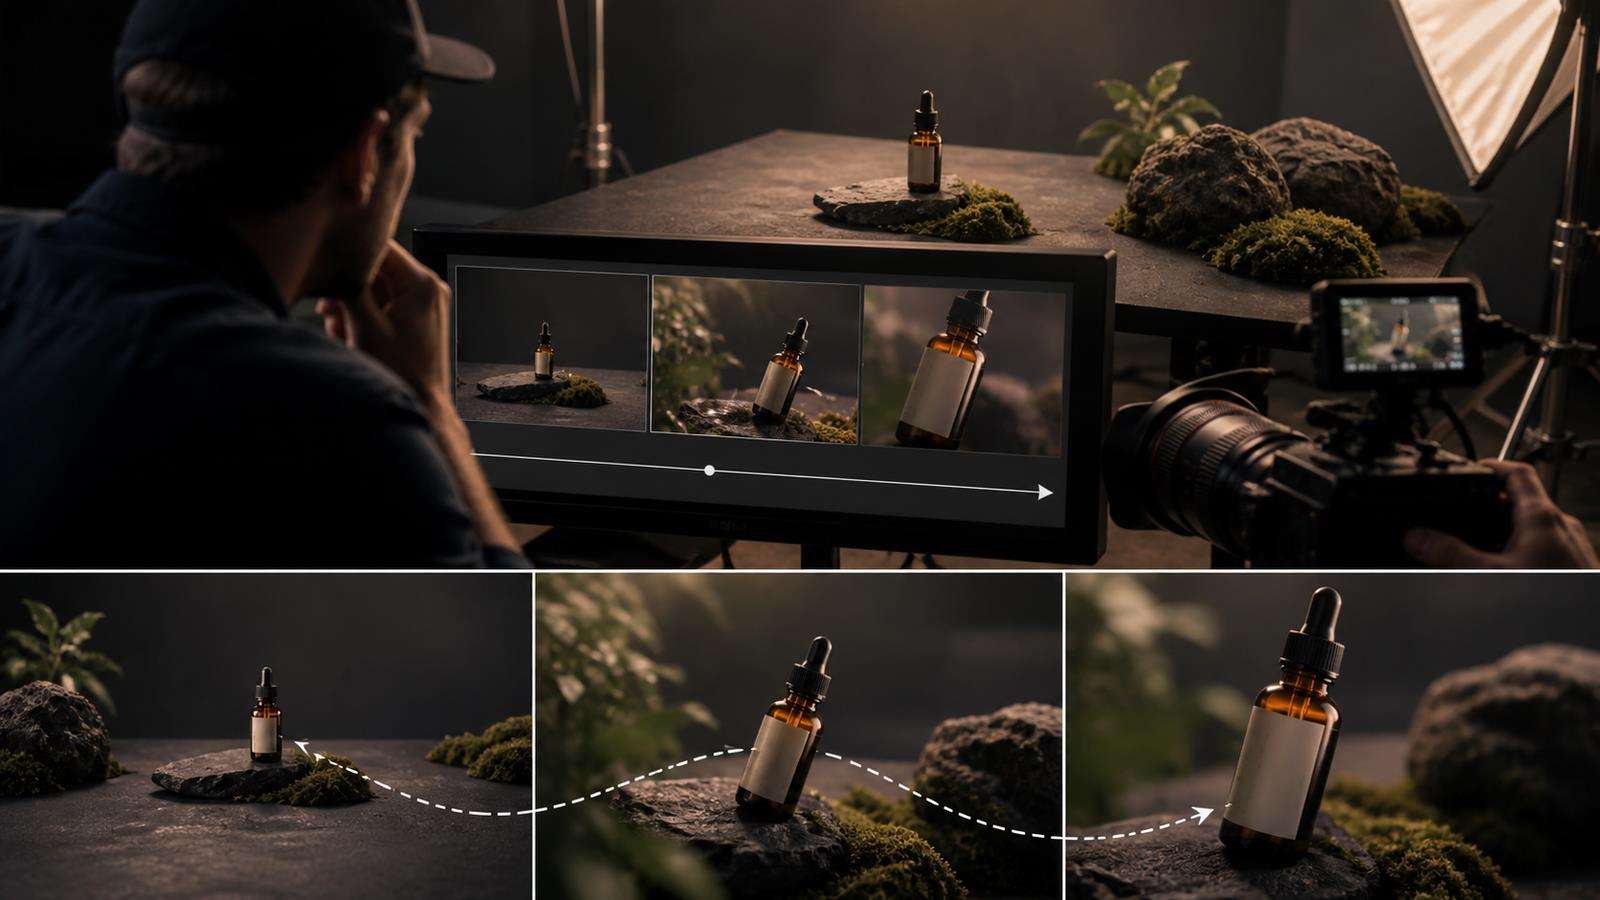
For example, imagine a product video for wireless earbuds. The start frame shows the closed case on a stone desk. The end frame shows the same case open with both earbuds floating slightly above it. The prompt can describe a slow camera push-in while the case opens and the earbuds rise. Because both endpoints already show the product geometry, the prompt does not need to redefine the product at every moment.
This differs from a standard image to video workflow, where a single image strongly defines the opening but the model has more freedom to decide where the shot ends.
Build Two Frames That Belong to the Same Shot
The most important preparation step is not writing the prompt. It is making sure the first and last frames look like two moments from one continuous shot.
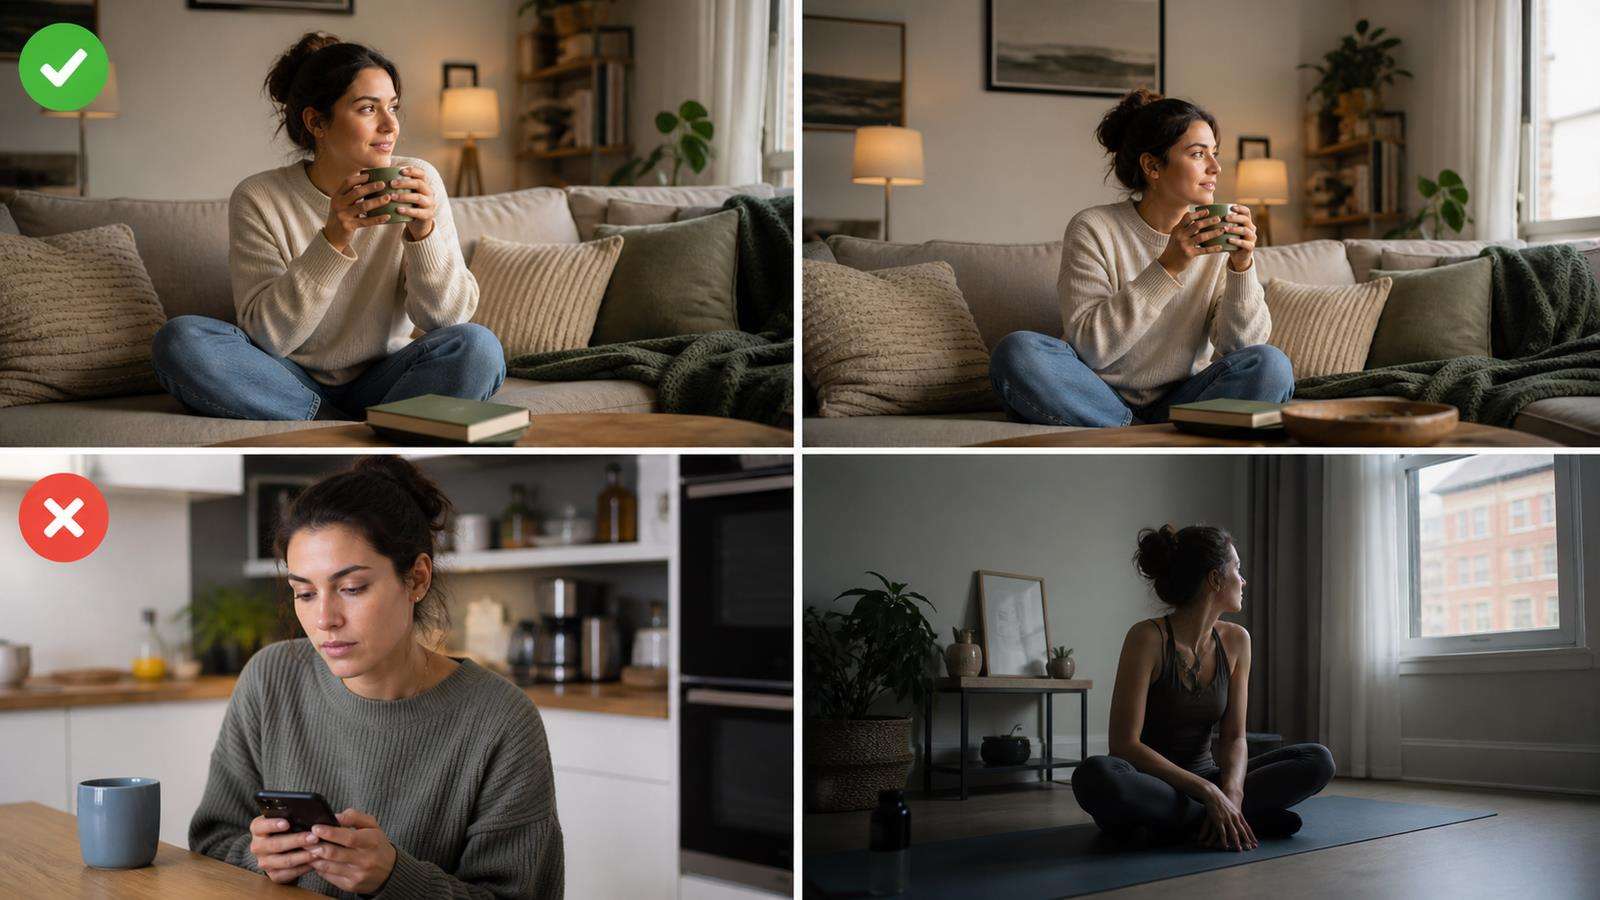
Keep the same subject identity. A person should have the same face, hair, clothing, and body proportions. A product should keep the same logo, label layout, material, shape, and color. A room should preserve major architectural features. Small differences are fine when they are part of the planned transformation, but unrelated differences create unnecessary ambiguity.
Keep the camera logic compatible too. A start frame shot from eye level and a last frame shot from an extreme overhead angle asks the model to solve a major camera move, subject reorientation, and scene reconstruction at the same time. That can work in a long enough shot, but it is much harder than moving from a medium shot to a slightly tighter medium close-up.
Lighting should also change for a reason. If the first image is warm daylight and the last image is a dark neon night scene, describe the transition explicitly. Otherwise, use similar exposure, direction, and color temperature so the model can focus on motion rather than relighting every surface.
Write the Prompt as a Motion Path, Not a Second Image Description
Once the endpoints are clear, the prompt should explain what happens between them. Do not spend most of the prompt repeating details that the images already show. Use the text to describe motion, timing, camera behavior, and cause and effect.
A useful structure is:
- Identify the subject and starting action.
- Describe the physical motion in visible order.
- Describe the camera movement separately.
- State what changes and what must remain stable.
- End with the intended final state.
For the earbuds example, a focused prompt could say: "The camera slowly pushes toward the case. The lid opens smoothly. Both earbuds rise vertically with a subtle premium product rotation. Keep the case shape, logo, materials, desk surface, and lighting unchanged. End exactly on the supplied open-case frame."
That is more useful than adding long lists of cinematic adjectives. The model already has the visual references. The text should tell it how the shot travels from A to B.
When camera motion is the main goal, you can also study AI camera movement techniques. A push-in, orbit, pan, or tracking move should have a clear reason in the shot rather than being stacked into the prompt as decoration.
Choose a Transition the Model Can Finish in the Available Time
One of the most common first and last frame failures is asking for too much change inside a short clip. If the subject must walk across a room, change clothes, pick up a product, turn toward camera, and end in a different location, the generator has to compress several actions into a few seconds. The result may look rushed or physically impossible.
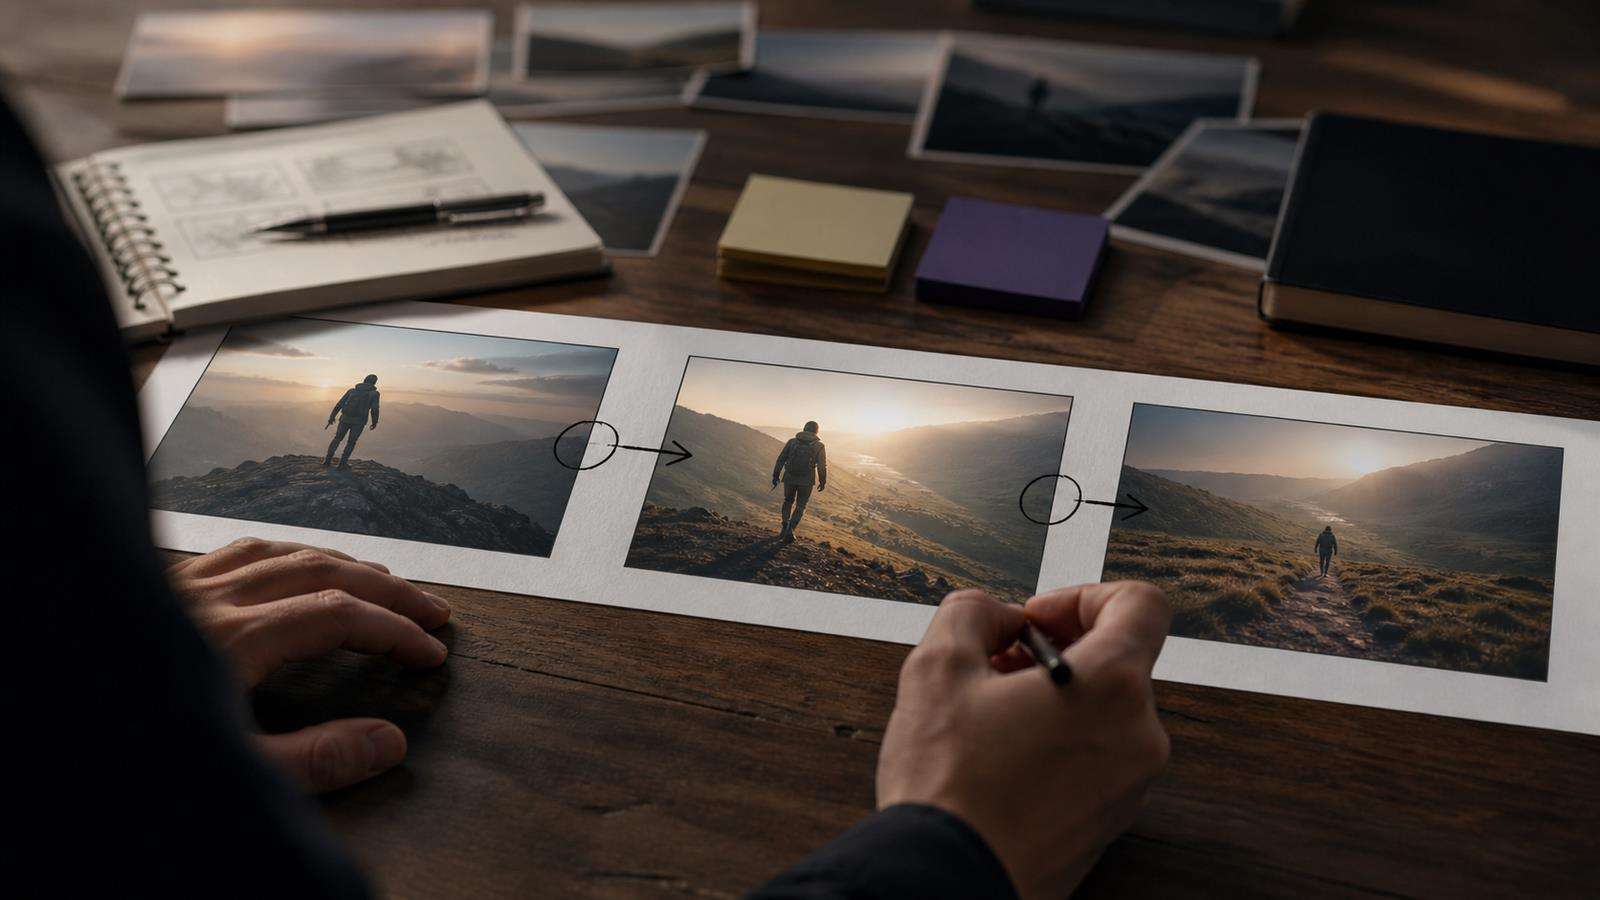
Plan one dominant change per shot. A short product clip might use one reveal. A portrait might use one pose change. A location transition might use one camera move plus one environmental transformation. More complex stories are usually better as several clips connected through shared endpoints.
This is where endpoint control can help with longer sequences. Generate clip one, export its final frame, use that image as the next clip's first frame, then define a new last frame for clip two. The approach complements broader AI video consistency techniques because each clip begins from an approved visual state instead of starting over from text.
Use First and Last Frames for Product Reveals and Controlled Transformations
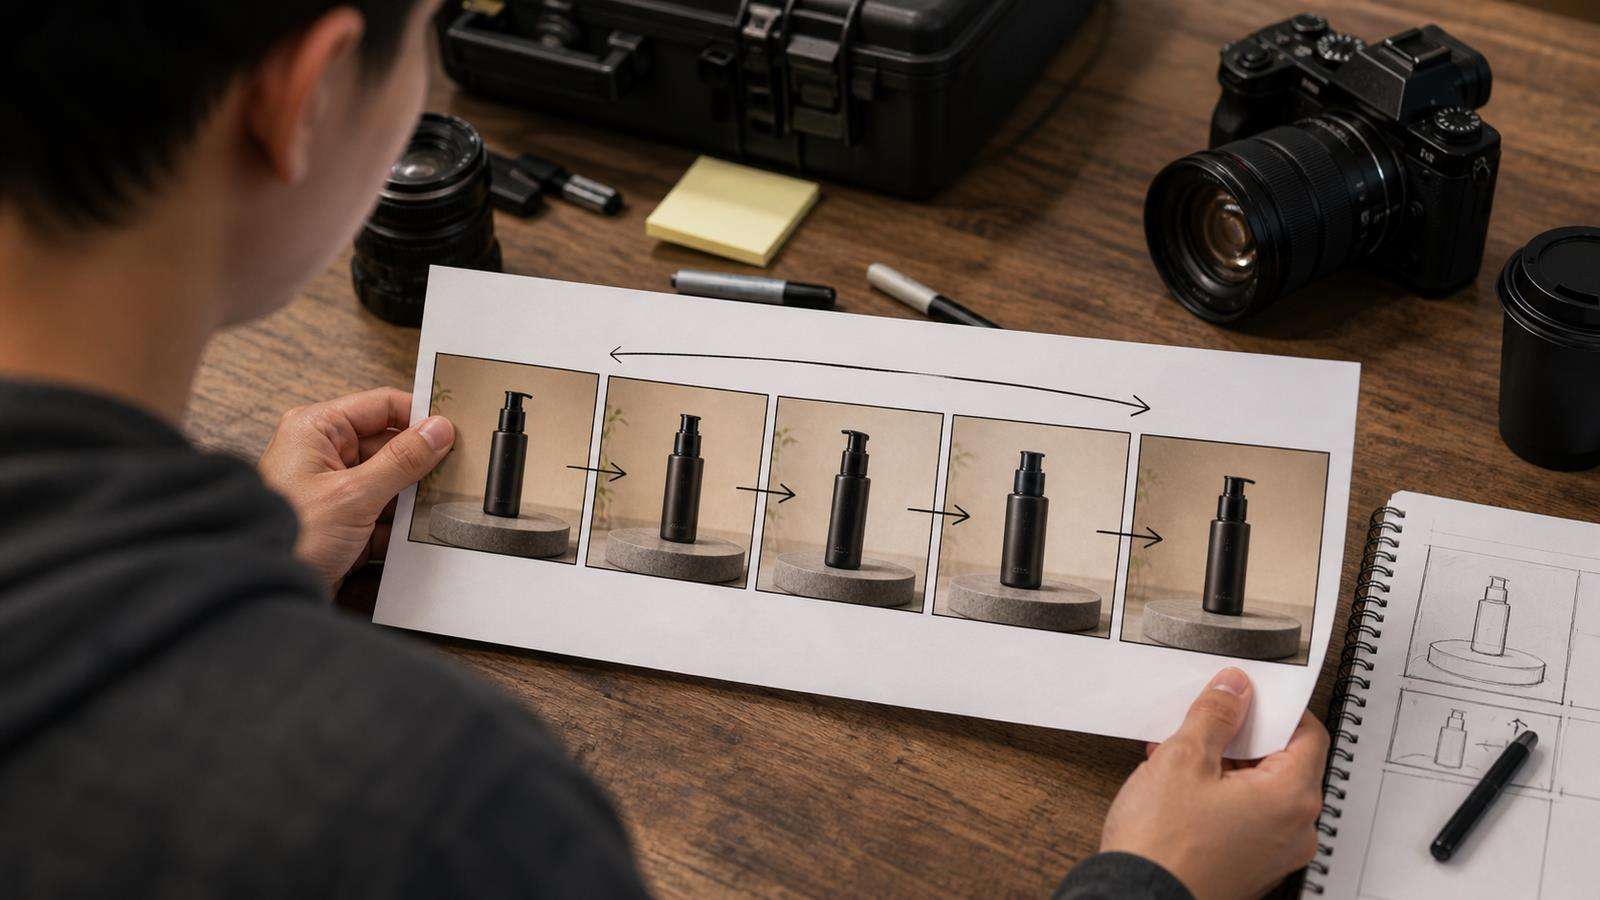
Product work is one of the strongest uses because small identity changes are easy for viewers to notice. Start with a clean product state and end with a clearly designed destination. Examples include a closed package opening, a shoe rotating to a hero angle, a cosmetic bottle moving from a flat lay into a hand, or a device screen changing from idle to active.
For a transformation, make sure the change has a readable visual path. If a casual outfit becomes a formal suit, keep the person's pose, camera angle, and background reasonably stable so the clothing transformation is the main variable. If a room changes from empty to furnished, maintain the room geometry while furniture appears in a controlled sequence.
You can also use first and last frames for transitions between stills. Media.io has dedicated AI transition workflows that can be useful when the goal is to turn two visual states into a more polished transition rather than create a long narrative shot.
Make Loops by Designing the End Before You Generate
A seamless loop is easier when the end state is planned before generation. If you want the final frame to reconnect naturally to the opening, build the first and last images with matching subject position, camera framing, brightness, and motion direction.
A simple loop can start and end on nearly the same composition while the middle contains the action. For example, a coffee cup can begin on a table, rise into a hand, rotate during a short product moment, and return to the same table position. Another option is a continuous camera move where the last frame visually matches a new first frame after a cut.
Do not expect an endpoint pair alone to guarantee a perfect loop. Check the last few frames for motion velocity and lighting continuity. A visual match can still feel like a jump if the object stops abruptly before the cut. In an editor, trim the transition point or use AI video frame interpolation when a small timing or motion gap needs smoothing.
Know When First and Last Frames Are the Wrong Control Method
Endpoint control is powerful, but it is not always the best tool. Use one starting image when you care about identity and opening composition but want the model to explore the ending. Use a motion reference when you specifically need the camera or body movement from an existing clip. Use composition reference when layout and depth are the main constraints.

A practical rule is to constrain the uncertainty that matters most. If the ending must show a specific product angle, use a last frame. If the ending is flexible but the camera must copy a complex orbit, prioritize a motion reference instead.
Fix Common Start and End Frame Failures
The subject morphs halfway through
Check whether the first and last images truly show the same identity. Differences in face, product geometry, clothing, or logo placement can force the model to blend incompatible forms. Use cleaner references and reduce the number of other scene changes.
The movement looks too fast
The visual distance between the endpoints is probably too large for the available duration. Bring the frames closer together, simplify the action, or split the idea into two clips.
The last frame appears only at the final instant
Describe the approach to the endpoint, not just the endpoint itself. If the final pose matters, ask the subject to settle into the supplied pose before the end so the final state has time to read.
The camera makes a strange jump
Compare horizon line, focal distance, and camera angle in both images. A dramatic mismatch can create an unnatural final correction. Build a more compatible last frame or explicitly describe the camera move that connects them.
Text and logos distort during motion
Treat small text as fragile. Keep branded surfaces large enough to remain readable, reduce extreme rotation, and avoid long occlusions. For commercial footage, inspect the product frame by frame at full size rather than judging only the overall motion.
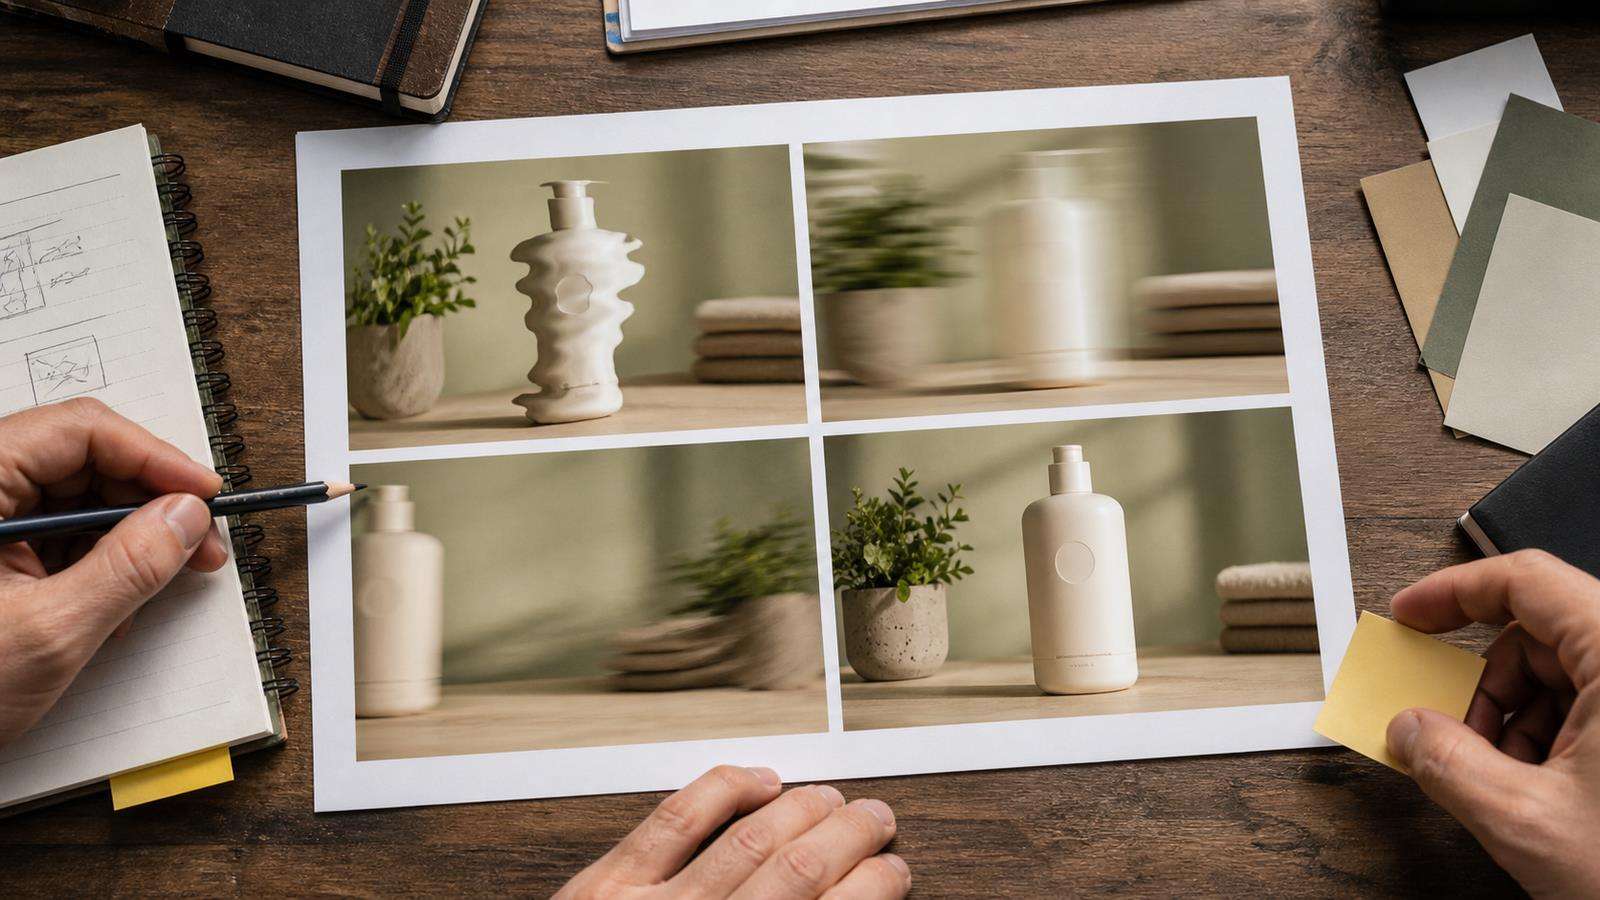
A Practical Media.io Workflow for Turning Approved Frames Into Video
If your first and last frames are already prepared, use Media.io as the creation and finishing layer around the generation process. Start in Media.io Video AI when you want to animate an approved still or test a model-driven image-to-video workflow. Keep your source frames at the same aspect ratio and export them at a useful resolution so the generator is not forced to infer missing crop areas.
After generation, review the clip for identity stability, endpoint accuracy, motion speed, and any object that changes unexpectedly. If a short clip is strong but needs to connect to another generation, capture its final approved frame and use that as the next visual anchor. This gives you a repeatable frame-to-frame production process instead of hoping one long prompt will solve the whole sequence.
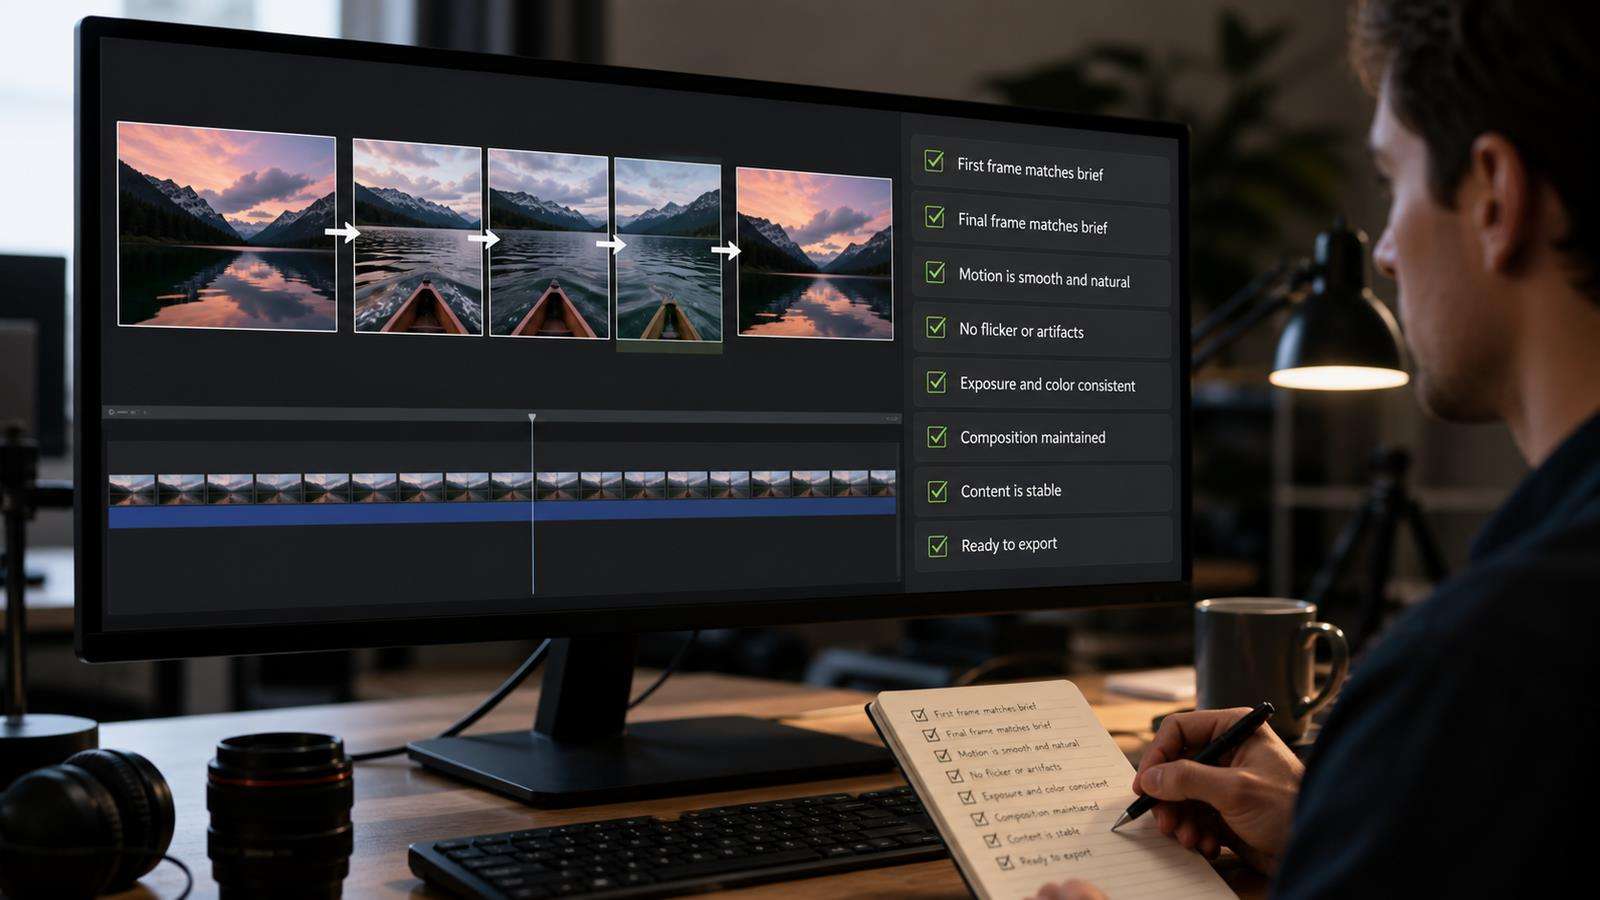
Final QA Checklist Before You Export
Use the following checklist at full resolution, not only in a small preview:
- The first generated frame matches the intended starting composition.
- The subject or product keeps the same identity through the clip.
- The main action has enough time to complete naturally.
- Camera motion has one clear direction and no unexplained correction.
- The final state becomes readable before the clip ends.
- Logos, labels, hands, faces, and straight edges remain stable.
- Lighting changes only when the story requires it.
- The final frame can serve as a clean anchor if another clip follows.
A good first and last frame AI video does not feel like a slideshow between two images. It feels like one continuous shot whose beginning and ending were deliberately art-directed. The more compatible the anchors are, the less the model has to invent and the more attention you can give to motion, pacing, and storytelling.
FAQs About First and Last Frame AI Video
-
What is a first and last frame AI video generator?
It is an AI video workflow that uses one image to define the beginning of a clip and another image to define the ending. The model generates the motion and visual transition between those fixed or strongly guided states.
-
Are first and last frames the same as keyframes in normal video editing?
They are similar as visual anchors, but the AI is generating the in-between content rather than simply interpolating ordinary transform values. The model still decides how people, objects, lighting, and camera motion evolve between the images.
-
Can I use two completely different images?
You can, but the more incompatible the subject, camera, lighting, and scene geometry are, the harder the transition becomes. For predictable results, design both images as moments from the same shot or as a clearly planned transformation.
-
Is first and last frame control good for product videos?
Yes. It is especially useful when the product must begin and end in approved states, such as a closed and open package, a flat lay and a hero angle, or a static product and a final reveal.
-
How do I keep a character consistent between clips?
Reuse approved frames as anchors, keep identity references consistent, limit unnecessary wardrobe or lighting changes, and review each generated clip before using its final frame as the starting point for the next one. For longer sequences, combine endpoint control with broader character consistency methods.
-
What should I do if the ending is correct but the middle looks wrong?
Reduce the amount of motion, shorten the visual distance between the anchors, make the prompt describe the physical path more clearly, or split the idea into multiple clips. Endpoint accuracy does not guarantee that every intermediate motion choice will be natural.


