
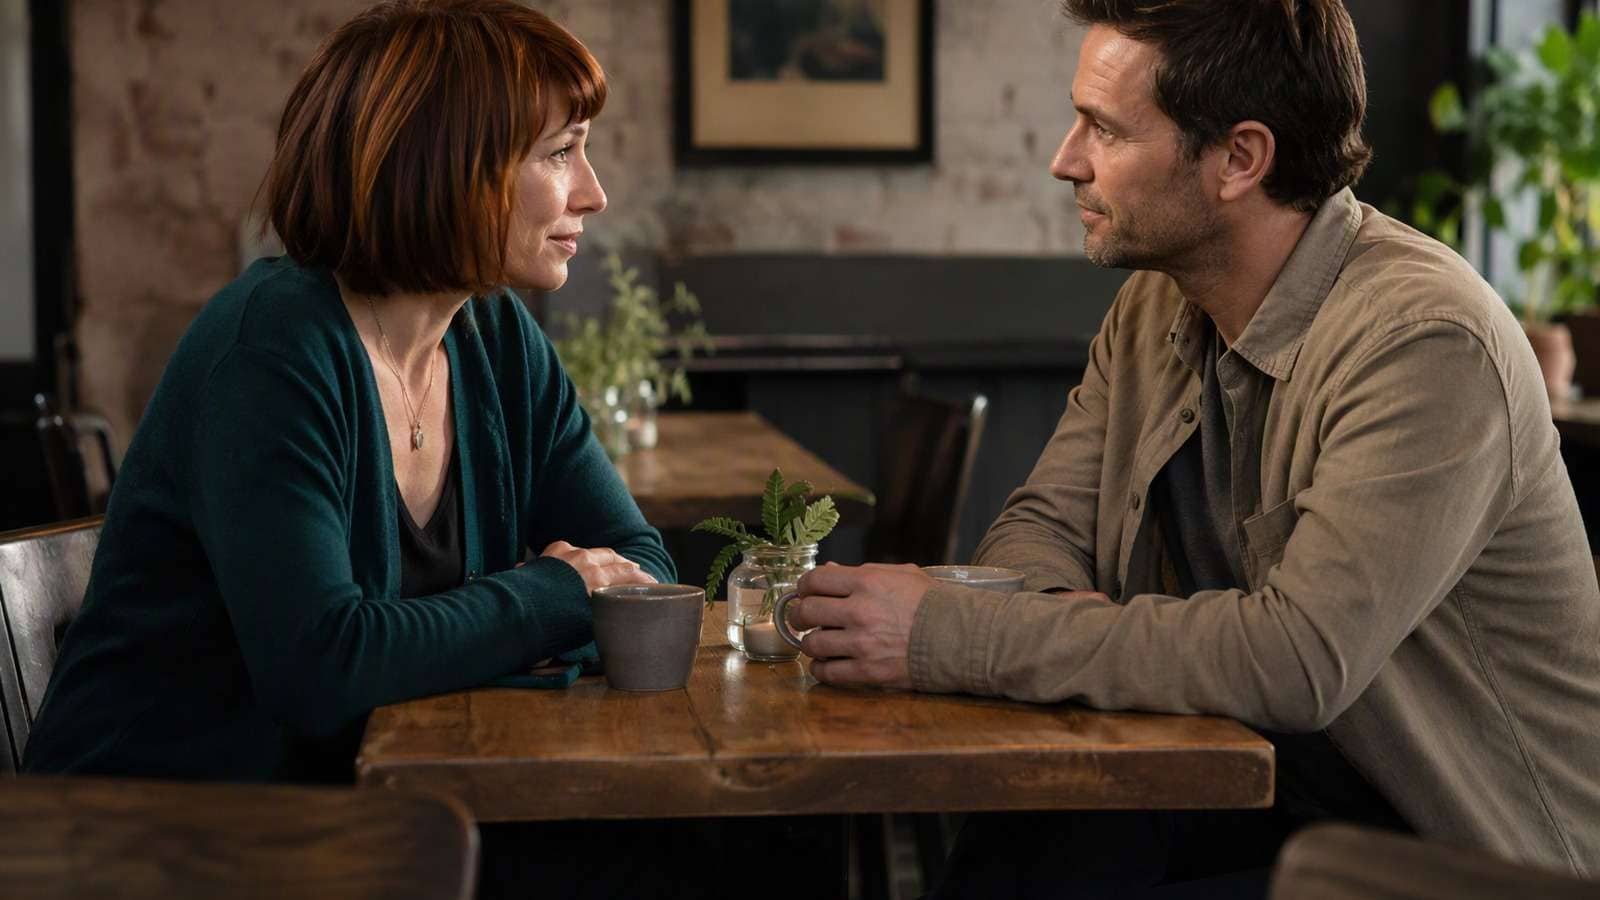
A two-character AI dialogue scene can fail even when both faces look realistic. The wrong person speaks, a listener moves their mouth, or a reverse shot makes the characters appear to switch seats. These are different problems, and they need different checks. Asking for a more cinematic result does not tell you which problem to repair.
This guide is for creators making short narrative scenes, explainers, and character-led videos. It uses a fictional conversation between Mara and Eli across four shots. The scene is an illustrative production plan, not an end-to-end test of a particular model. The goal is to make the relationship between character, voice, and camera explicit before generating the final sequence.
In this article
Start With a Speaker Map, Not a Visual Prompt
Write the dialogue as a short exchange and assign every line to one character. Include the listener's intended reaction where it affects the scene. This is especially important when the response is silent: the listener may glance away or hesitate, but should not look as though they are speaking the other person's line.
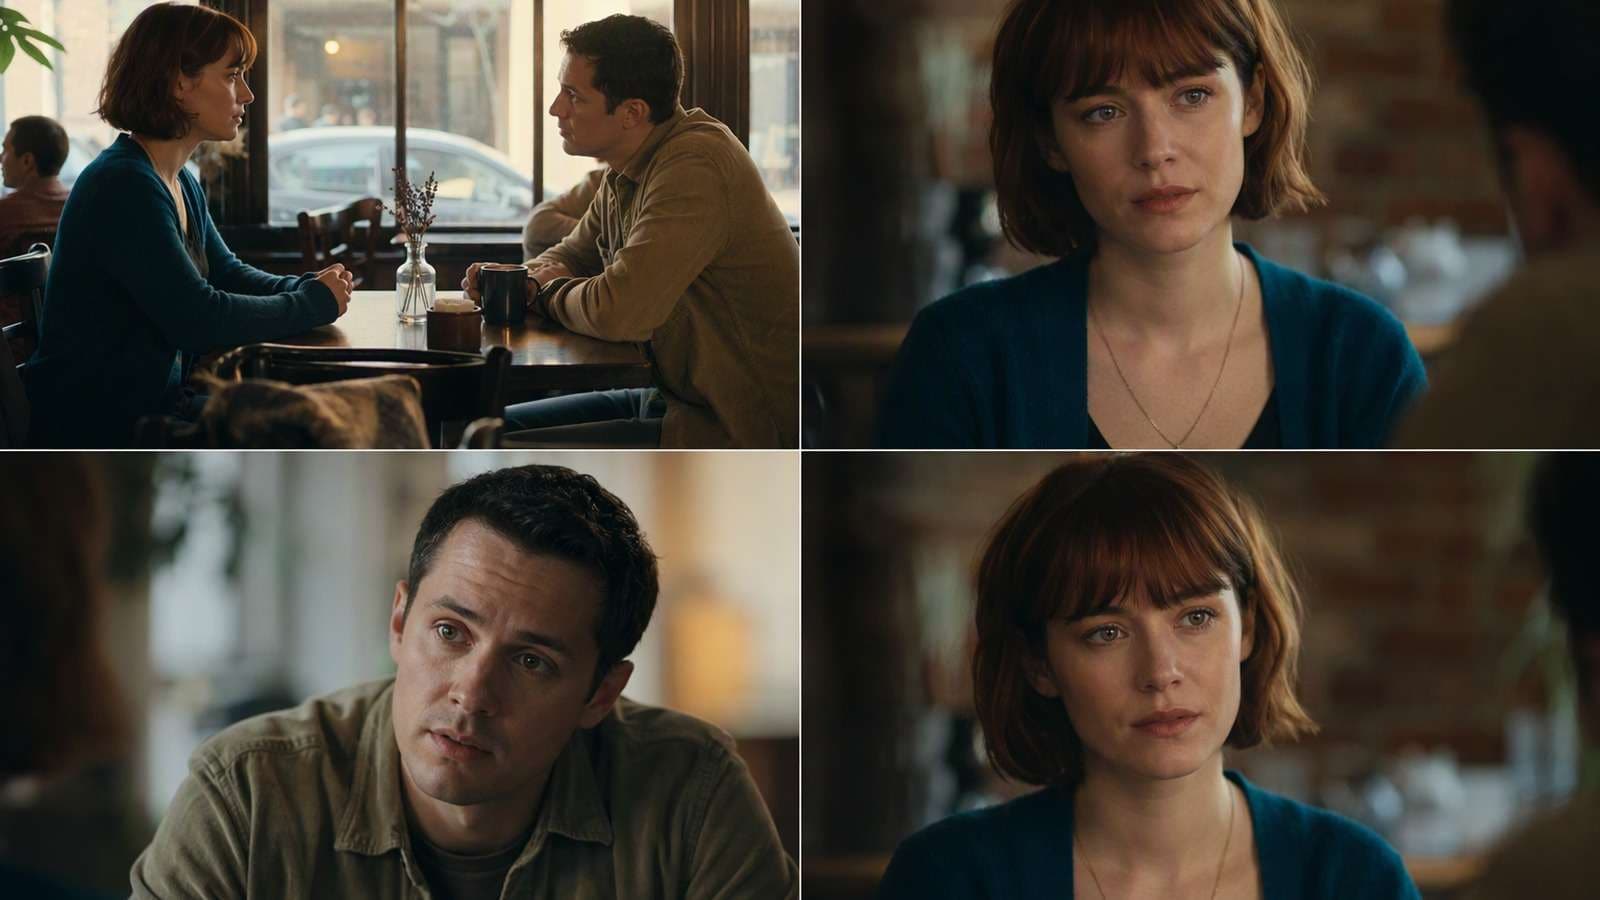
In the example, Mara asks whether a package has arrived and Eli replies that it is still outside. The simple exchange lets you test speaker assignment and spatial continuity before attempting interruptions, overlapping speech, or elaborate camera movement.
| Shot | Picture | Active speaker | Listener task |
| 01 | Two-shot establishing the room | Mara | Eli listens without speech |
| 02 | Mara close-up | Mara | Eli is outside the main framing |
| 03 | Eli reverse close-up | Eli | Mara is outside the main framing |
| 04 | Mara reaction | None | Mara reacts silently |
Give the audio tracks explicit names such as mara-line-01 and eli-line-01. Do not use an unlabeled mixed track as your only production record. A speaker map lets an editor identify a mismatch quickly, while a general instruction to make the conversation natural can hide the problem until the scene is assembled.
Lock the Characters and the Room Geography
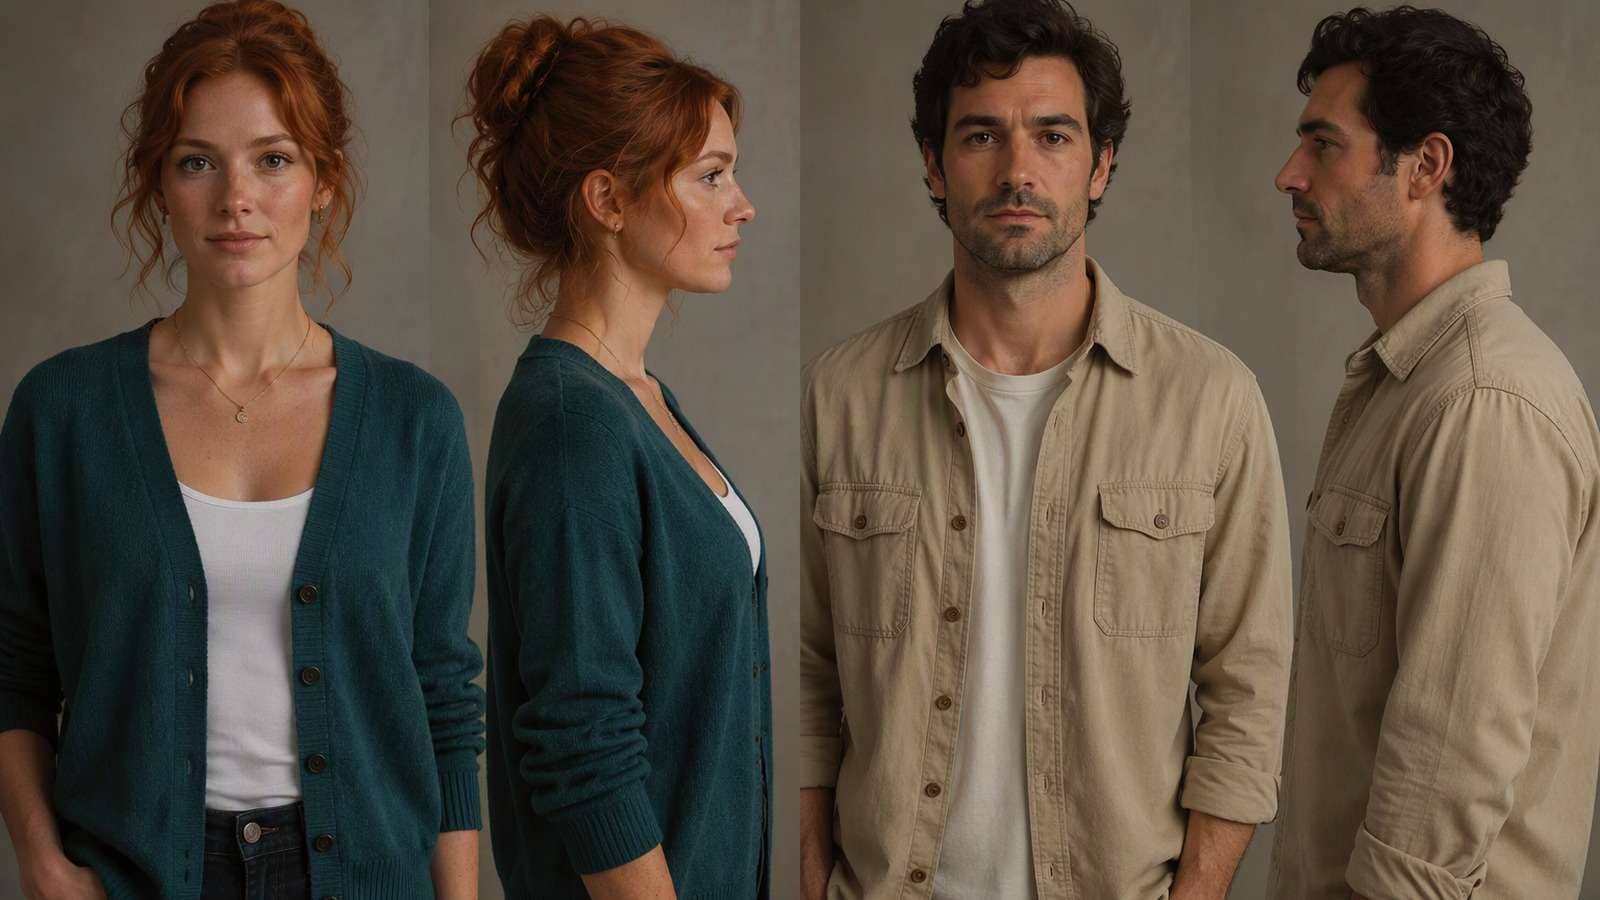
Create a reference pack for both characters before changing shots. Use a character-consistency workflow to keep the face, hairstyle, clothing, and distinctive accessories stable. Store the approved pack separately from rejected candidates. If a new reference changes a character's appearance, approve that change deliberately rather than allowing it to become the default halfway through the sequence.
Review every angle against the approved character and room references. Check faces, clothing, props, and light direction, not just the overall mood. A matching still is useful preparation, but identity also needs to hold through the moving shot.

Build a storyboard around a simple blocking map. In the example, Mara sits on the left of the establishing frame and Eli on the right, facing each other across a table. Mark the camera positions and intended looking directions for each close-up. The map is a production convention for this scene, not a rule that every AI tool will follow automatically.

Plan character placement and blocking before preparing the reverse angles. The spatial map should explain where each person sits, which way they look, and where shared props remain. A new shot may use a different camera-movement prompt, but it should not silently change the room or reverse the relationship between speakers.
Approve Voices Before Driving a Performance
Record or prepare each character's dialogue separately, using voices and likenesses you are allowed to use. Review pronunciation, pacing, pauses, and emotional intention before generating lip motion. Changing an approved line after performance generation can create another sync task, so make the text and voice decision as early as practical.
Keep a working file with separate tracks even if the final scene uses a mixed soundtrack. The separate files help isolate the active speaker during production. They also let an editor adjust the gap between lines without confusing which character owns which sentence. Preserve enough clean material around the line for a natural edit.
Keep dialogue preparation, individual character performance, and final assembly as separate decisions. Approve each speaking shot against its assigned audio, then assemble the performances with listening and reaction beats. A complete conversation requires editing and spatial continuity checks beyond the mouth movement visible in an individual candidate.
Give each line a clear emotional intention. Mara can ask plainly while Eli hesitates; both characters do not need exaggerated gestures. Start with a restrained performance, then add expression once the voices, identities, and eyelines are working together.
Generate One Performance Task at a Time
Use close-up shot prompts to plan separate close-ups rather than a busy two-shot. One visible speaker makes it easier to inspect the voice, line, and mouth movement. The approved close-ups also give you a fallback edit if a wider shot cannot keep the listener silent.
For the first shot, define the listener's role as carefully as the speaker's. If Eli is visible while Mara speaks, review Eli for unintended mouth motion. Do not approve the shot solely because Mara's mouth looks plausible. The audience reads the behavior of both people, especially when the timing suggests that either could be talking.
Test the speaker assignment directly: identify whose voice is heard, whose mouth moves, and whether the listener remains silent. A plausible-looking frame does not answer those questions. Review each candidate with the intended dialogue track and record the specific mismatch before deciding whether to repair audio, performance, or composition.
For a prompt-writing starting point, AI video dialogue prompts can help organize speech and interaction instructions. Keep the speaker map outside the prompt so it remains the source of truth. A useful prompt is specific; it is not a substitute for checking the resulting video.
Separate Lip-Sync Repair From Scene Repair
If the correct character is visible but their mouth does not match the approved audio, you have a lip-sync issue. If the wrong character is moving their mouth, you first have a speaker or shot-composition issue. If the voice itself is wrong, fix the audio assignment. Applying another lip-sync pass to a misidentified speaker can make the scene more confusing.
| Failure | First thing to check | Repair direction |
| Wrong voice | Track name and speaker assignment | Correct the audio source |
| Wrong mouth | Active character and listener behavior | Regenerate or simplify the shot |
| Correct face, poor sync | Audio timing and visible performance | Test a focused lip-sync repair |
| Reversed positions | Blocking map and camera placement | Rebuild the affected angle |
| Unstable identity | Reference version and changed framing | Restore the character reference |
When more than one face is visible, use the workflow the actual tool supports rather than guessing that it can target the right speaker automatically. If reliable targeting is unavailable, choose a tighter shot or assemble separate performances. Shot design is often a better solution than repeatedly asking a complex scene to behave perfectly.
Edit the Conversation Around Reactions
Place the approved dialogue tracks on the editing timeline and assemble the four-shot sequence. Leave room for listening and reaction. Cutting every image exactly at the start of a line can make the exchange feel mechanical, but changing a cut should not obscure which person is speaking. Review the scene both with and without captions. If you experiment with video transition prompts, keep speaker changes clear and avoid altering the scene's geography.
Check eyelines at the transition from Mara's close-up to Eli's reverse angle. The shots should describe the same conversation and the same room. Compare props and lighting where they provide useful spatial cues. If the table or background changes enough to suggest a new location, repair the angle before refining the sound mix.
Keep the four-shot plan even when a broader workflow creates several scene elements at once. Review voice assignment and spatial continuity in the assembled exchange rather than assuming individually plausible shots will cut together.

Use a silent reaction shot as a deliberate beat, not leftover filler. In the example, Mara's final look resolves the emotional response without introducing another line. Check that the character remains silent and recognizable. A reaction that accidentally contains speech-like mouth movement can undo an otherwise clear conversation.
Approve the Complete Two-Character AI Dialogue Scene
Review the assembled scene in three passes: listen for the correct voices, watch speaking and listening behavior, then check seats, props, eyelines, and shot order. Separating the checks helps you identify whether a problem belongs to the audio, performance, or edit.
Keep a record for each shot: reference version, approved audio, performance version, repair status, and edit placement. If a revision changes the line or character reference, flag the dependent performance and edit for re-review. Do not let a repaired close-up quietly replace the approved version without checking the neighboring cuts.
A clear two-character AI dialogue scene leaves no doubt about who is speaking or where the characters are. Start with the four-shot test, keep the voices and references organized, and expand the performance only when the basic exchange works. Clear staging matters more than an overloaded prompt.
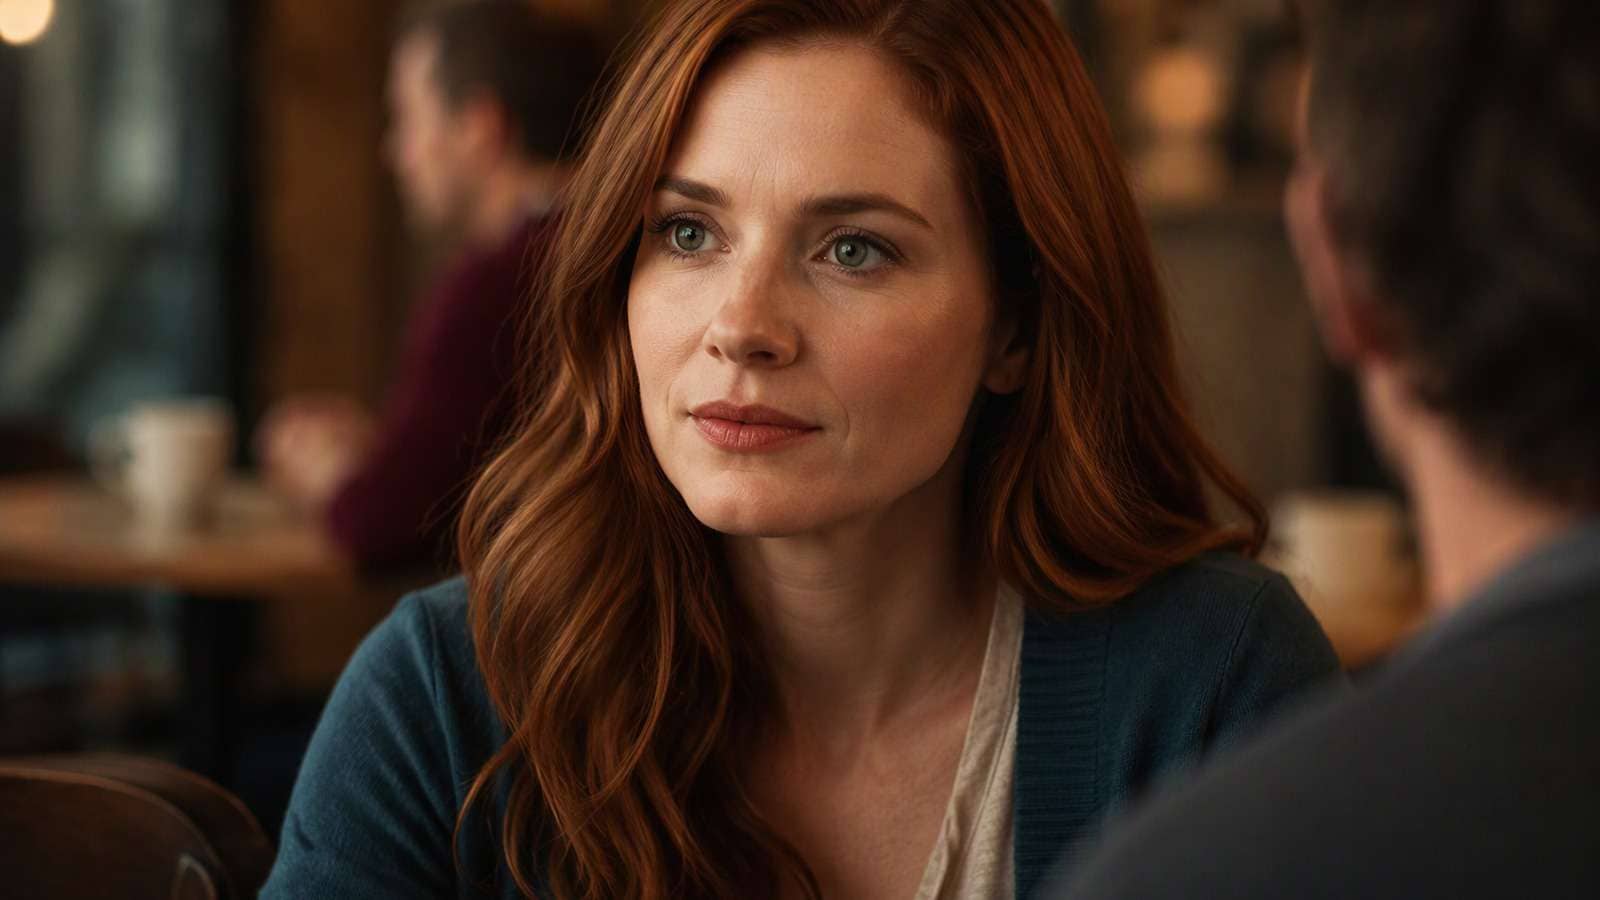
For your next story-led scene, explore Media.io's AI drama generator. Keep the shot plan and speaker checklist beside the project so the conversation stays easy to follow.
Frequently Asked Questions
Can One Lip-Sync Pass Fix an Entire Two-Person Scene?
Do not assume so. An individual lip-sync step addresses the supported input and visible speaking performance, not necessarily speaker targeting, room geography, or final compositing. Identify the actual failure first. A tighter shot, corrected audio track, or separately assembled performance may be more suitable than another pass on the full scene.Why Does the Listener Appear to Speak?
The generated behavior may not preserve your intended speaker assignment. Check the prompt, framing, and approved audio, then review the listener directly. If the tool cannot reliably isolate the active speaker in that shot, simplify the composition or assemble separate performances. Do not approve unintended listener speech as natural background acting.Should I Generate the Wide Shot First?
You can plan it first, but a close-up is often a simpler proof for checking identity, voice assignment, and lip motion. Approve that performance before attempting a more demanding wide shot. Keep a fallback edit using close-ups and reaction shots so an unreliable two-shot does not block the entire scene.What Should the Final Review Include?
Review correct voice assignment, active-speaker mouth movement, silent-listener behavior, character identity, and consistent eyelines. Then watch the conversation at normal speed with its final sound. A collection of individually attractive clips is not enough; the assembled exchange must clearly describe the same characters speaking in the same space.


