



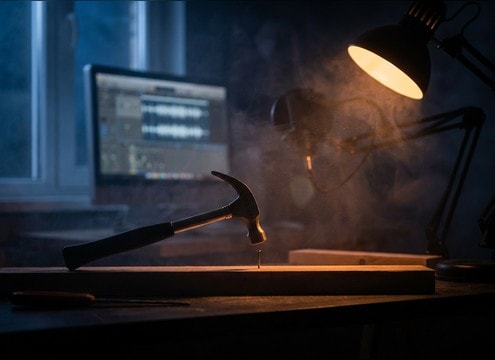





Hammer audio changes a lot based on the head type, what it strikes, and how much ring you want. When you generate, describe the tool and surface first, then add perspective (close, mid, distant) and the decay you need (tight, natural room, long ring). Use a single hit for precise sync, or a short pattern for building scenes.
Start with tool and surface
The fastest way to get believable results is naming both the hammer type and the material being struck. That choice controls pitch, brightness, and whether the sound rings or thuds.
- Claw hammer on nail into pine for sharp, dry transients
- Sledgehammer on dirt or rubble for heavier low-end weight
- Hammer on steel anvil for bright overtones and audible ring
Control distance and space
Perspective defines how much room reflection and high-frequency detail you hear. Match the sound to the camera framing to avoid a hit that feels too close or too far.
- Close mic: minimal reverb, strong attack, little room tone
- Mid distance: small reflections and a slightly longer tail
- Distant: softened highs, more ambience, wider perceived space
Match timing and performance
For edits, consistency matters as much as realism. Decide whether you need a single clean hit, a double strike, or a short run of hits with natural spacing.
- Single hit for frame-accurate sync to contact
- Two hits with even spacing for quick assembly actions
- Short sequence with subtle variation to avoid a machine-like loop
Avoid common mismatches
Small prompt tweaks prevent the most obvious fake moments: wrong material tone, too much ring for an indoor scene, or a tail that masks dialogue.
- Do not use anvil-style ringing when the visual is wood framing
- Avoid long reverb tails for tight interior repair shots
- Skip overly bright transients if the scene is behind walls or doors