

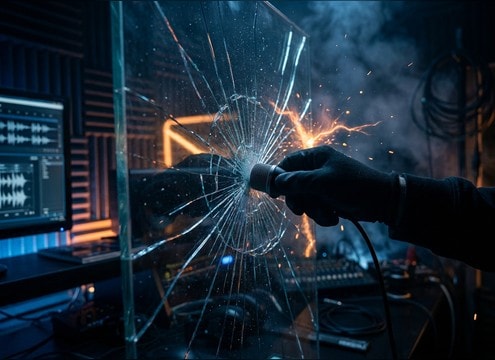
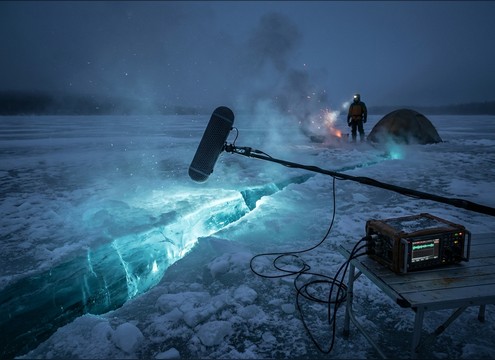
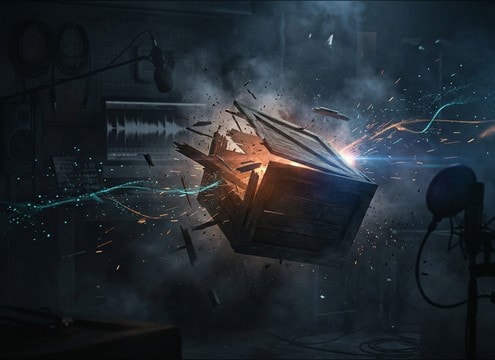

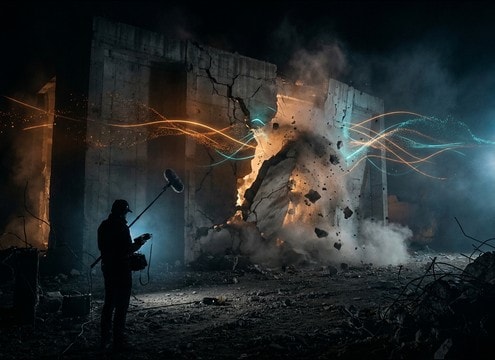



A good crack is defined by its attack and what texture follows: splinters, grit, or a short ring. When generating or choosing a clip, decide the material first, then set how dry or roomy it should be, and finally control intensity so the transient is audible without sounding like a gunshot. Use the tips below to get scene-matched results quickly.
Start with the material and texture
Material choice changes the spectrum instantly. Bone and plastic read as tight and mid-high; wood adds fibrous splinters; glass adds a bright tick and ring; concrete adds grit and a low-end thump.
- Use words like bone, knuckle, joint for short, dry snaps
- Add splintery, fibrous, branch for wood-style breaks
- Try stress tick, hairline, brittle for glass or ice
Control the transient and tail
Cracks work when the transient is clear and the tail is intentional. If the crack feels weak, ask for a sharper attack; if it feels messy, shorten the decay or reduce debris pops.
- Ask for sharp transient, fast attack for hit accents
- Use short decay, minimal tail for dialogue-heavy scenes
- Add subtle ring only when the prop is glass or metal-adjacent
Match distance and room tone
A close crack is dry and intimate; a distant crack carries reflections and a softer transient. Getting the space right helps the sound sit in the picture without extra reverb.
- Use close-mic, dry, no room for tight foley placement
- Use small room, short reflections for interior action beats
- Use outdoor reflection, wide stereo sparingly for lightning-style cracks
Avoid common crack SFX mistakes
Many crack clips fail because they read as the wrong source or fight the mix. Keep the sound specific, avoid overly long tails, and make sure the transient does not mask key dialogue consonants.
- Avoid boom or heavy rumble unless it is concrete or structural damage
- Do not overuse whip-like cracks for bone or wood moments
- Skip long reverb tails when the scene is close and dry