
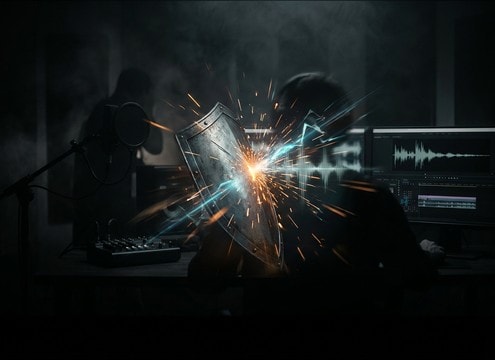


Stab sounds are easy to overdo: the wrong transient, too much wet texture, or the wrong space can pull attention away from picture. Use the library to find a clean starting point, then prompt small changes like distance, tail length, and material contact to match what the viewer sees. The goal is a readable impact that sits with dialogue, music, and movement foley.
Start with the right material cue
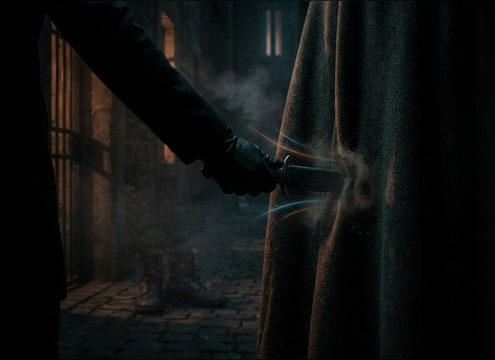
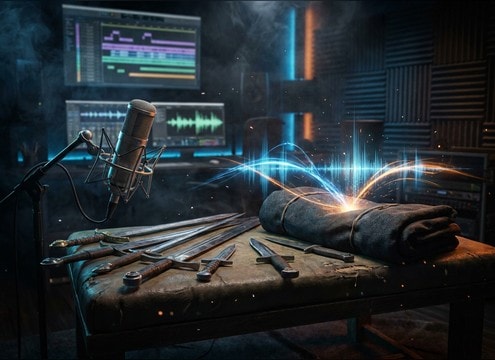
Define what is actually making contact. A knife into clothing reads very different from a blade scraping armor or a stylized cinematic hit designed for impact.
- Use words like knife puncture, dagger, short blade, or metal deflect
- Add cloth rustle or fabric contact if the wardrobe is prominent
- Avoid mixing materials in one prompt unless you want a layered effect
Control the transient and tail
Editors usually need either a tight, cut-friendly transient or a longer tail that sells space. Decide which one your scene needs before you generate.
- Ask for sharp transient and minimal decay for close-up cuts
- Ask for softened transient and room reflections for distant perspective
- Keep reverb tail short when dialogue must stay clear
Match intensity to picture, not taste
The same action can be subtle or extreme depending on camera distance and genre. Generate a few intensity levels so you can choose the least intrusive one that still reads.
- Request light, medium, or heavy impact variants in separate prompts
- Reduce low-end thump for realistic foley, increase it for trailer-style hits
- If it feels too graphic, prompt for neutral impact and muted texture
Avoid common selection mistakes
Bad stab picks usually fail because of noise floor, harsh peaks, or mismatched space. A quick checklist saves time during final mix.
- Skip clips with obvious hiss, distortion, or unstable room tone
- Watch for overly long decay that smears into the next line of dialogue
- Do not rely on one stab for every angle; swap close vs distant as the shot changes