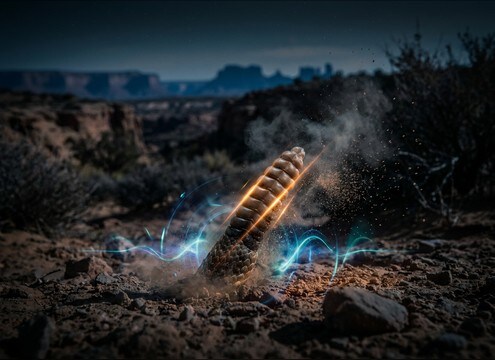
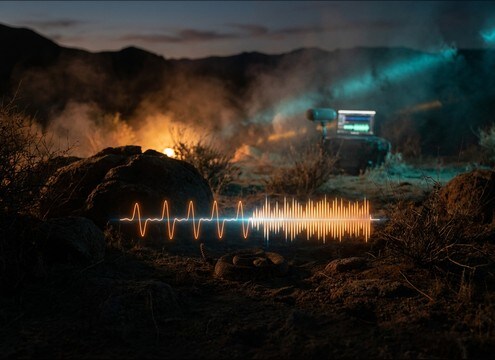
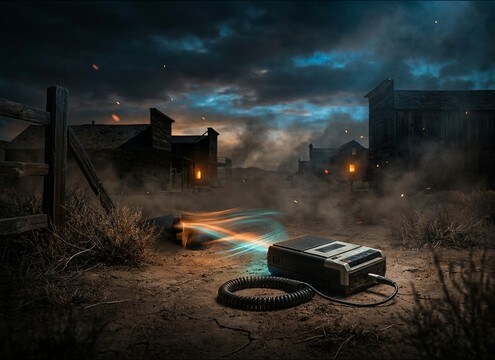
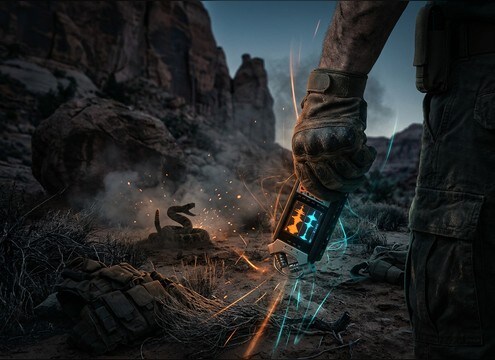




Rattlesnake cues work best when they match camera distance and the amount of outdoor space around the subject. When browsing downloads, listen for the rattle attack (tick sharpness), the texture density (buzz vs clicks), and how the tail decays into room tone or wind. When prompting, specify distance, intensity, and whether you want a pure rattle, a hiss accent, or a sustained warning bed.
Choose the perspective first
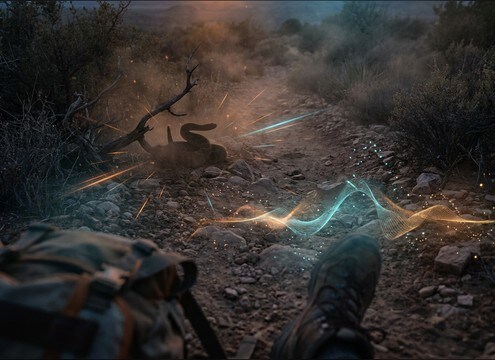
The same rattle can read like a jump scare or a subtle warning depending on perceived distance. Close sounds need crisp transients and little ambience, while distant sounds need softer attacks and more air.
- Close: sharp ticks, dry tone, short decay
- Mid: balanced bite with light outdoor room tone
- Far: softened attack, quieter rattle, narrow image
Match intensity to the action
A steady warning rattle is different from a sudden aggressive buzz. Pick a texture that supports the moment without masking footsteps, cloth, or dialogue.
- Warning: consistent rhythm and controlled loudness
- Threat: denser buzz texture with stronger presence
- Build: slight ramp-up that lands on a cut or reveal
Decide on ambience and tail behavior
Outdoor rattles often feel more believable when the tail fades naturally into wind or desert bed tone. For tight scenes, keep the noise floor low so you can place it precisely.
- Dry: minimal wind, short tail for hard edits
- Natural: light wind room tone with smooth decay
- Loopable: stable bed with no sudden spikes or gaps
Avoid common fake-sounding cues
Overly metallic clicks, harsh digital fizz, or exaggerated sub bass can break realism. If it draws attention as an effect instead of a warning, regenerate with cleaner texture and a more natural tail.
- Avoid: metallic clatter and ringy resonances
- Avoid: constant broadband hiss that masks speech
- Avoid: huge low-end rumble that feels cinematic, not real