


A usable scream isn't just "loud"—it needs the right emotion, perspective, and tail so it sits in a scene without sounding pasted on. Use the tips below to pick a ready clip or write a prompt that produces the exact intensity and space you need.
Match emotion to the moment
Decide what the scream communicates: sudden pain, fear, anger, or panic. Emotion affects pitch, breathiness, and how quickly the sound ramps up.
- For shock: request a fast attack and a short tail (tight envelope).
- For terror: request a sustained scream with slight pitch drift and breath layers.
- For rage: request lower register, chest resonance, and rough texture.
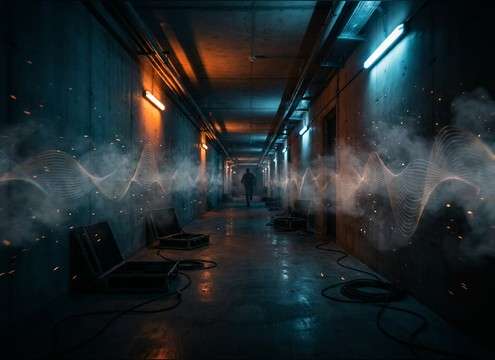
Choose the right distance and space
Perspective is what makes a scream feel "in the scene." Close screams need detail and minimal room, while distant screams need softened transients and more air.
- Close-mic: ask for dry sound, minimal reflections, and clear consonants.
- Distant: ask for rolled-off highs, reduced presence, and subtle ambience bed.
- Indoor: ask for early reflections or slapback, but keep the tail controlled.
Control texture: grit, breath, and distortion
Texture sells realism. Too smooth can feel synthetic; too distorted can mask other elements. Specify how "clean" or "ragged" you want the take.
- Add "gritty throat" or "vocal fry" for strained, desperate screams.
- Add "audible breath" for panic and exhaustion cues.
- Add "phone/PA band-limited" for in-world playback without heavy processing.
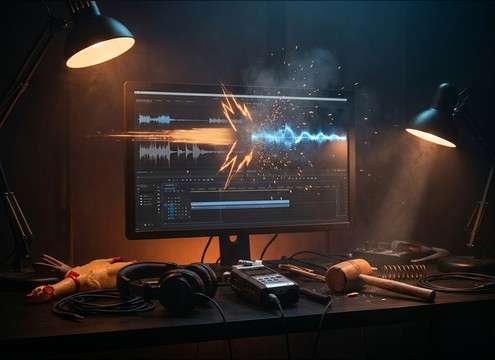
Edit-friendly choices (so it cuts clean)
Screams often need tight timing. Pick clips with predictable decays and low noise so you can trim, crossfade, and duck under dialogue without artifacts.
- If the scream must hit a frame: choose a sharp transient and trim the tail with a short fade.
- If it must sit under music: choose a less harsh upper-mid take to reduce masking.
- Avoid long boomy reverb tails unless the location clearly supports it.