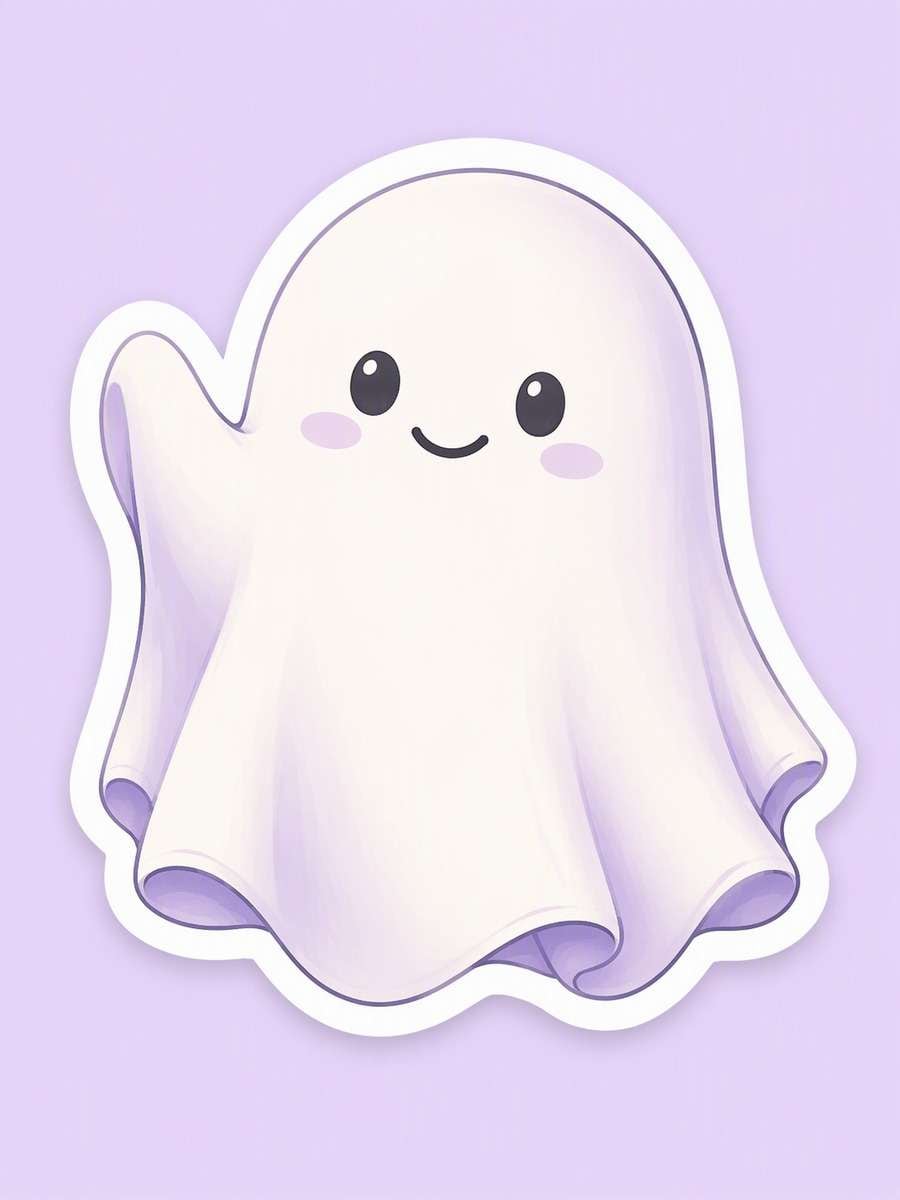
Gemini and ChatGPT AI Halloween Sticker Prompts: Ghosts, Pumpkins & More
Halloween stickers can feel playful, nostalgic or quietly mysterious without becoming gruesome. Choose from these AI Halloween sticker prompts for friendly ghosts, witch cats, pumpkin graphics, stitched patches, mystical botanicals and short-word badges. The 25 previews make it easier to pick a mood before you generate, whether you are decorating a party invitation, a planner or a chat reply. Change the palette and expressions to suit your audience, then check the artwork and remove its background if you need a cutout.
AI-generated JPG examples show sticker-style concepts; inspect each result before using it as a cutout or in a printed project.
Try Media.io.
How to Use AI Halloween Sticker Prompts
Use these prompts in Media.io AI Text to Image in three simple steps.
1
Open Media.io AI Text to Image
Visit Media.io AI Text to Image. Choose your preferred image model from the available options, such as Nano Banana Pro or GPT Image 2 if listed.
2
Copy and Paste a Prompt
Choose a prompt and click Copy Prompt, then paste it into the generator. Or click Create Similar Image to open the tool with that prompt. Set your aspect ratio, resolution, and number of images.
3
Generate, Preview, and Download
Click Generate and wait for your images. Preview the results, then download the images you want to keep.
25 AI Halloween Sticker Prompts to Copy & Try
Friendly Sheet Ghost
Create an original sticker illustration of a rounded sheet ghost waving one soft corner like a hand. Give it small charcoal eyes, a gentle smile and subtle lavender shading over a warm white body. Keep the silhouette plump and fully visible, with a clean white die-cut-style border and comfortable margin. Use smooth cartoon color on a plain pale-lilac backdrop, cheerful rather than frightening, with no scene, lettering or extra characters. --ar 3:4
Pumpkin Witch Cat
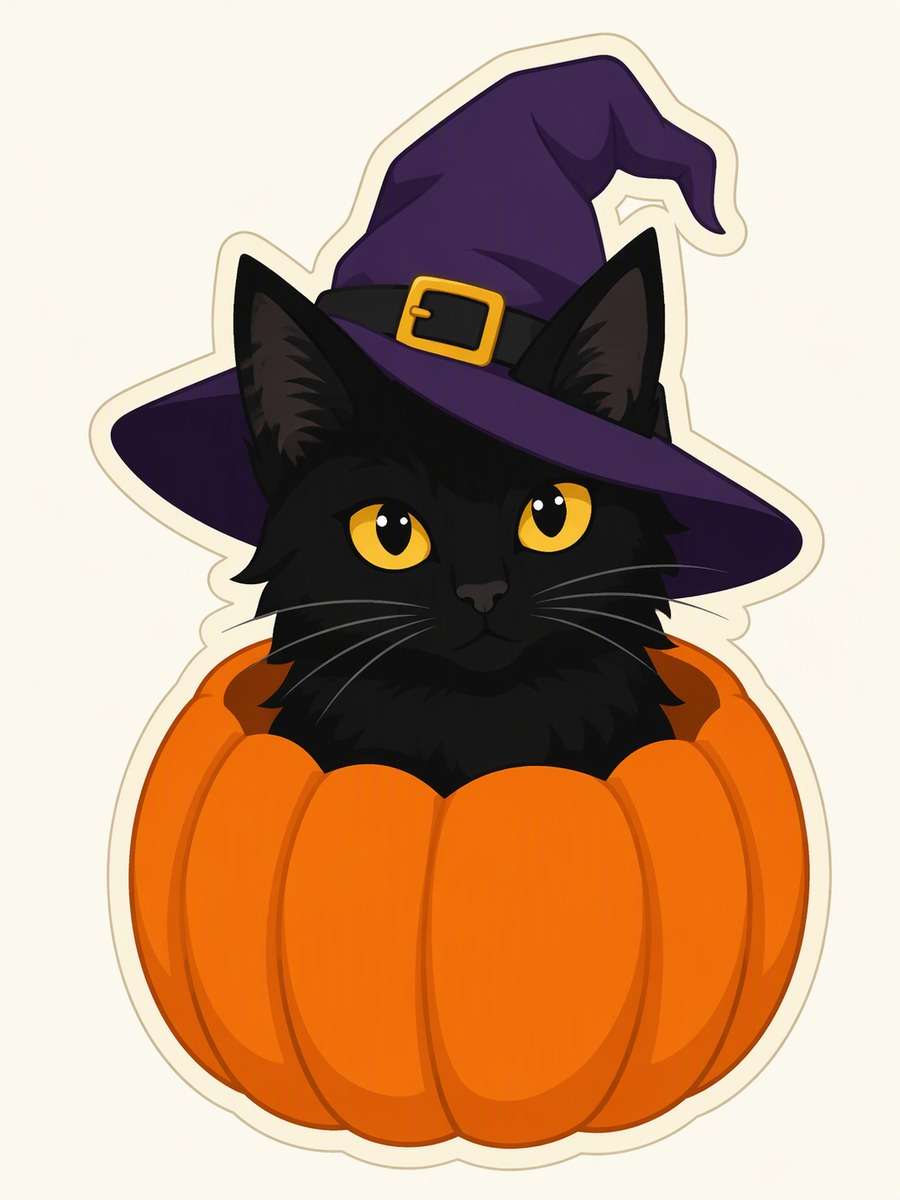
Illustrate an original black cat bust peeking out of a broad orange pumpkin, with one tilted witch hat framing its alert ears. Use expressive golden eyes, deep-purple hat panels and clean flat fills; let the cat, hat and pumpkin join into one compact sticker silhouette. Add a narrow cream die-cut-style outline against a plain light background. Keep the pumpkin opening simple and the whiskers readable, with no famous character cues, lettering or surrounding scene. --ar 3:4
Tiny Bat Hug
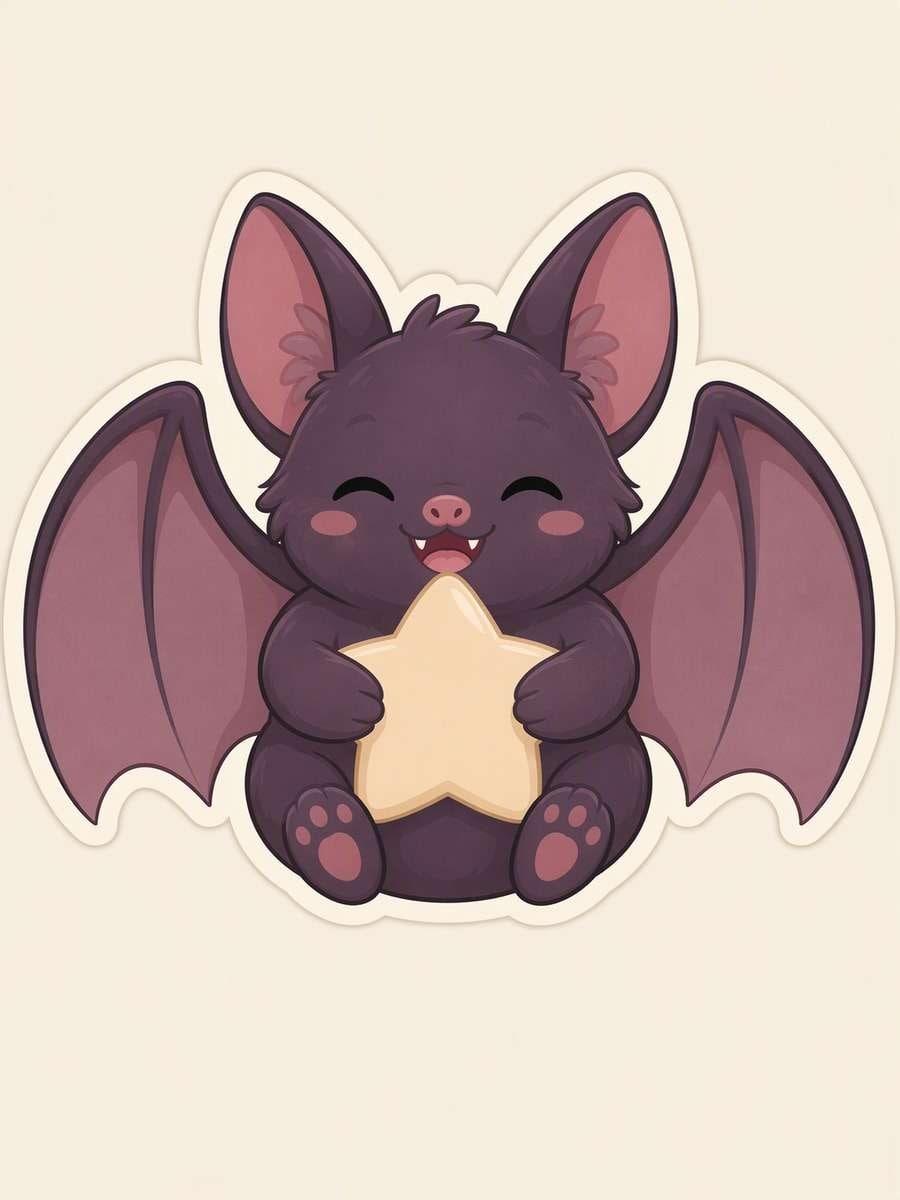
Draw a chibi bat hugging a single five-pointed star against its chest. Make its wings broad, rounded and nearly symmetrical, with tiny visible fangs and a delighted expression. Use muted plum, dusty pink and soft cream flat colors, plus a restrained inner highlight. Center the character as a compact, complete sticker shape with an even pale border on a plain background. Avoid a night sky, trailing sparkles, text or thin dangling details. --ar 3:4
Skeleton in a Scarf
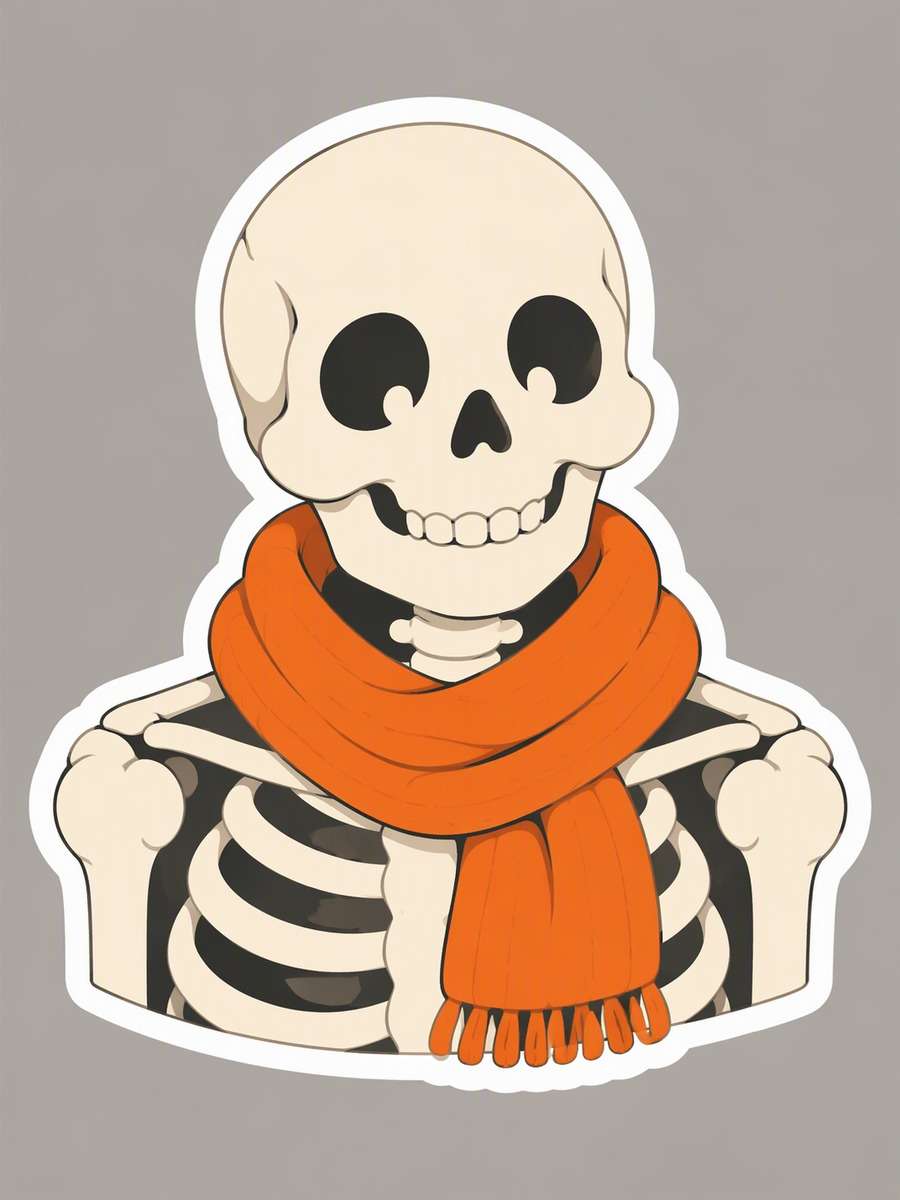
Create a friendly simplified skeleton bust wearing a thick orange scarf. Give the skull round cheeks, generous eye sockets and a small upbeat grin; show broad neck and shoulder bones rather than intricate anatomy. Render it as crisp graphic cutout art in cream, charcoal and pumpkin orange. Keep the scarf inside a complete sticker contour with a consistent white border and plain warm-gray background. No gore, loose bones, frightening expression or words. --ar 3:4
Retro Jack-o-Lantern
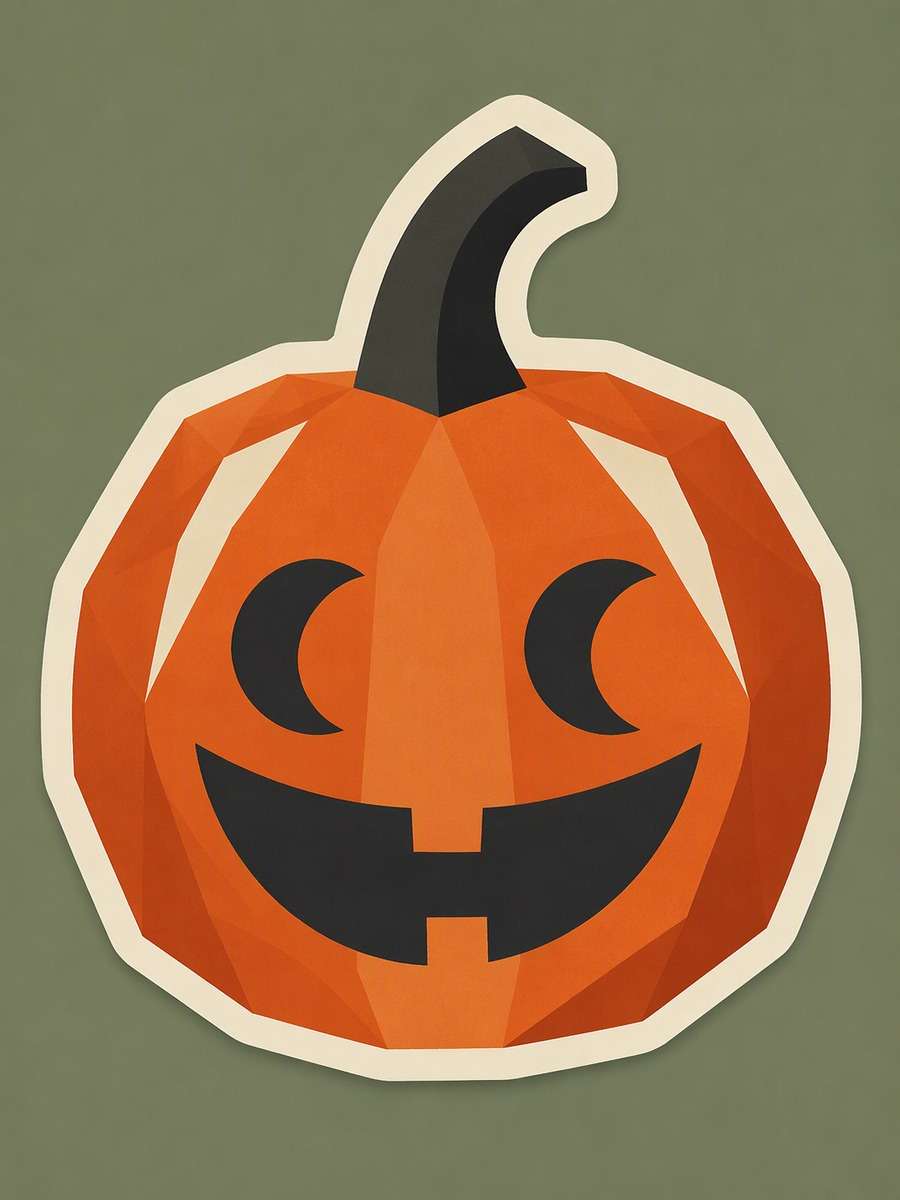
Design one mid-century-inspired jack-o-lantern sticker with crescent-shaped eyes and a wide, simple carved grin. Build the pumpkin from broad burnt-orange geometric facets, using cream highlights and charcoal cutouts instead of fine carved lines. Give the stem an assertive curved shape and keep every feature legible at small size. Place a neat cream die-cut-style border around the complete pumpkin on a plain muted background. No lettering, photographic texture or extra props. --ar 3:4
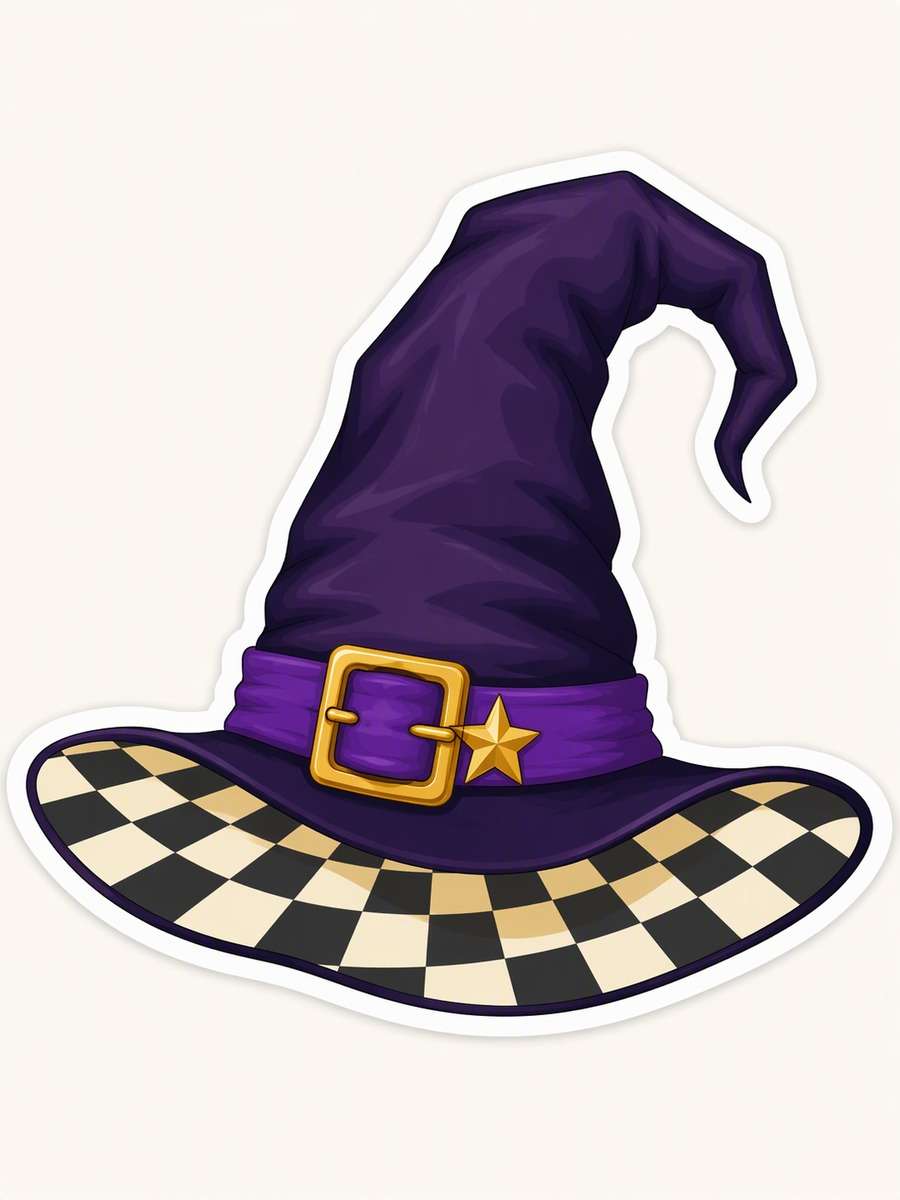
Checkerboard Witch Hat
Illustrate an oversized witch hat as a standalone graphic sticker, with a wide checkerboard brim, deep-violet crown, purple band and one small gold star attached near the buckle. Use crisp vector-like geometry, alternating cream and charcoal squares, and a slightly bent tip for movement. Show the entire outer contour, including both ends of the brim, inside a clean white border. Set it on a plain light background without a wearer, scene or text. --ar 3:4
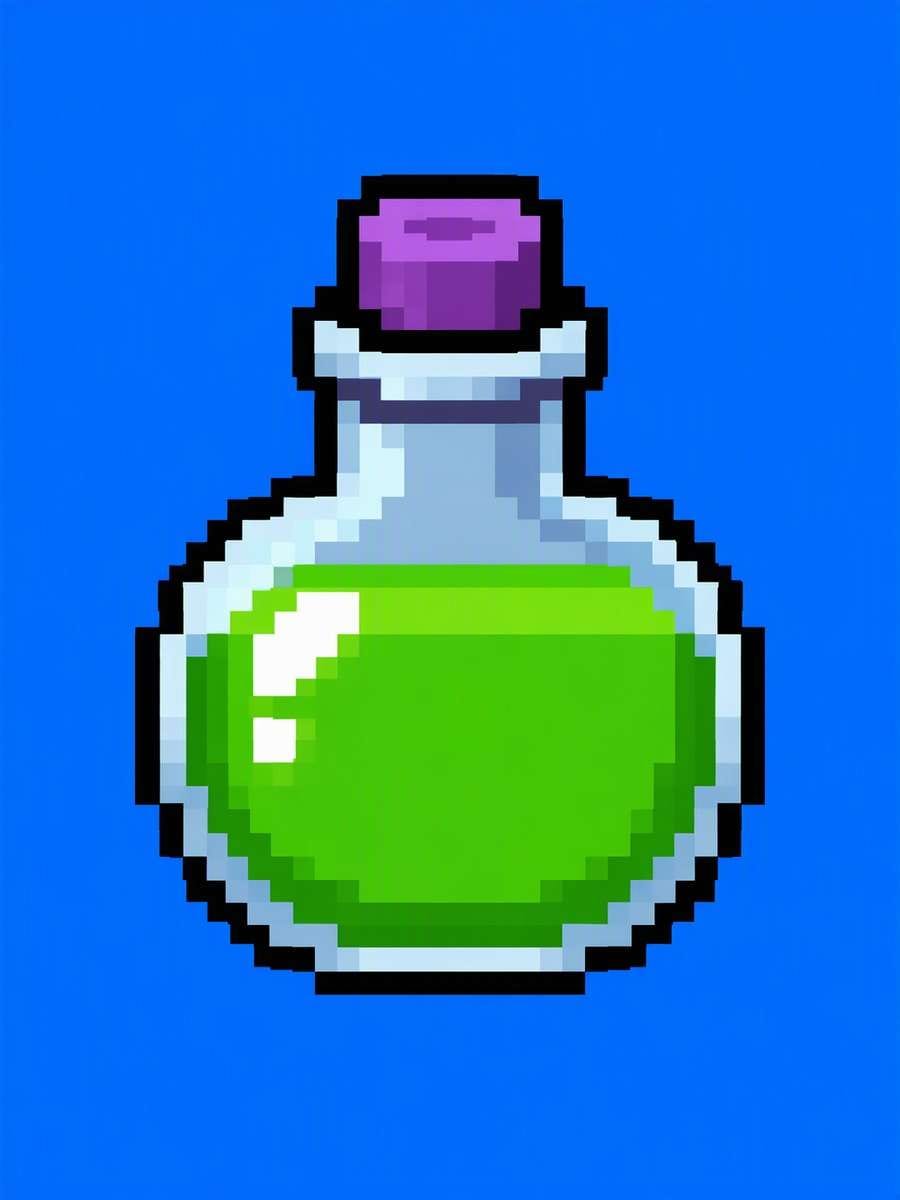
Pixel Potion Bottle
Make a standalone 8-bit potion bottle sticker using intentional square pixels and hard stair-step edges. Fill a squat bottle with bright green liquid, add a purple cork and two blocky highlights, and define the glass with dark outlines. Keep the pixel grid consistent across the bottle, liquid and border; use no blur, antialiasing effect or soft gradients. Center the full bottle against a plain contrasting background with ample margin, no label or game interface. --ar 3:4
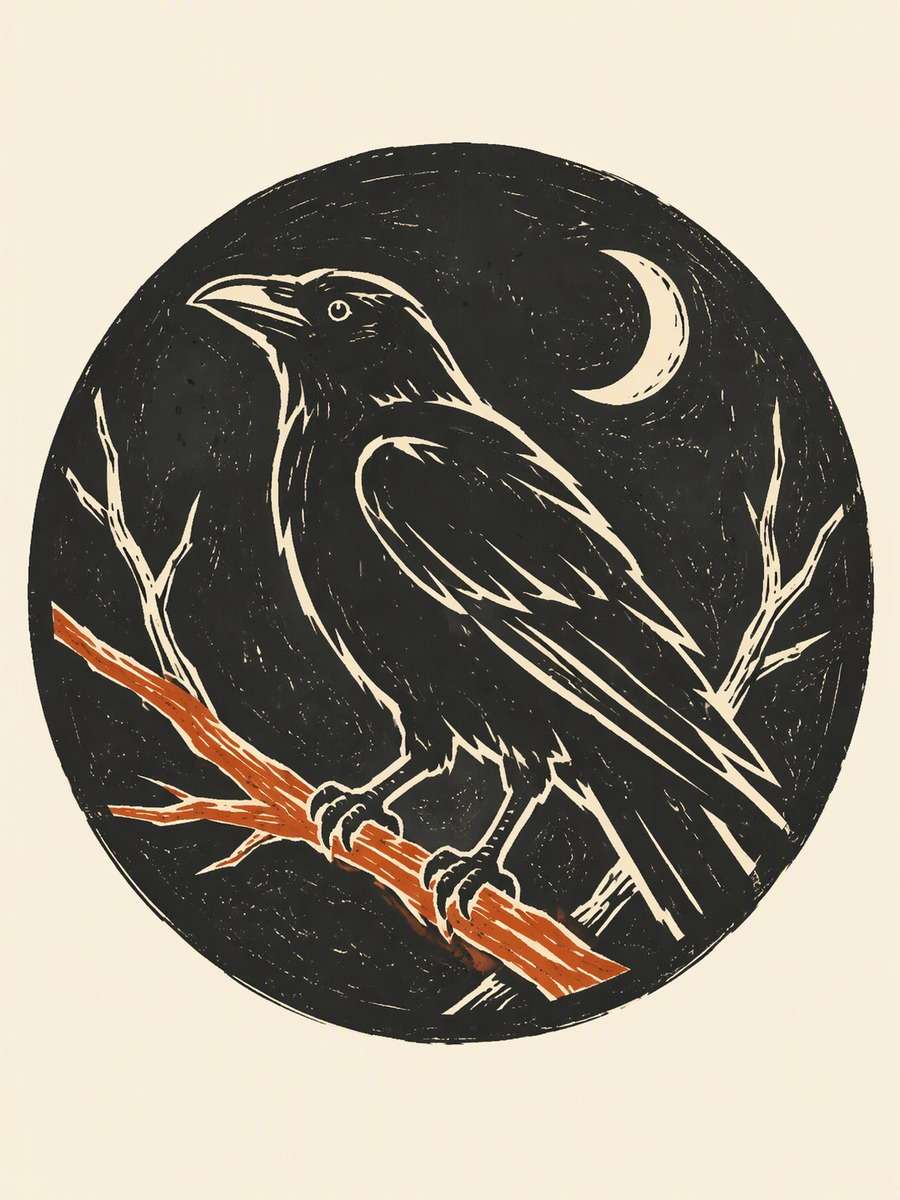
Linocut Crow Moon
Create an original linocut-inspired circular sticker showing a perched crow beside a small crescent moon. Carve angular cream marks through broad charcoal masses to distinguish beak, wing and tail; use a restrained rusty-orange accent on one branch. Treat the circle as a bounded emblem with a clean outer edge, not a full night landscape. Allow slight illustrated ink irregularity while preserving bold contrast. Place the complete emblem on a plain cream backdrop without text. --ar 3:4
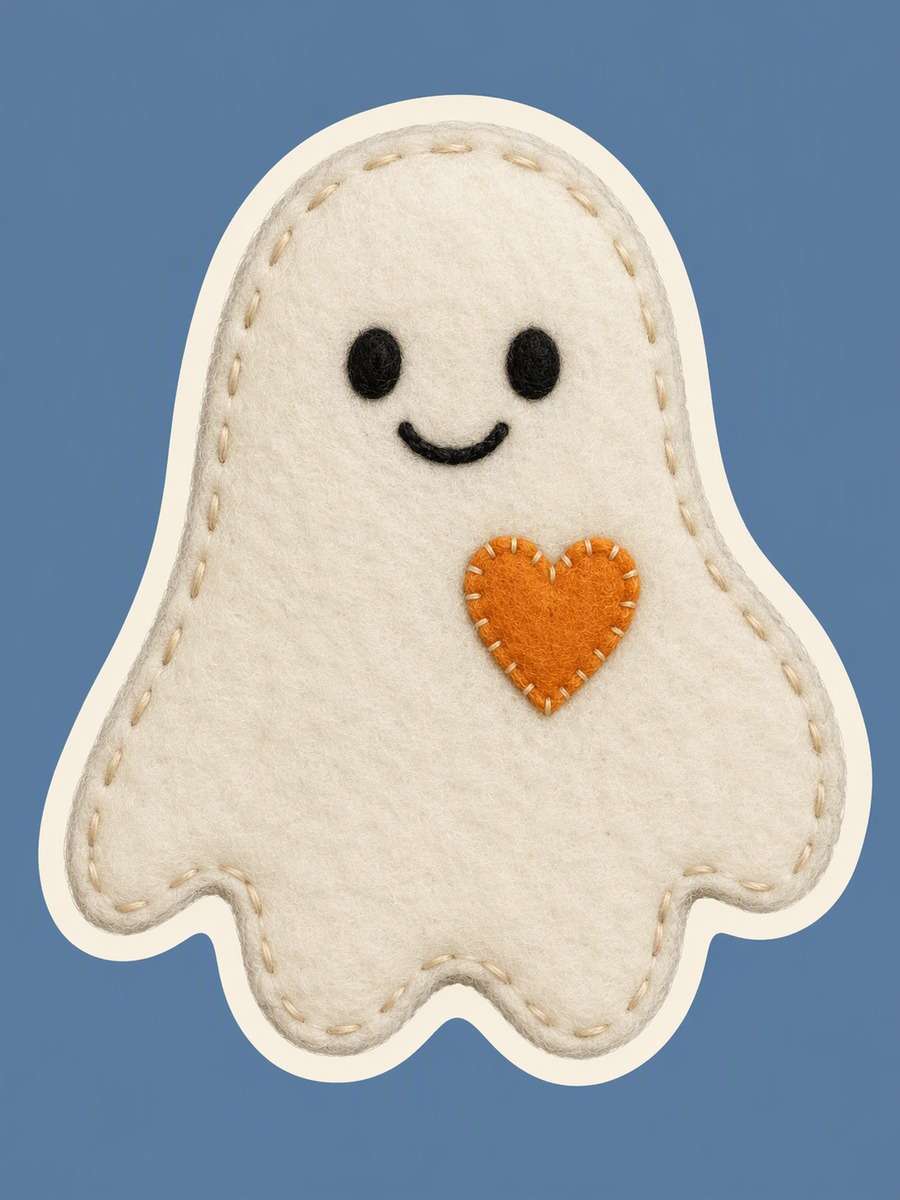
Felt Ghost Patch
Illustrate a friendly wool-felt ghost patch as one bounded sticker design, not a photograph of fabric on a craft table. Show a soft off-white felt surface, short visible perimeter stitches and one small orange felt heart sewn onto the chest. Give the ghost a simple smiling face and gently uneven handmade edges. Use shallow illustrated texture, a complete cream border and a plain dusty-blue backdrop. Keep sewing details clear without loose thread tails or extra props. --ar 3:4
Embroidered Bat Crest
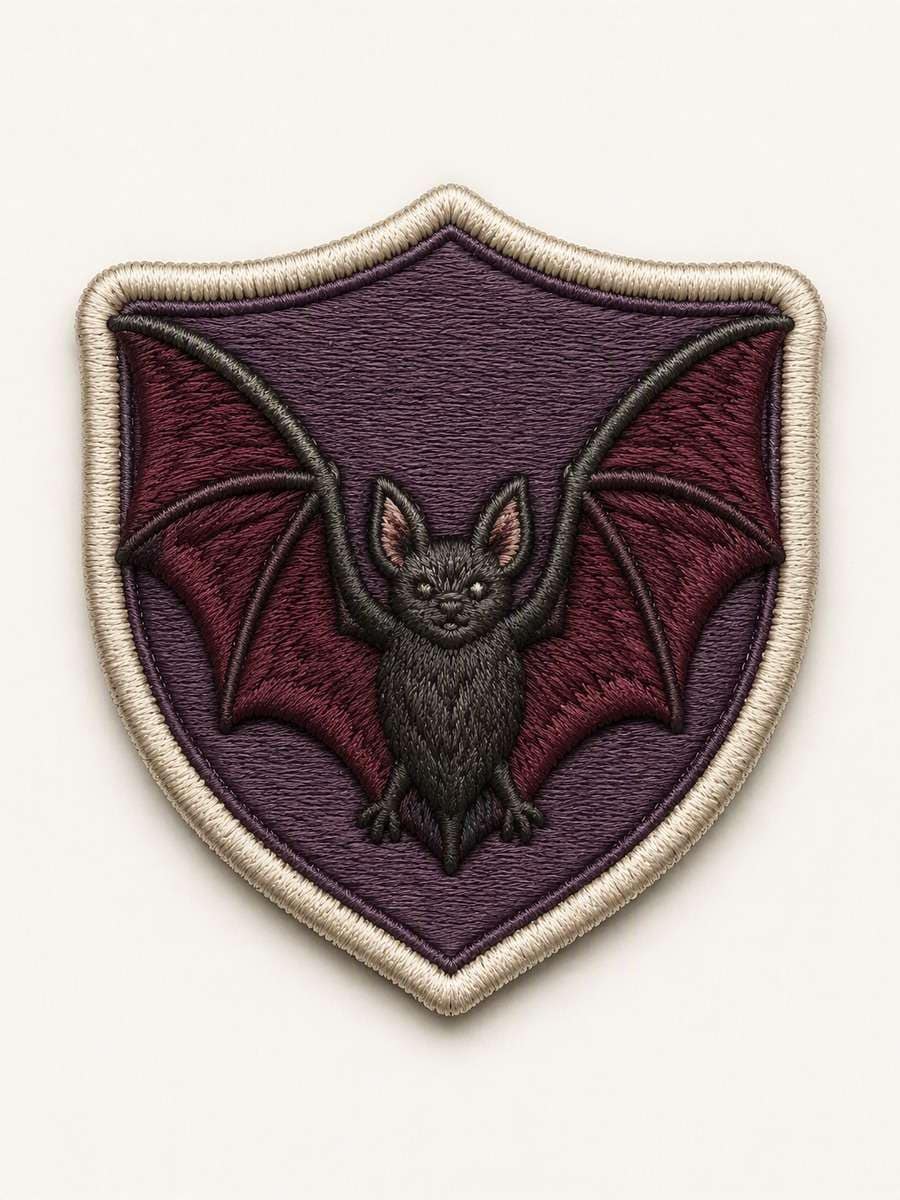
Design a small illustrated embroidered crest with a bat spreading burgundy wings inside a compact shield-shaped patch. Suggest satin stitches through directional thread lines on the wings, with a cream stitched outline and a muted plum backing. Keep the bat face simple and the shield silhouette continuous, like a single sticker rather than separate embroidery pieces. Use gentle tactile shading on a plain light background; exclude clothing, hoops, needles, labels and text. --ar 3:4
Paper-Cut Haunted House
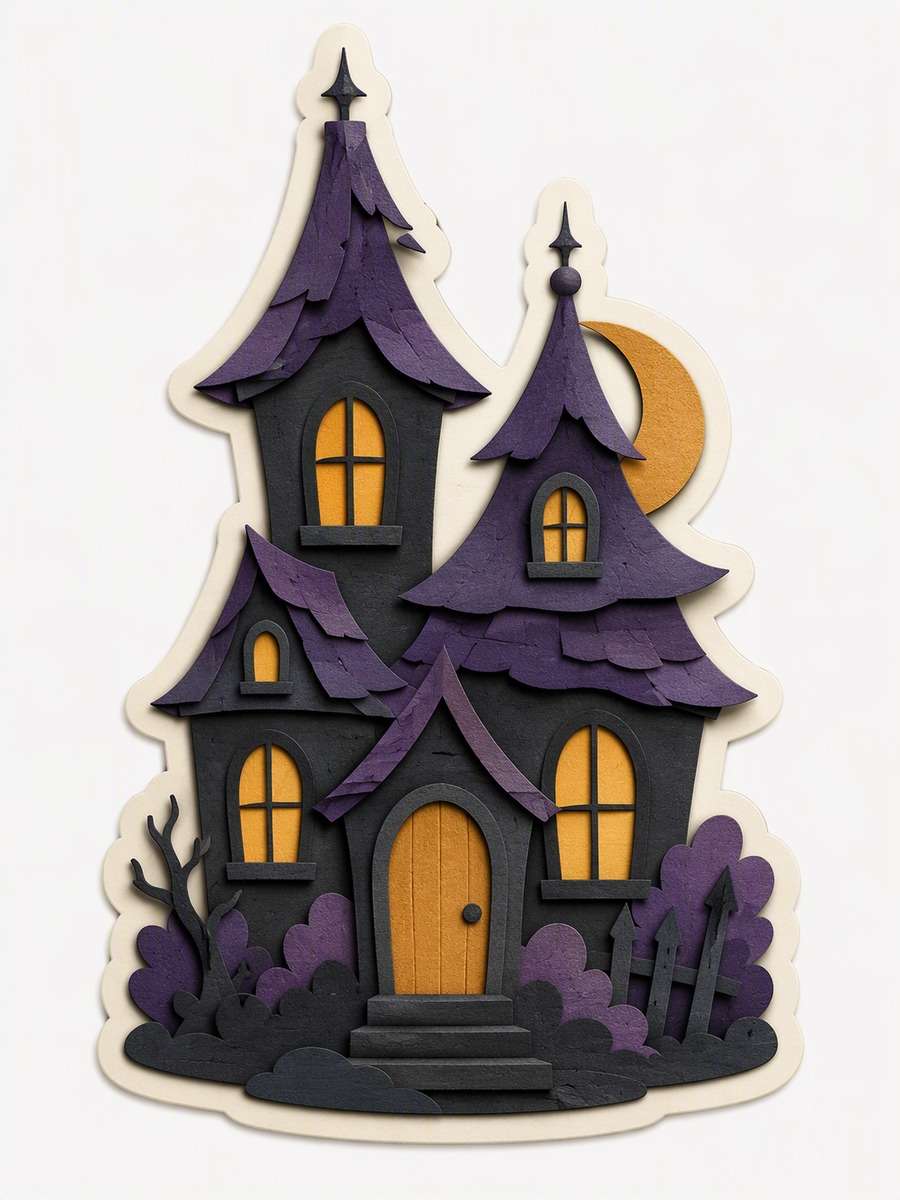
Build a compact two-tower haunted house as a layered paper-cut illustration for one sticker. Stack shallow violet, charcoal and ochre paper planes to define crooked roofs, a rounded door and a few glowing windows. Let a small crescent tuck behind one tower while keeping the overall house contour complete and bounded. Show subtle paper-edge shadows, not a realistic nighttime scene. Center the silhouette with a clean pale border on a plain background, without words or people. --ar 3:4
Clay Pumpkin Cauldron
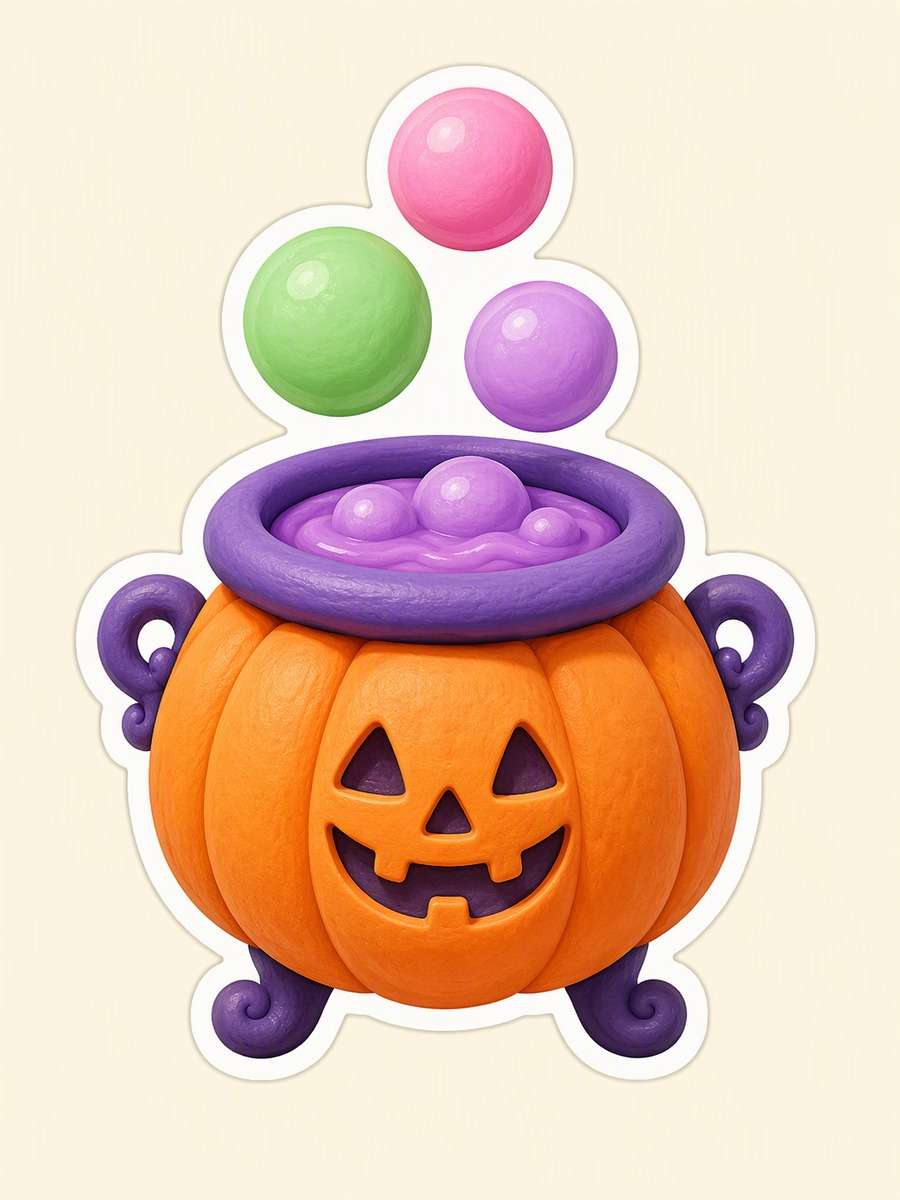
Illustrate a sculptural pumpkin-shaped cauldron as a playful sticker concept, with a rounded orange body, violet rim and exactly three candy-colored bubbles rising closely above it. Use soft clay-like surface texture and gentle dimensional shading while retaining a tidy combined silhouette. Keep the bubbles large enough to see individually and inside the outer sticker border. Place the motif on a plain cream backdrop; avoid realistic fire, messy drips, photographic tabletop lighting and lettering. --ar 3:4
Botanical Moth Moon
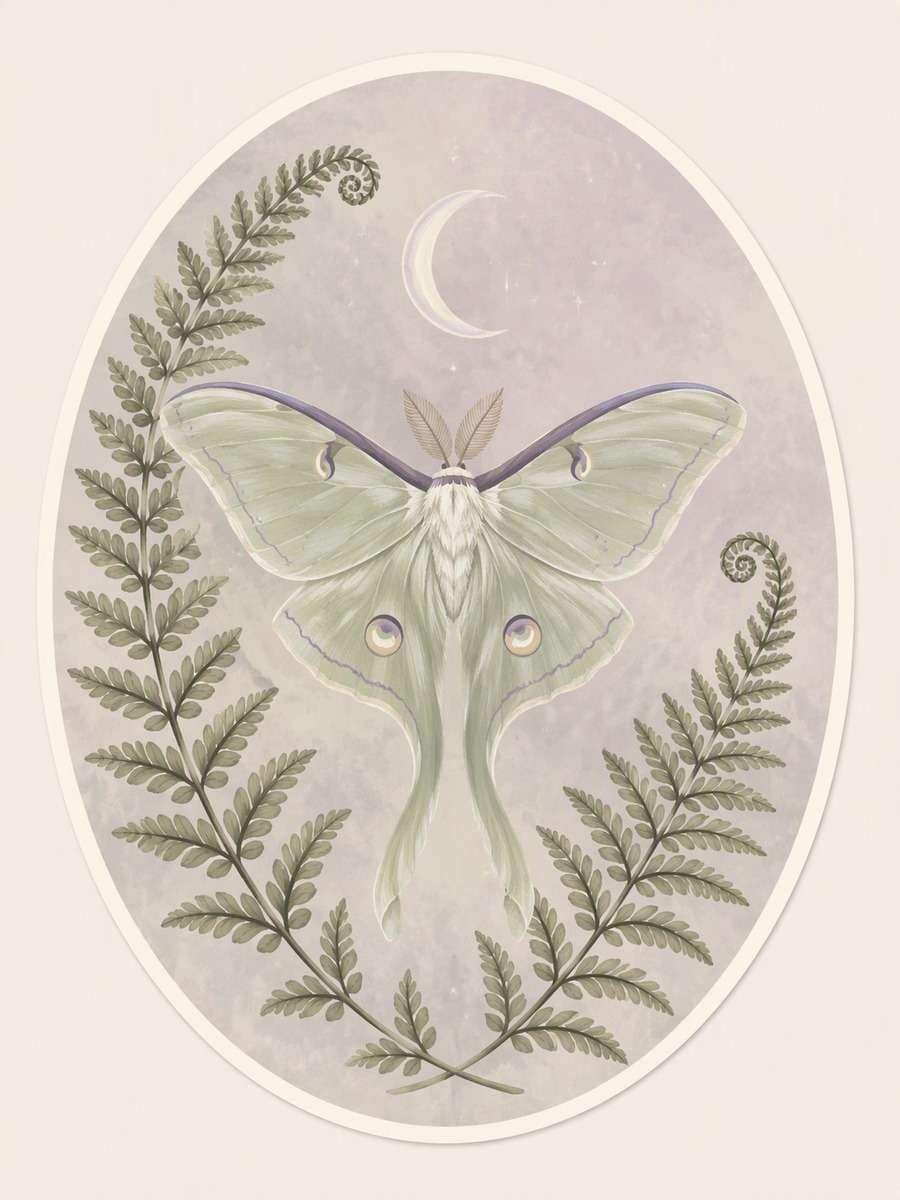
Paint a lunar moth with two curved fern leaves and a slim crescent inside one bounded oval sticker. Use muted sage, ivory and smoky lavender gouache, with delicate wing markings that do not overwhelm the moth’s recognizable shape. Arrange the ferns as a loose frame and leave breathing room between their tips and the oval edge. Show a clear pale outer contour on a plain background. This is decorative botanical artwork, not a specimen plate, tattoo mockup or poster. --ar 3:4
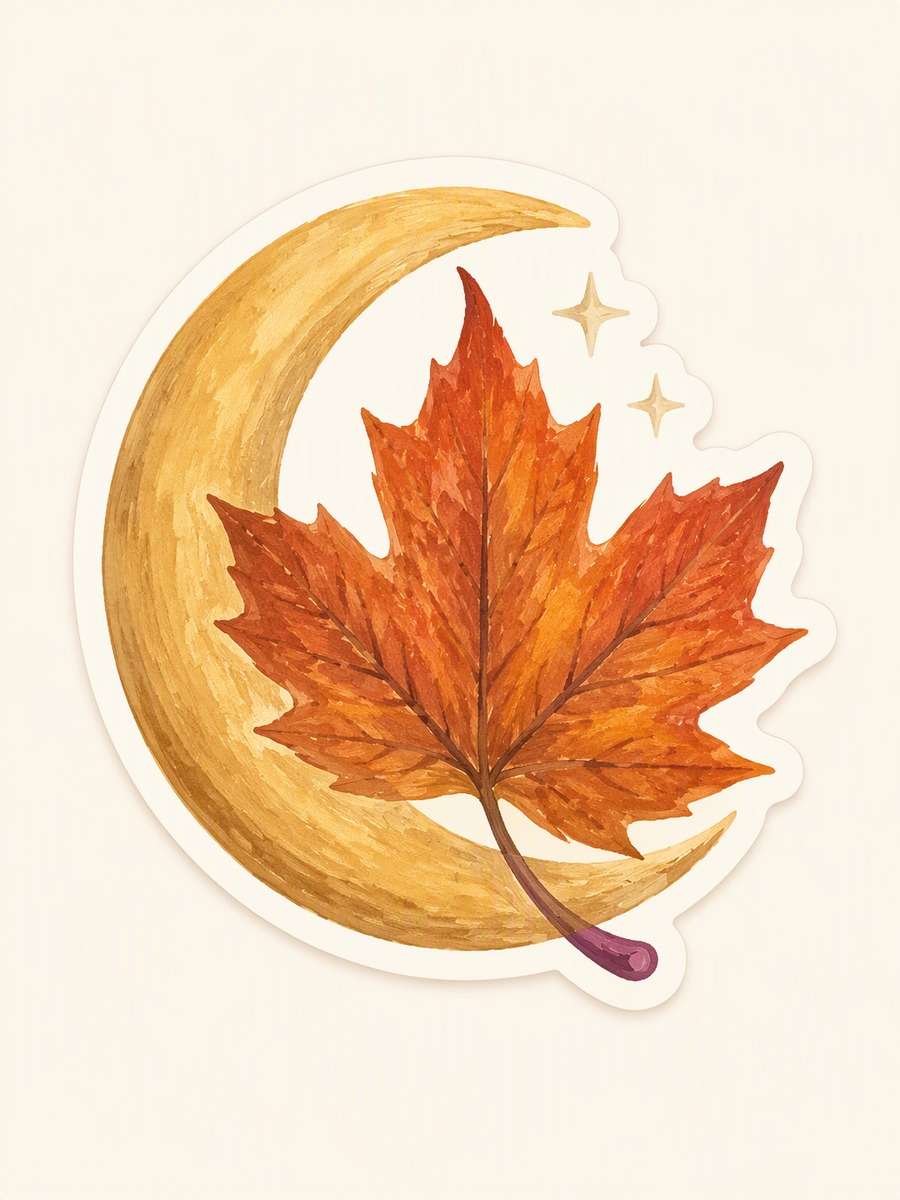
Crescent and Autumn Leaf
Paint an original seasonal sticker featuring one warm gold crescent curving around a rust-orange maple leaf. Keep the moon and leaf as two clearly readable forms joined in one compact composition, with just two tiny pale stars nearby. Use quiet gouache brush texture, gentle darker leaf veins and a restrained plum accent at the lower tip. Draw a clean continuous pale die-cut outline around the whole motif. Center it on a plain cream canvas, without lettering, people, bottles or background scenery. --ar 3:4
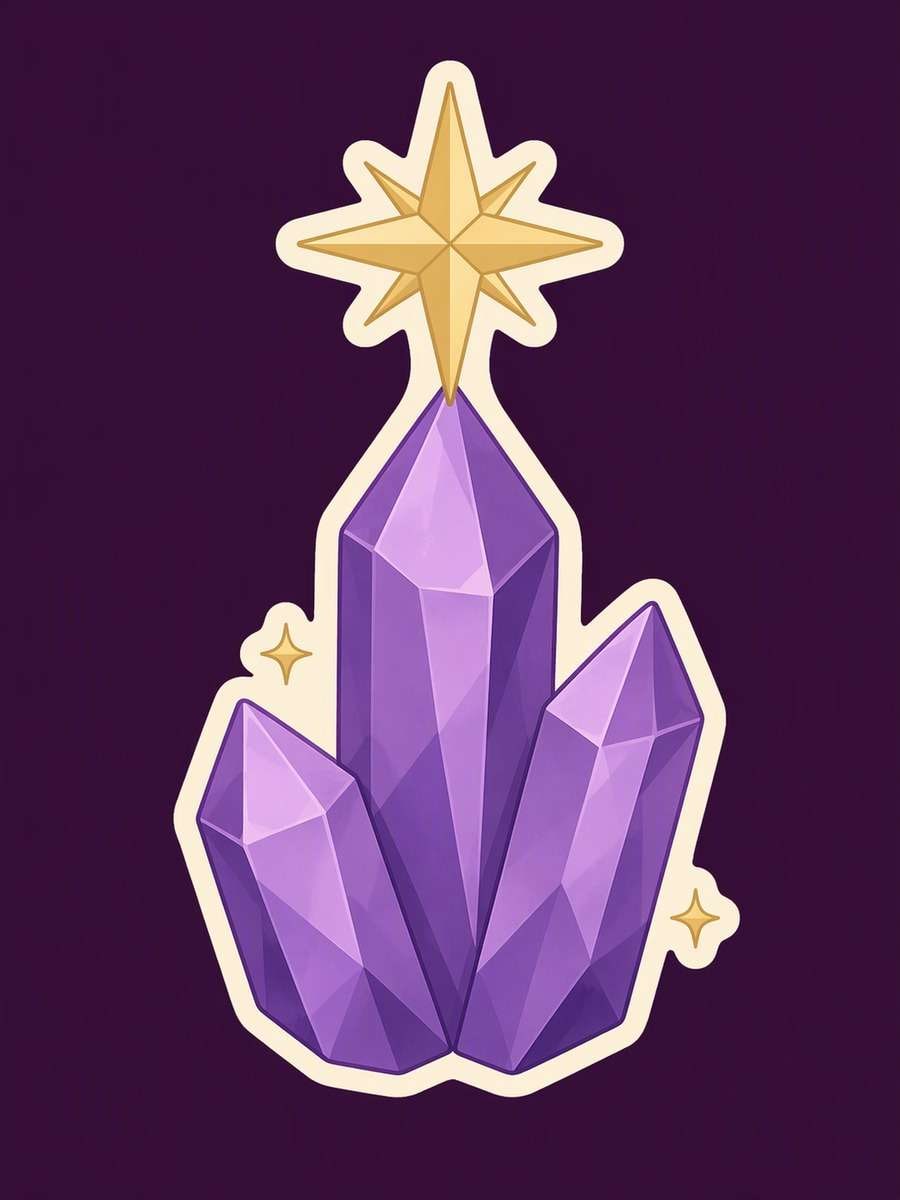
Starry Crystal Cluster
Illustrate exactly three amethyst-like crystals grouped beneath one pale-gold star as a single sticker motif. Vary the crystal heights to form a clear central peak, with broad lavender and violet facets rather than realistic mineral detail. Add two tiny gold glints close to the cluster, keeping everything within a crisp cream outer contour. Use elegant flat shading on a plain deep-plum backdrop; avoid product photography, scattered gemstones, labels and extra celestial objects. --ar 3:4
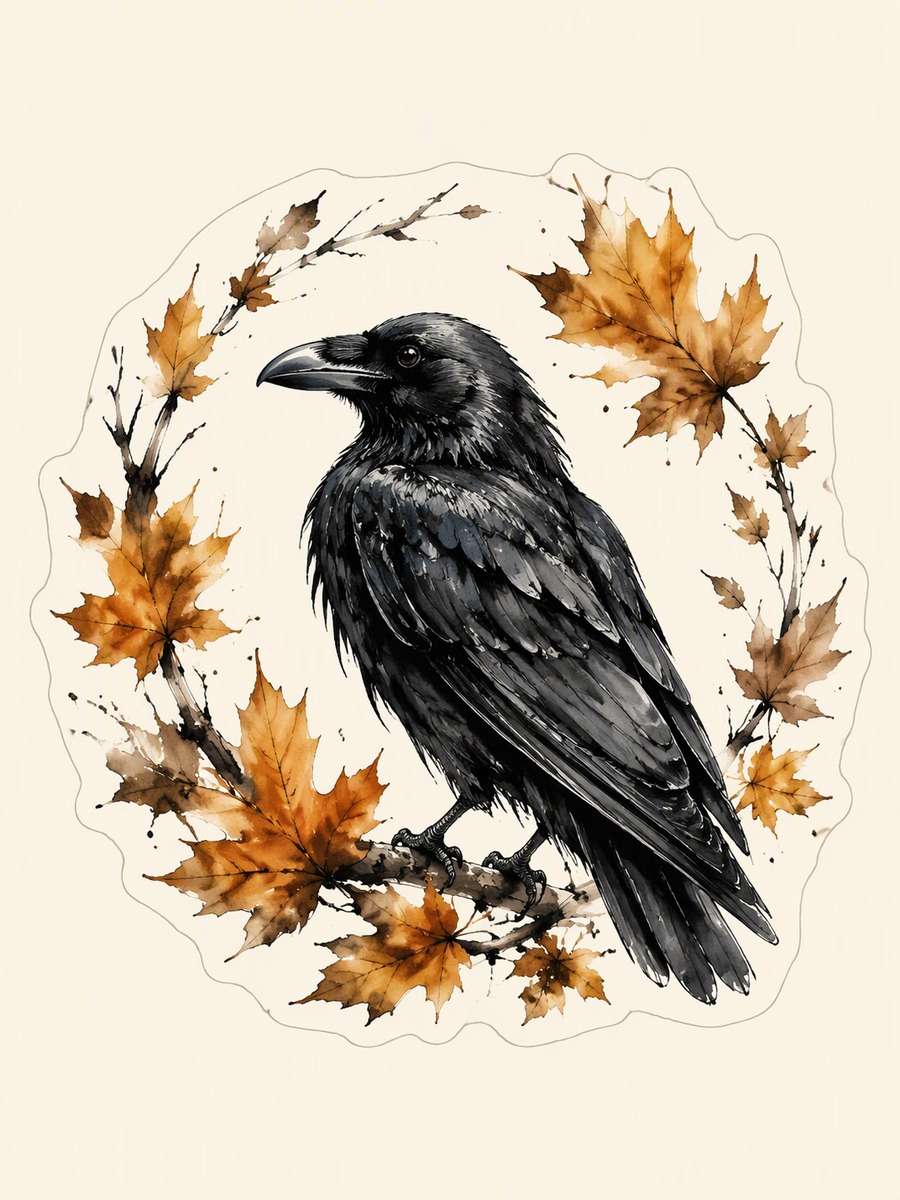
Autumn Raven Wreath
Compose an original raven inside a sparse wreath of amber maple leaves, using expressive black ink marks and controlled watercolor washes. Turn the raven slightly sideways so its beak and folded wing are distinct. Space the leaves unevenly and leave deliberate pale gaps between the feathers and foliage. Keep the wreath compact inside one complete die-cut-style contour on a plain cream background. Avoid a dense forest scene, realistic bird photography, script or ornamental frame. --ar 3:4
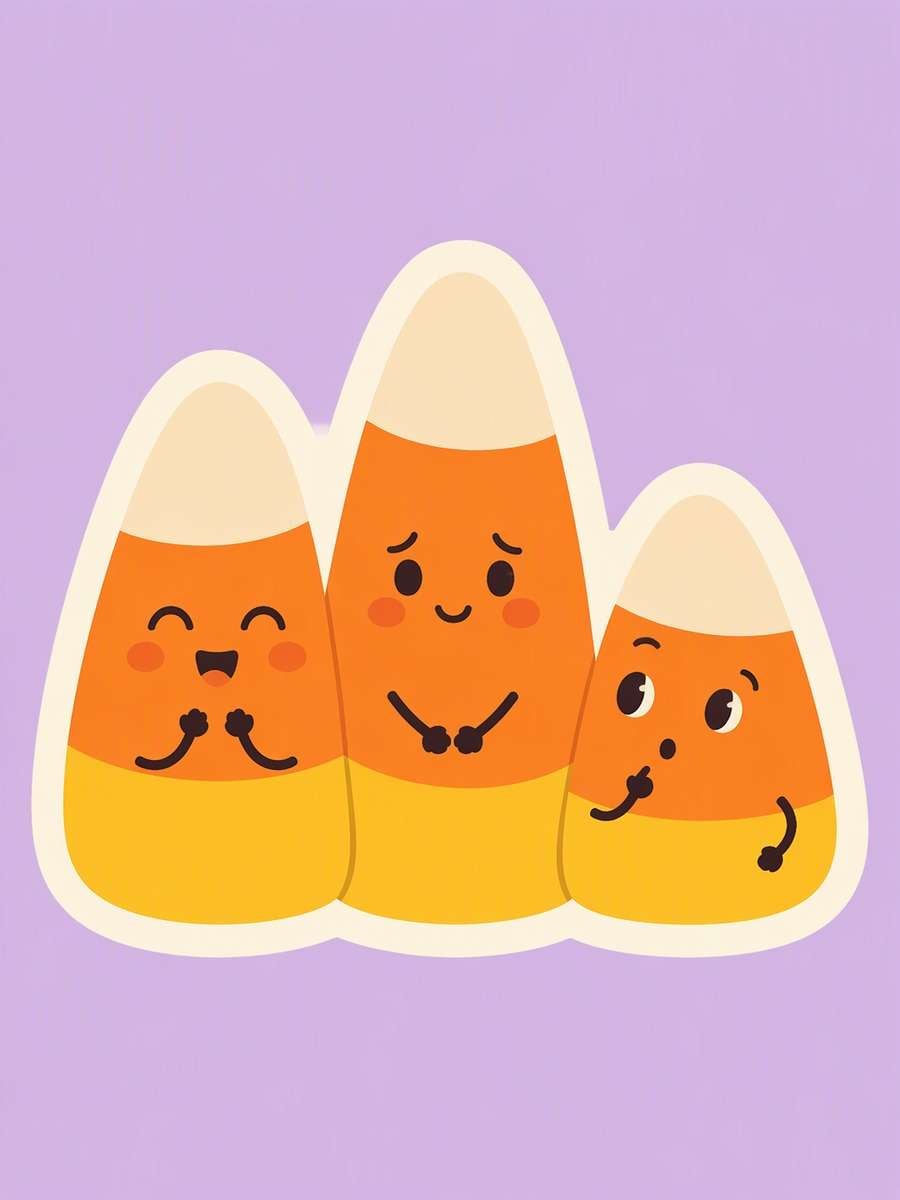
Candy Corn Friends
Create three original candy-corn characters standing closely together inside one rounded grouped sticker silhouette. Give each a different expression: delighted, bashful and curious. Use clean cream, orange and yellow flat fills, simple dark faces and small arms that stay close to the bodies. Make their heights slightly different for a friendly rhythm, with an even pale border on a plain lilac background. No lettering, scattered candy pieces, brand cues or photorealistic sugar texture. --ar 3:4
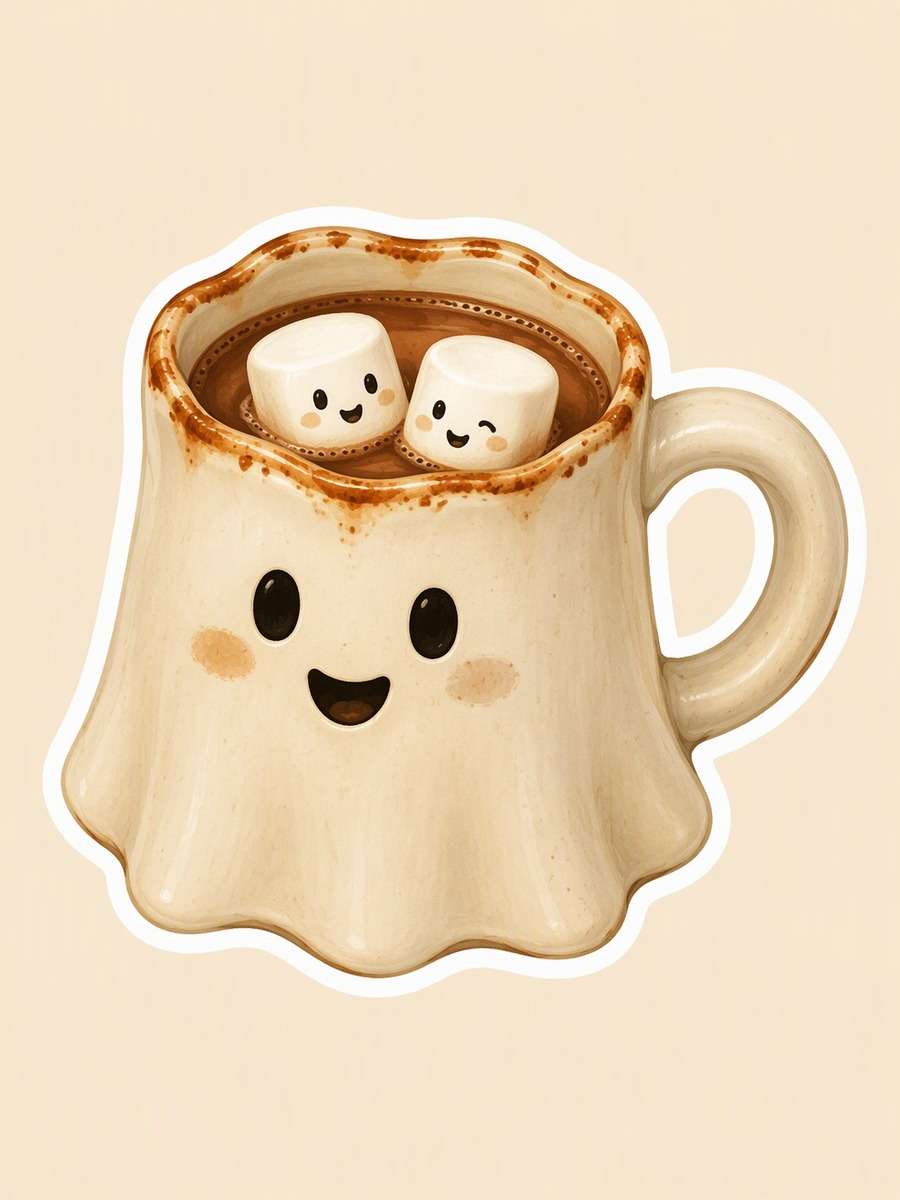
Spooky Cocoa Mug
Illustrate a cream ceramic cocoa mug shaped like a cheerful ghost, with two tiny marshmallow faces floating in the drink. Give the mug a sturdy handle, simple eyes and cinnamon-colored accents along the rim. Use warm storybook shading and a compact composition with a complete pale sticker outline. Keep the marshmallows clearly inside the cup and show only a little cocoa surface. Place it on a plain background, not in a kitchen photograph; add no words. --ar 3:4
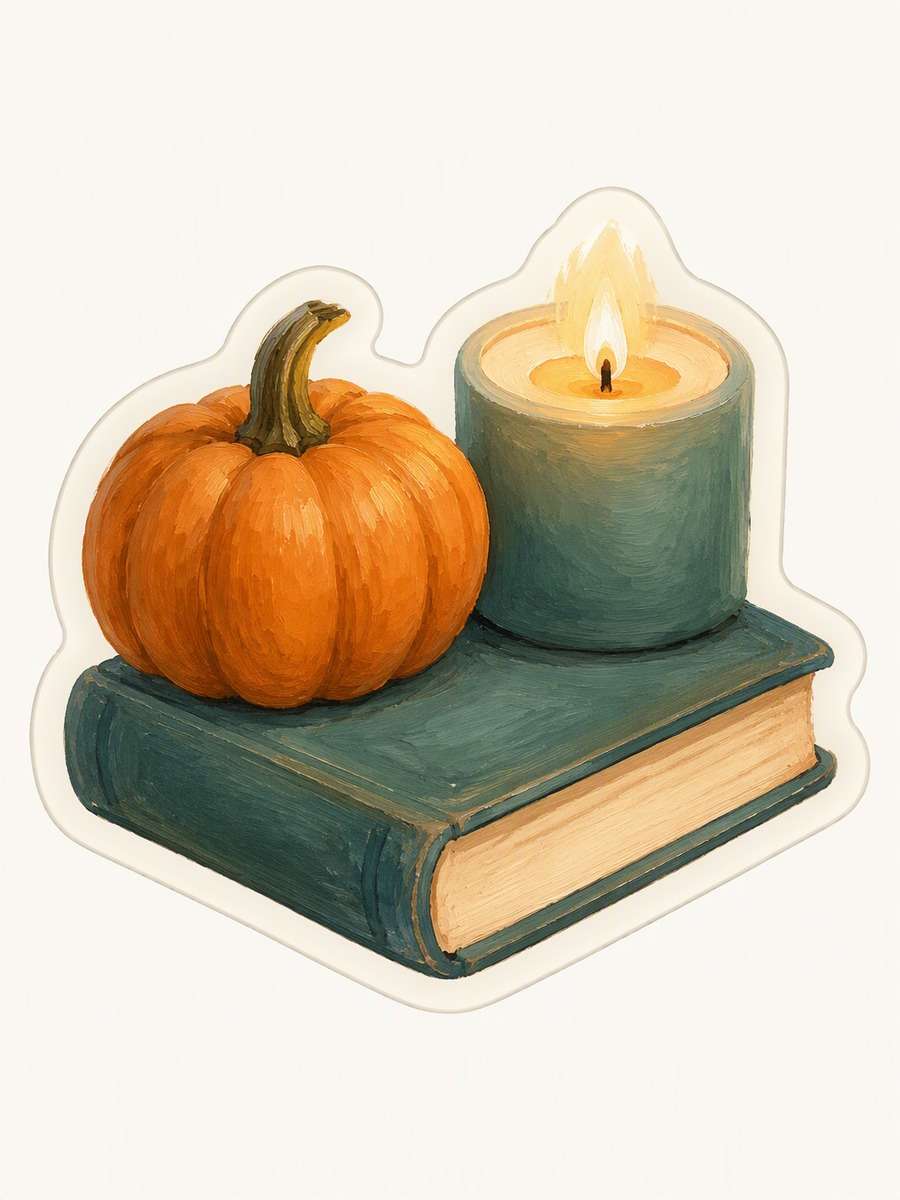
Pumpkin Book Nook
Paint a condensed gouache sticker vignette of one small pumpkin beside a closed book and a short candle. Arrange the three objects in a low triangular cluster, using burnt orange, muted teal and warm ivory with soft brush texture. Let the candle glow gently without creating a room or nighttime setting. Wrap the whole grouping in one clear pale contour against a plain background. Keep book details minimal, the flame contained and all surfaces free of text. --ar 3:4
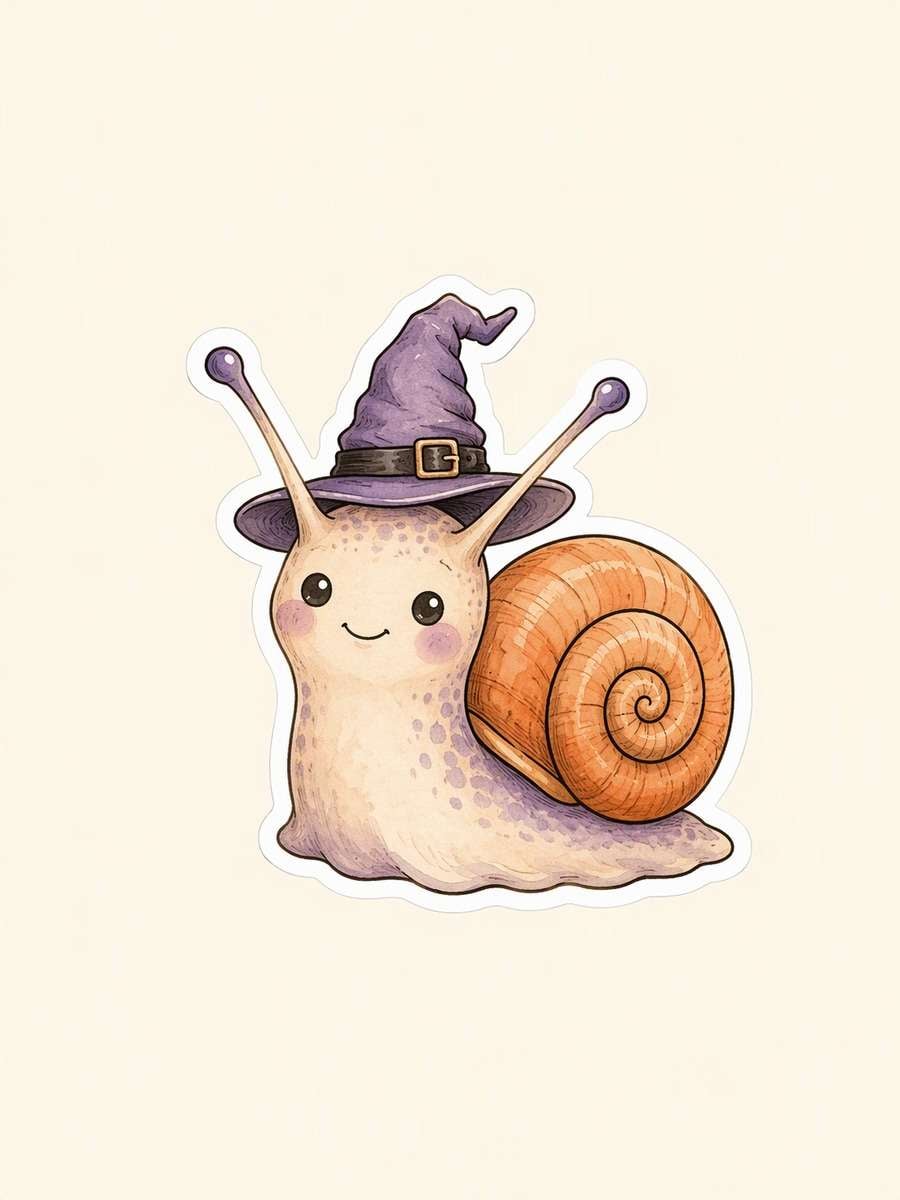
Snail in a Witch Hat
Draw an original smiling snail wearing a tiny crooked witch hat, with a muted orange spiral shell and warm charcoal ink contour. Make both tentacles complete and readable, angling them away from the hat brim so they do not merge. Use restrained lavender accents and light watercolor fill inside a single clean sticker boundary. Center the small character on a plain cream backdrop with generous breathing room. No garden scene, magic wand, words or realistic slime. --ar 3:4
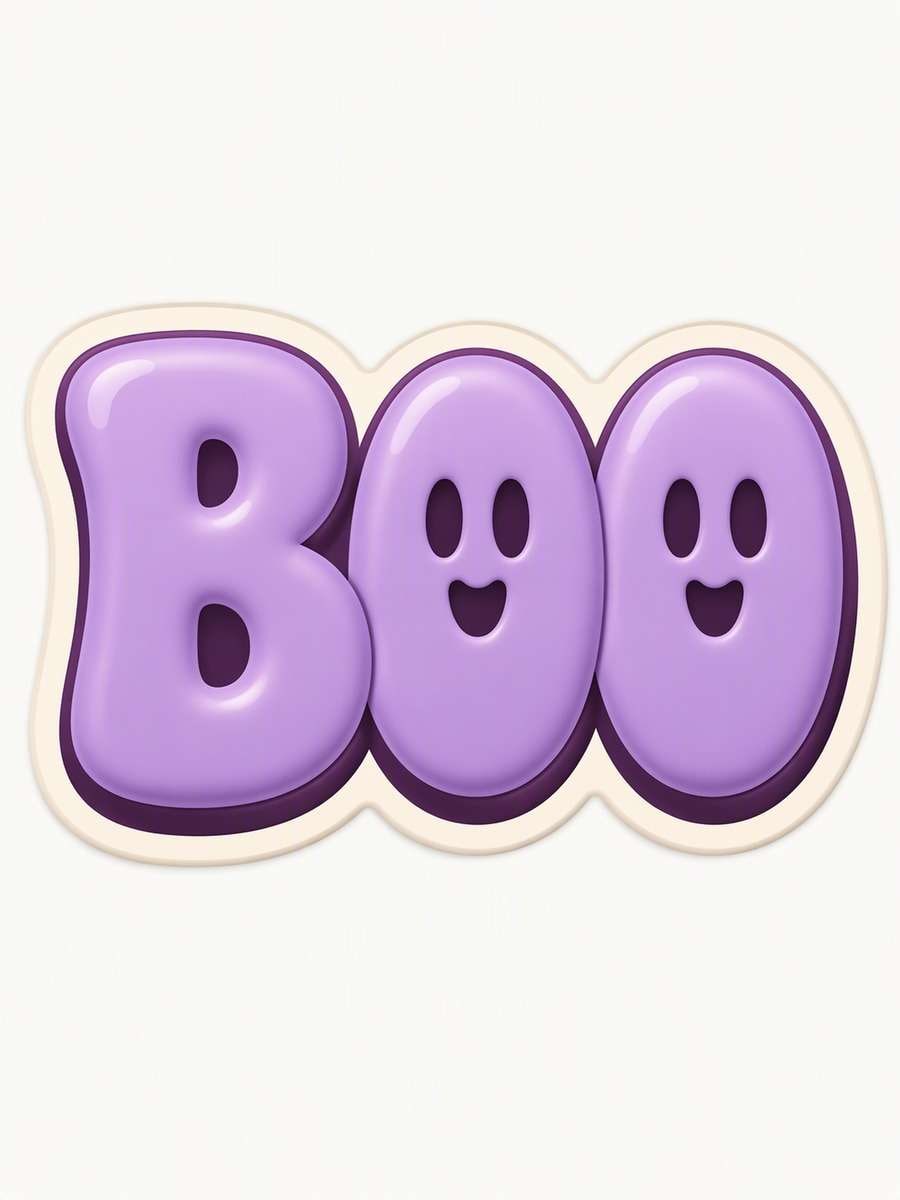
BOO Bubble Lettering
Design a standalone lettering sticker that reads exactly BOO in three large puffy lavender capital letters. Shape the counters of both O letters like simple friendly ghost faces while keeping each O unmistakably readable. Use subtle lilac highlights, a deep-plum shadow and one continuous cream die-cut-style border around the word. Center the complete lettering on a plain light background with ample margin. Check the spelling carefully; include no other letters, words, characters or floating decorations. --ar 3:4
Spooky Serif Badge
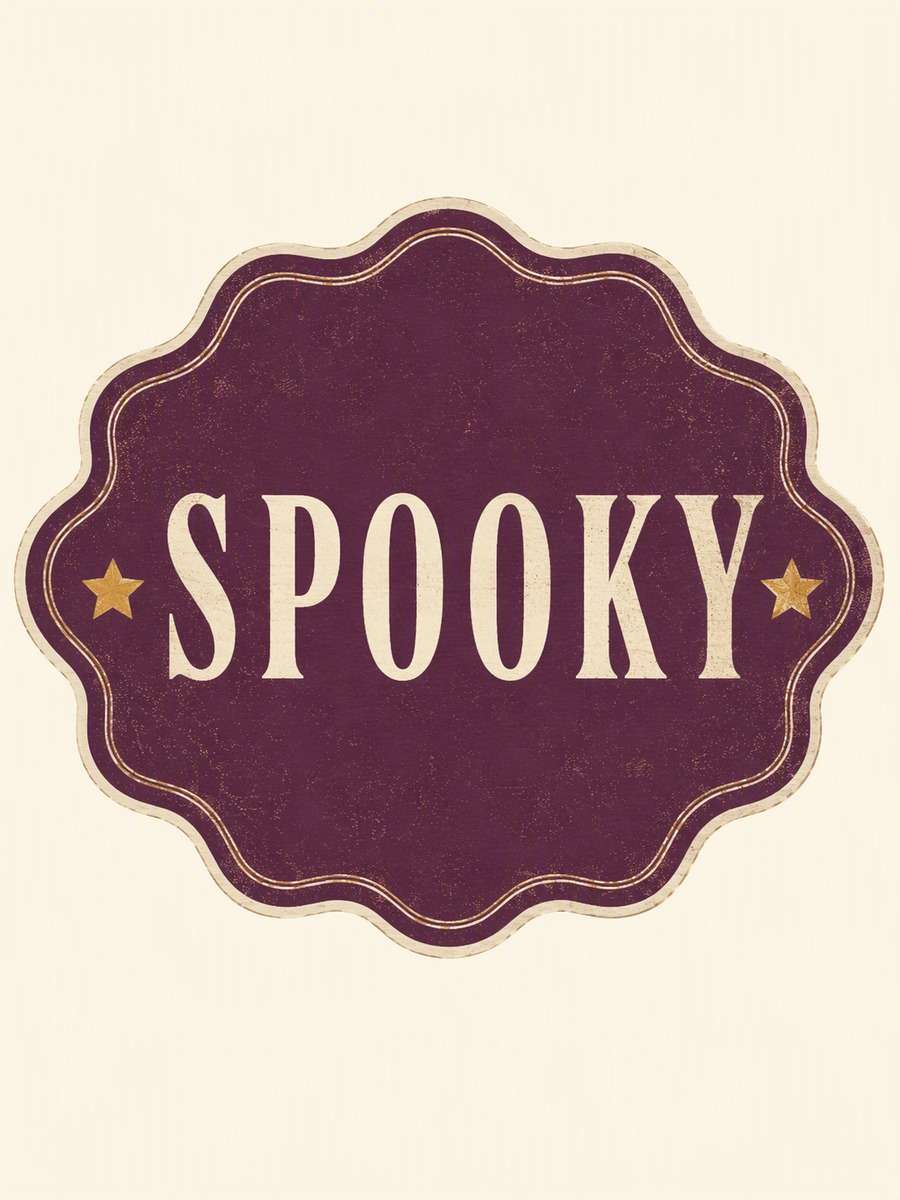
Create one retro plum badge sticker containing exactly the word SPOOKY in large, readable cream serif capitals. Use generous letter spacing, two small gold stars beside the word and a simple scalloped badge edge. Balance the lettering across the center so no character touches the border. Apply lightly worn illustrated ink texture without obscuring the spelling. Show the entire badge with a clean outer contour on a plain cream background; add no subtitle, extra symbols or additional words. --ar 3:4
Ghost Expression Trio
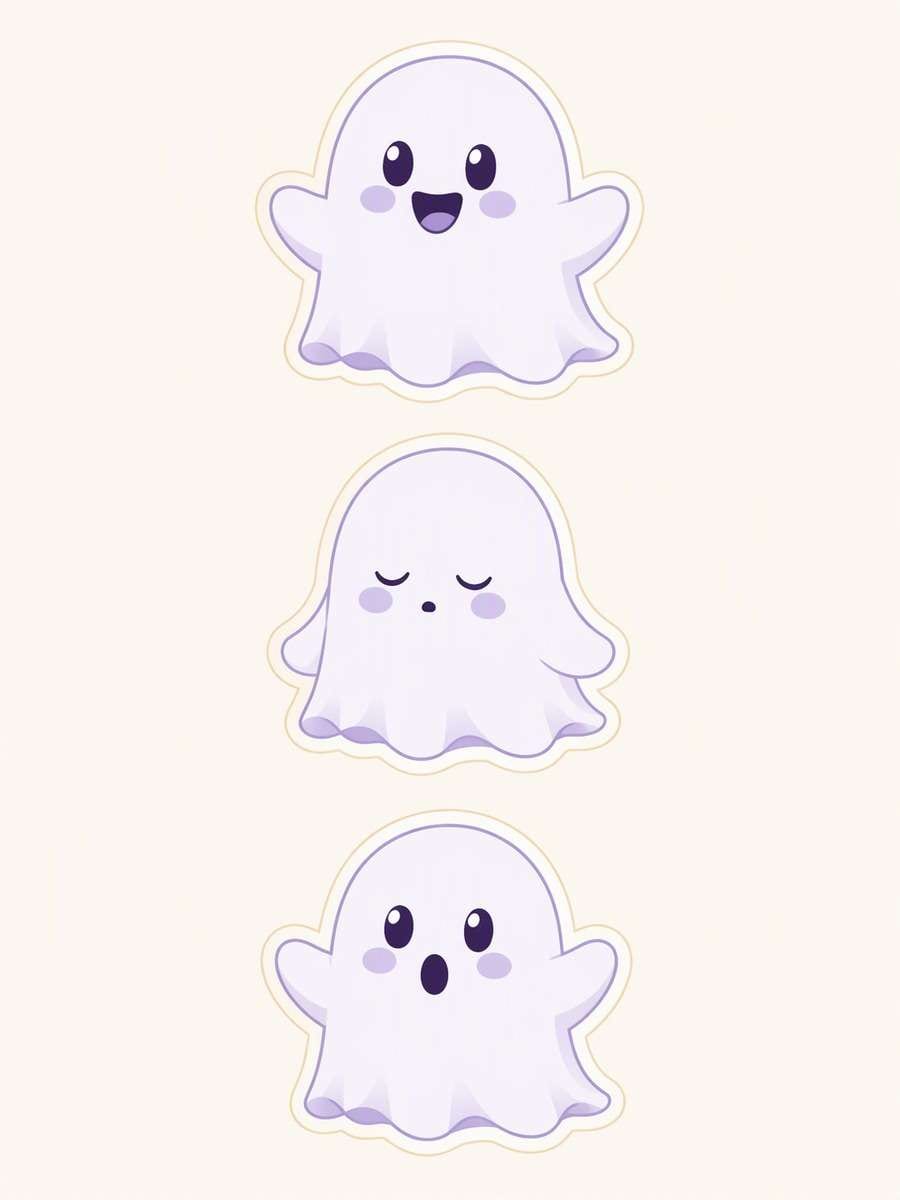
Arrange three separate matching ghost sticker illustrations in a tidy vertical sheet layout: one cheerful, one sleepy and one surprised. Give each ghost a distinct face but identical rounded body proportions, lavender-white palette and cream contour thickness. Leave wide, visible plain-background gutters between all three independent shapes; do not draw a frame around the sheet. Keep every lower hem and outer edge complete. Use simple cartoon fills with no labels, numbers, overlapping figures or extra motifs. --ar 3:4
Orange-and-Lilac Party Pack
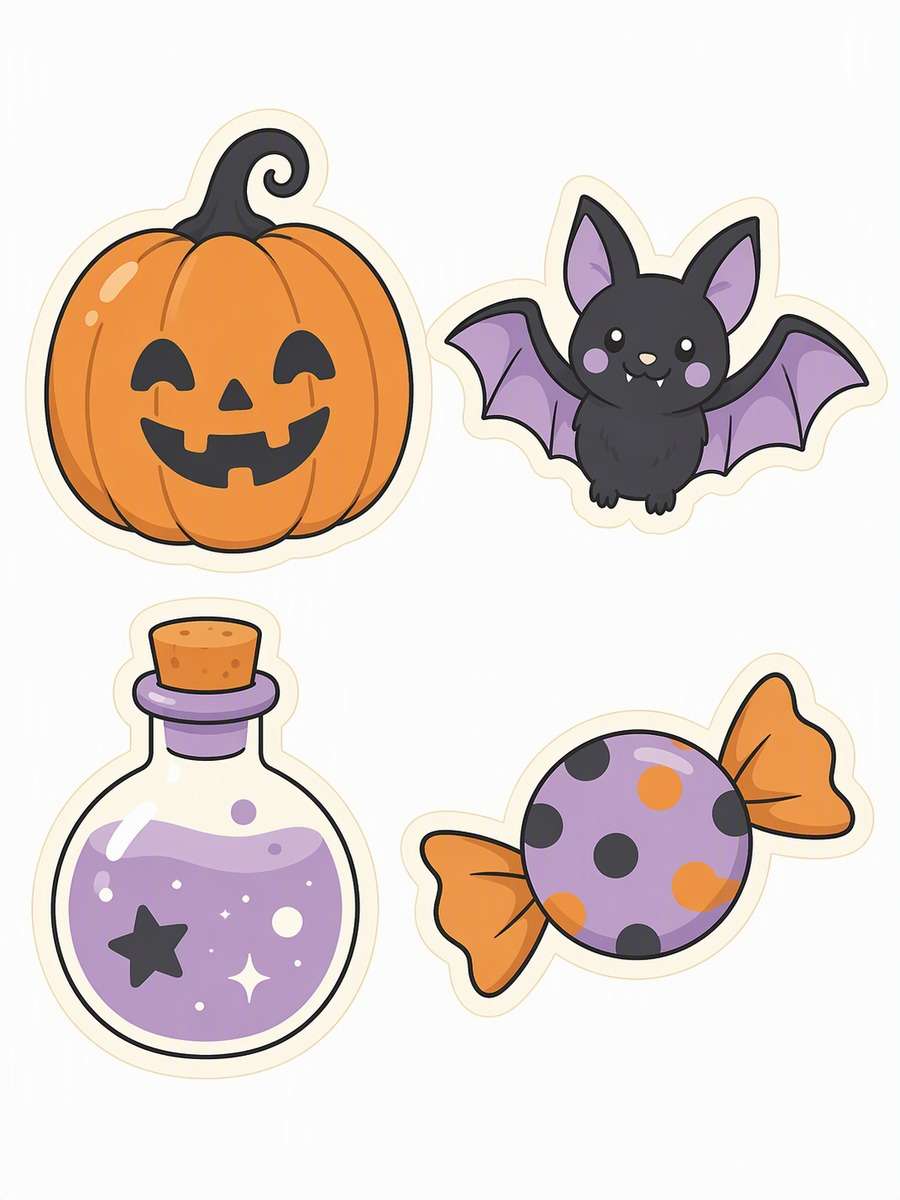
Create a four-motif Halloween sticker sheet with separate pumpkin, bat, potion bottle and wrapped candy illustrations. Unify them with orange and lilac flat fills, charcoal accents, matching line weight and consistent pale die-cut-style borders. Arrange the four independent shapes in a spacious two-by-two layout with clear plain-background gutters. Make each motif complete and individually recognizable, with no overlaps or enclosing sheet frame. Favor party-friendly expressions and broad shapes; include no lettering, branded candy or frightening details. --ar 3:4
Midnight Botanical Pair
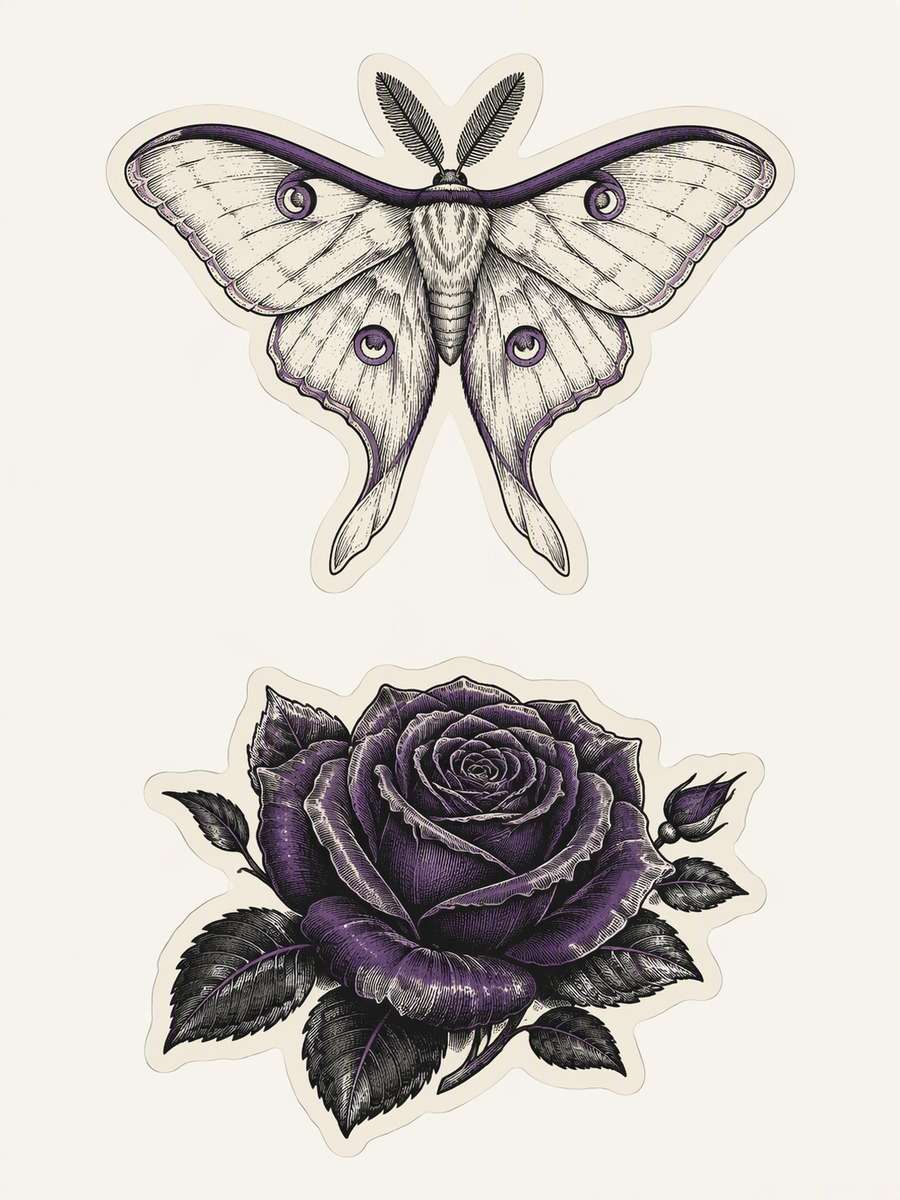
Design two independent botanical Halloween stickers: a lunar moth and a dark rose. Draw both with matching engraving-inspired lines, restrained purple accents and compact silhouettes, giving each its own continuous pale edge. Position the moth above the rose with a generous band of plain background between them; do not join them with stems, stars or a sheet frame. Keep wing markings and rose petals distinct at modest size. Use an original illustrative treatment, not a scientific specimen plate or photograph. --ar 3:4
A Halloween subject becomes a stronger sticker concept when its outer shape, interior detail and intended viewing size work together.
Halloween Sticker Styles: Cute, Retro & Mystical
Flat graphic: Bold shapes and limited colors keep small motifs easy to recognize. Compare Retro Jack-o-Lantern or Checkerboard Witch Hat
Handmade texture: Illustrated stitches, felt or layered paper give a sticker a tactile look. Compare Felt Ghost Patch or Paper-Cut Haunted House
Botanical and mystical: Fine details and restrained color create a quieter Halloween mood. Compare Botanical Moth Moon or Autumn Raven Wreath
Short lettering: One readable word works as a focal accent rather than a detailed scene. Compare BOO Bubble Lettering or Spooky Serif Badge
What to Check in the Generated Image
Zoom out to see whether the main motif is still recognizable.
Inspect narrow features such as whiskers, tentacles, wing tips and stems.
Read every generated letter rather than assuming the prompt produced correct spelling.
Treat a drawn white border as part of the artwork, not proof of a transparent background.
Halloween Sticker Ideas for Invitations, Planners & Chats
Use these prompt directions as starting points, then adjust the motif and finish for your project.
Characters with expression
Change eyes, poses or accessories to make ghosts, bats and cats feel playful rather than frightening.
Distinct visual finishes
Compare flat graphics, pixel art, illustrated felt, paper layers and gouache without relying on one Halloween look.
Single motifs and sets
Choose one bounded design or ask for separate shapes with clear gutters when planning a coordinated group.
Room to personalize
Swap a palette or seasonal accent while keeping the subject, composition and intended audience clear.
FAQs About AI Halloween Sticker Prompts
1. How do I make Halloween sticker prompts cute instead of scary?
Ask for rounded shapes, warm or pastel colors and friendly expressions. Exclude gore and realistic frightening people, and choose simple faces over dramatic horror lighting.
2. How can I get readable words on a Halloween sticker?
Keep the wording short, state the exact letters, request large high-contrast type and exclude extra text. AI-generated lettering can still be incorrect, so check the result and revise it if needed.
3. Will these prompts make stickers with transparent backgrounds?
No. A plain background or illustrated die-cut border is not a transparent cutout. The gallery shows AI-generated JPG examples; remove the background separately if you need a cutout, then inspect its edges.
4. How do I make a cohesive Halloween sticker sheet?
List the motifs, request separate complete shapes and wide gutters, and give them a shared palette, line weight and border treatment. Check that no pieces overlap before arranging them for your project.
5. Can I adapt these prompts for kids or a more mysterious look?
Yes. For a kid-friendly result, favor cheerful faces and broad, bright shapes. For a quieter mood, use muted botanical colors, moons or engraving-like detail while keeping the sticker contour clear.
Halloween Sticker Feedback
Alex M.
Photographer
Cute enough for a family party. The ghost prompt was the first one I saved. I was putting together a family party invitation and wanted something recognizably Halloween without making it frightening. The rounded character and softer colors were much closer to that idea.
Maya J.
Designer
Not just another pumpkin sticker. I expected lots of similar pumpkins, so the pixel art and paper-cut ideas were a nice change. The haunted house was my favorite for an October planner page; it gave the layout a more handmade feel.
Jordan P.
Creator
Something that reads well in a chat. The BOO example made me think about what would actually read well in a message. I preferred that simple shape to a busy scene, and checking it at a smaller size helped me spot which details to drop.
More Halloween, Sticker & Spooky Illustration Resources