Censor an image online in seconds with Media.io. Blur faces, pixelate license plates, hide text, or cover sensitive parts of a photo before sharing it on social media, in documents, or in public posts. It’s a fast way to protect privacy while keeping the rest of the image clear and usable.
Explore our curated collection of censor image ideas
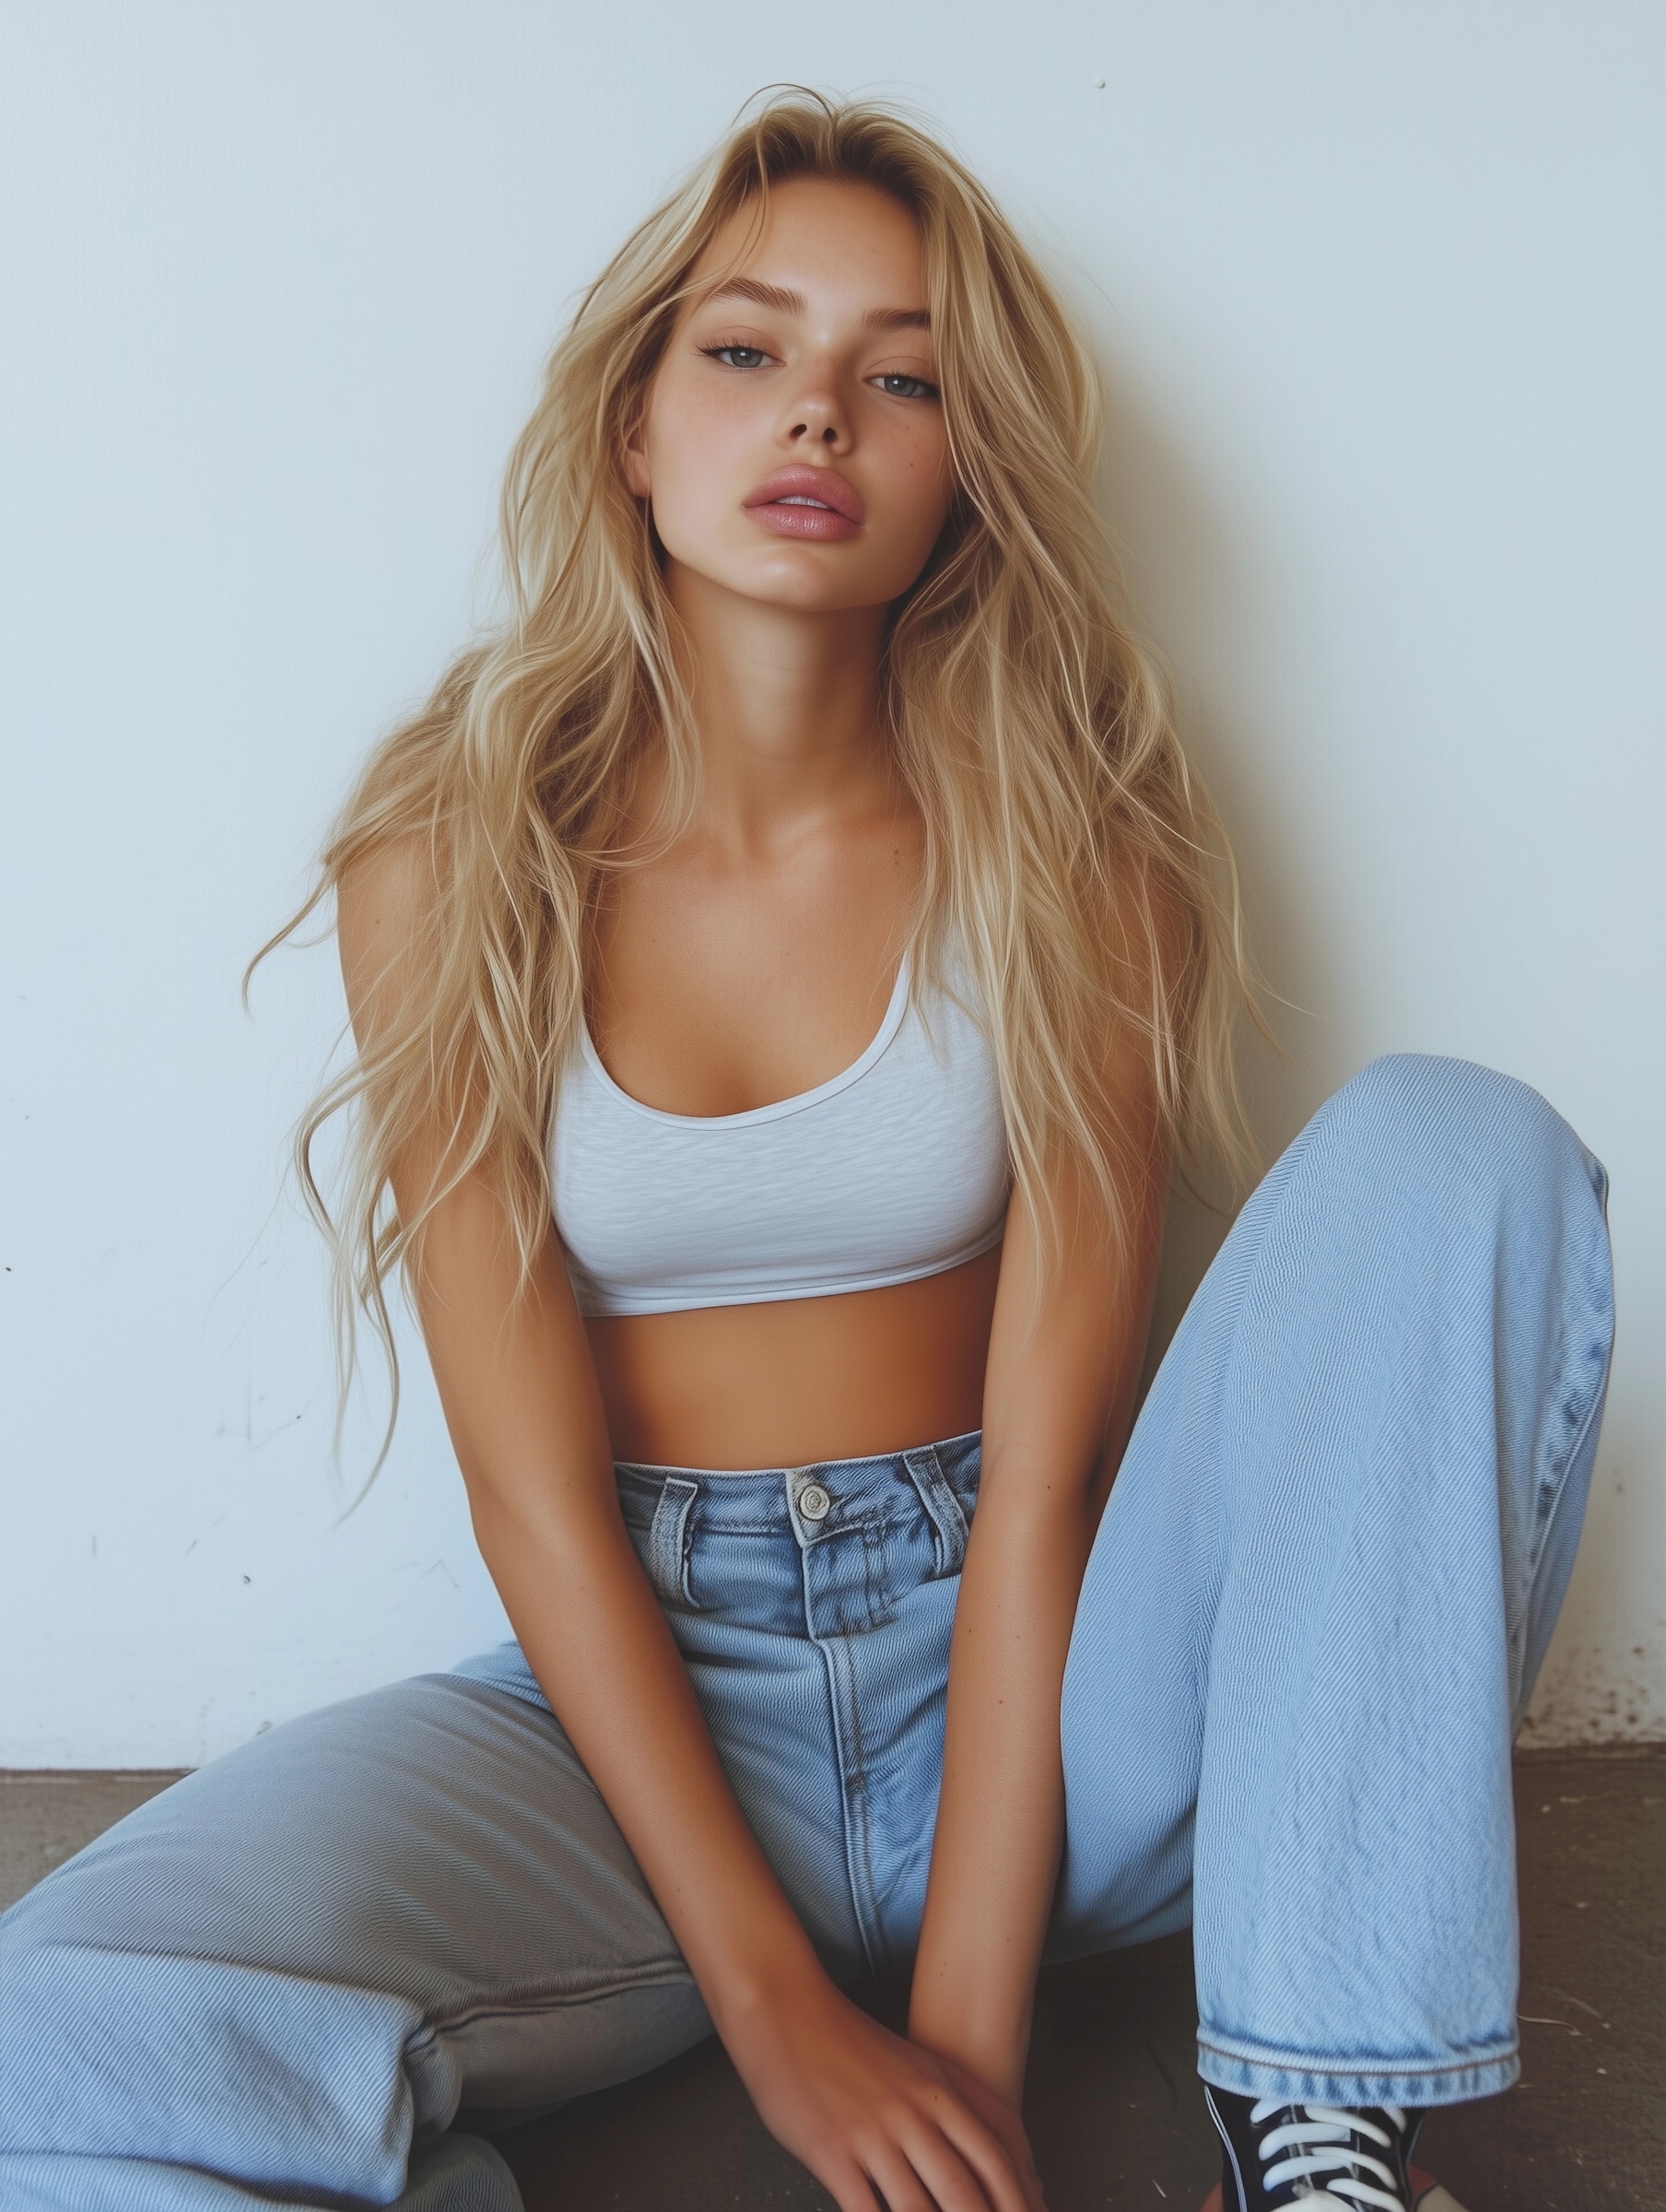
Blur Face Privacy Edit
Use the uploaded image as the subject and apply a clean face blur censor effect over the selected person while preserving the rest of the photo in sharp detail. Keep lighting, skin tones, clothing, and scene composition natural so the final image feels privacy-safe, realistic, and ready to share online.
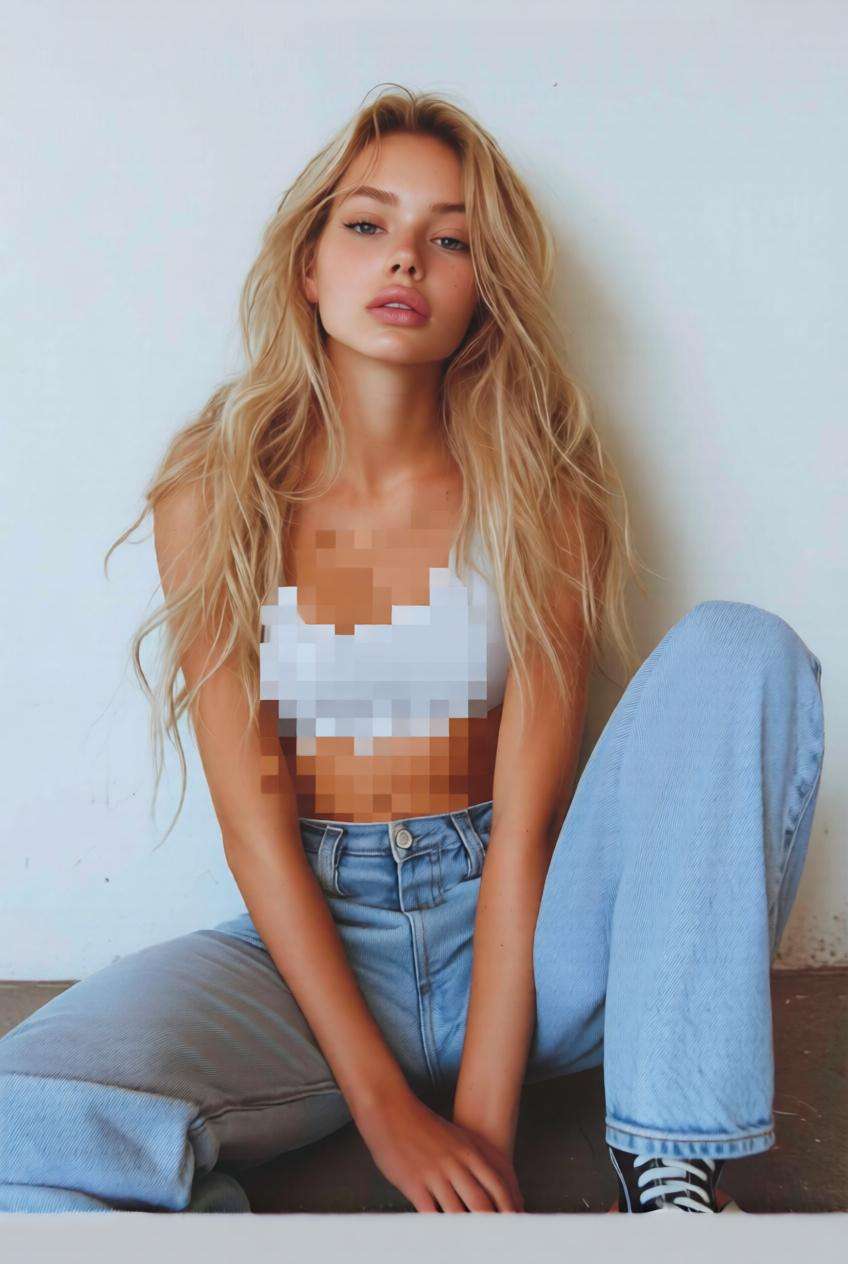
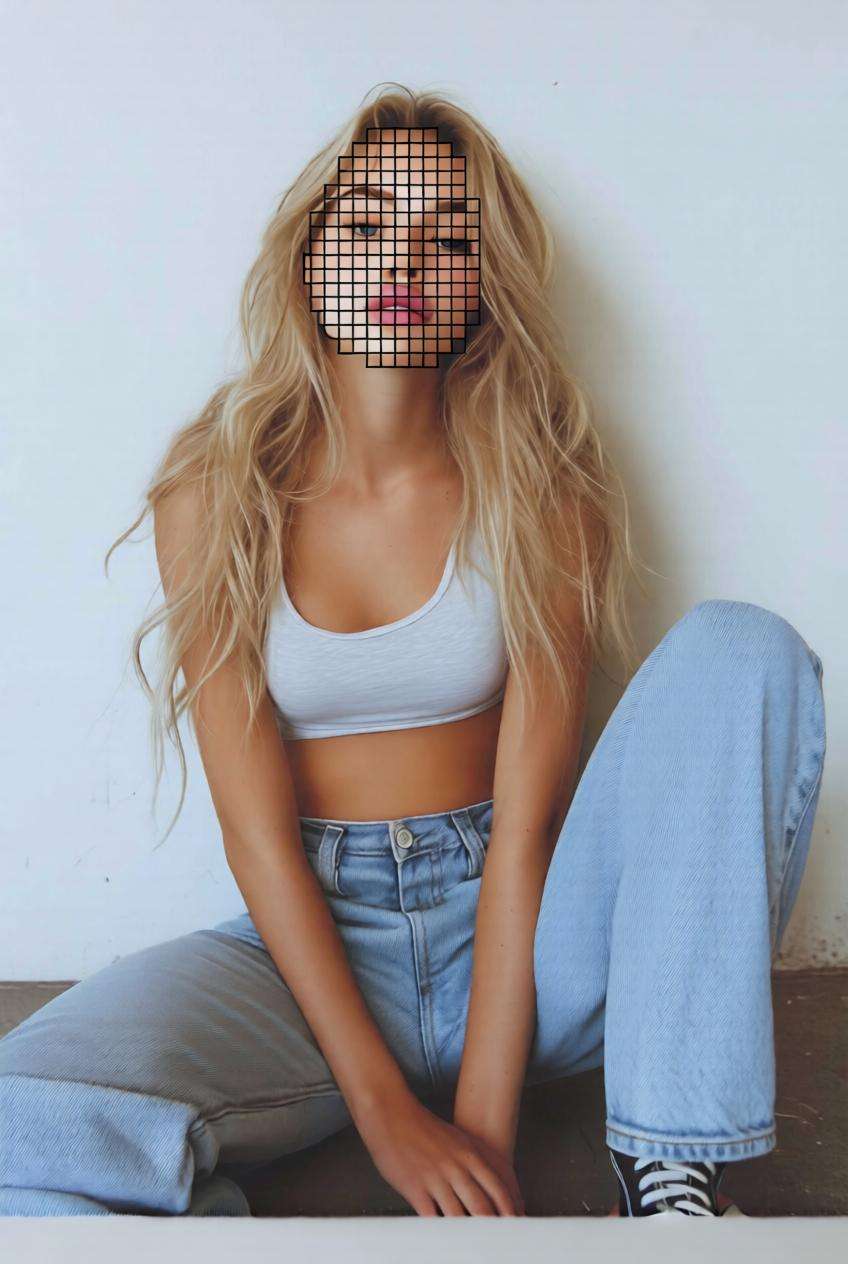
Pixelated Face Censor
Use the uploaded image as the subject and convert the selected face into a neat pixelated censor effect with clean mosaic blocks. Preserve the original pose, background, and overall image realism while making the censored area look deliberate, balanced, and visually polished.
Classic Censor Bar
Use the uploaded image as the subject and add a classic black censor bar over the eyes or chosen sensitive area. Keep the hairstyle, facial outline, body proportions, and image composition intact so the final result stays expressive while protecting identity.
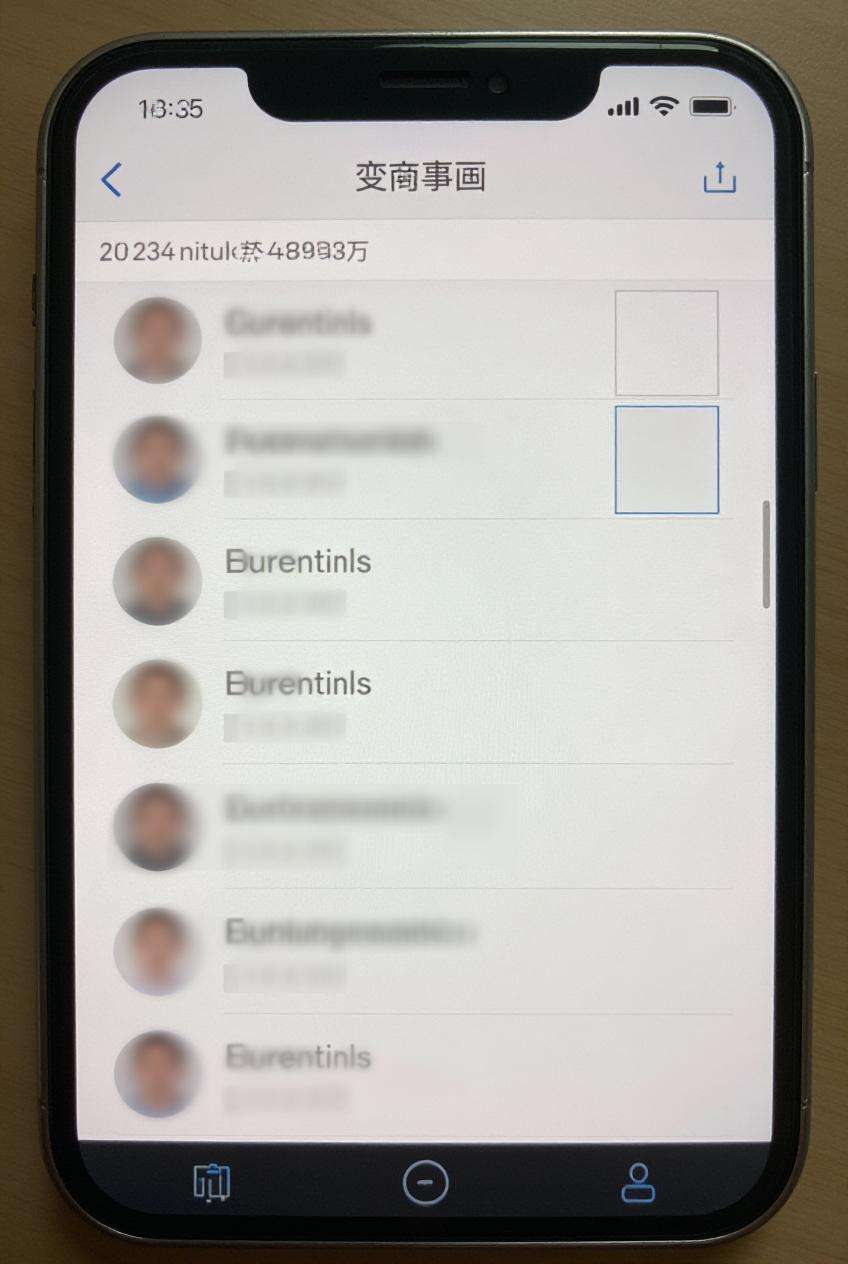
Blur Private Text
Use the uploaded image as the subject and censor sensitive text such as names, phone numbers, emails, or account details with smooth blur masks. Keep the rest of the screenshot sharp and readable so the final result stays useful for tutorials, reports, or sharing.
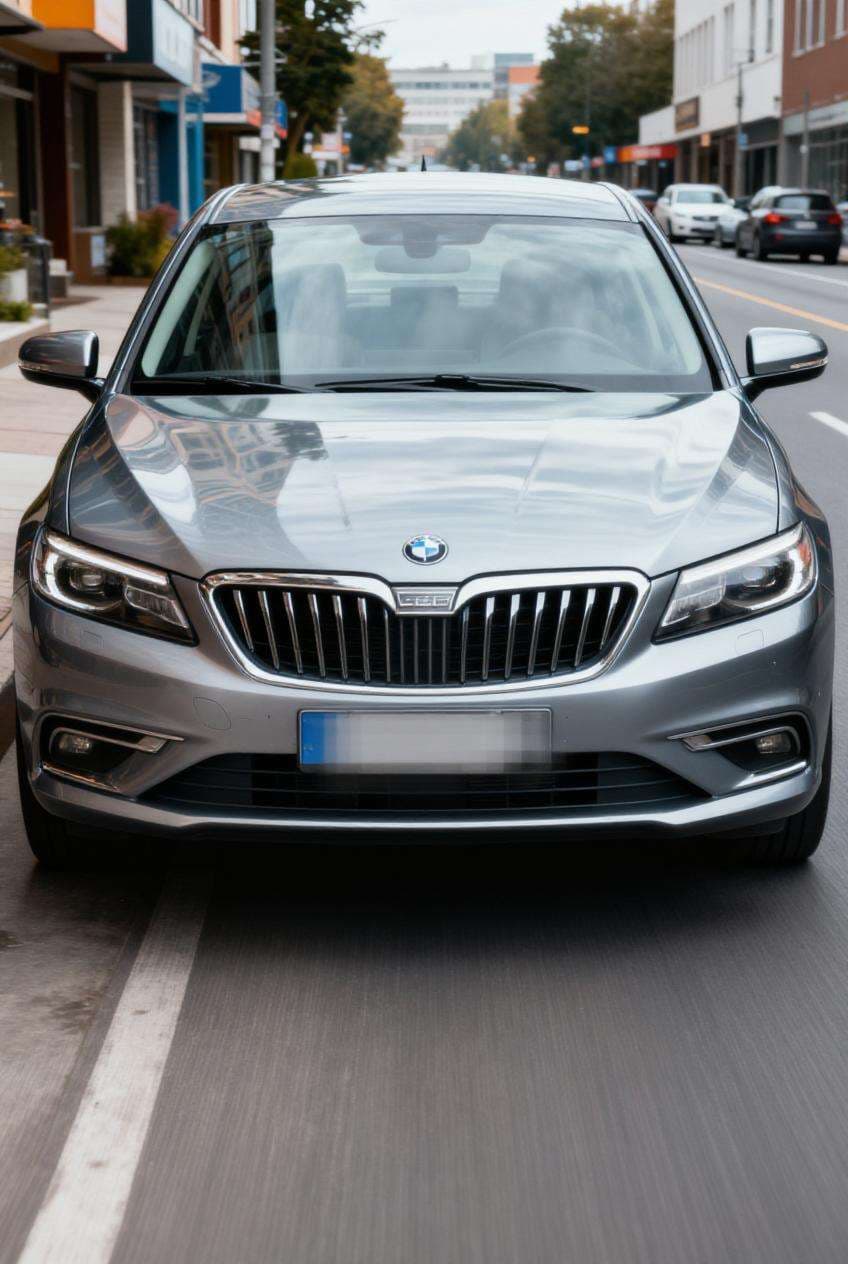
License Plate Censor
Use the uploaded image as the subject and hide the license plate or street number with a subtle pixelation or blur effect. Preserve car details, reflections, lighting, and scene realism while making the censored area clear and privacy-safe.
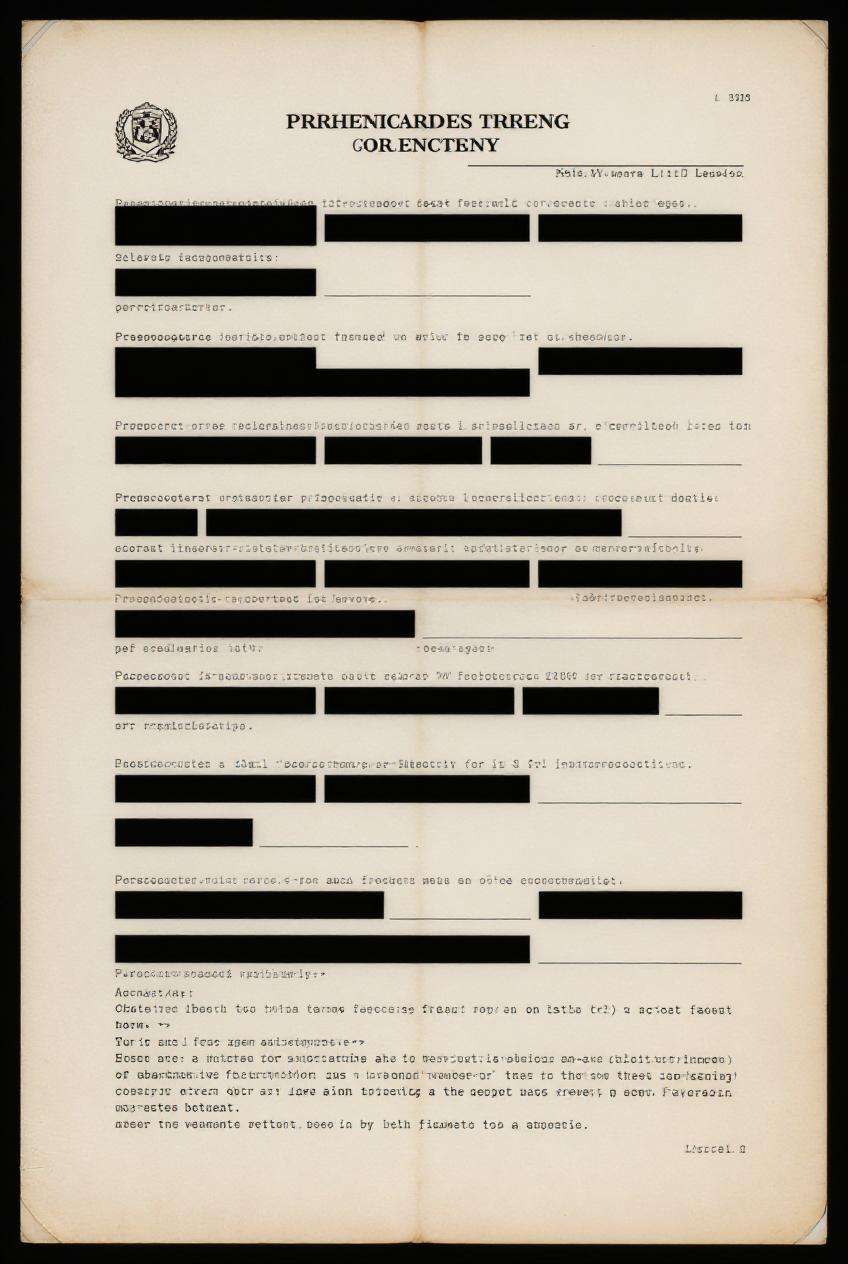
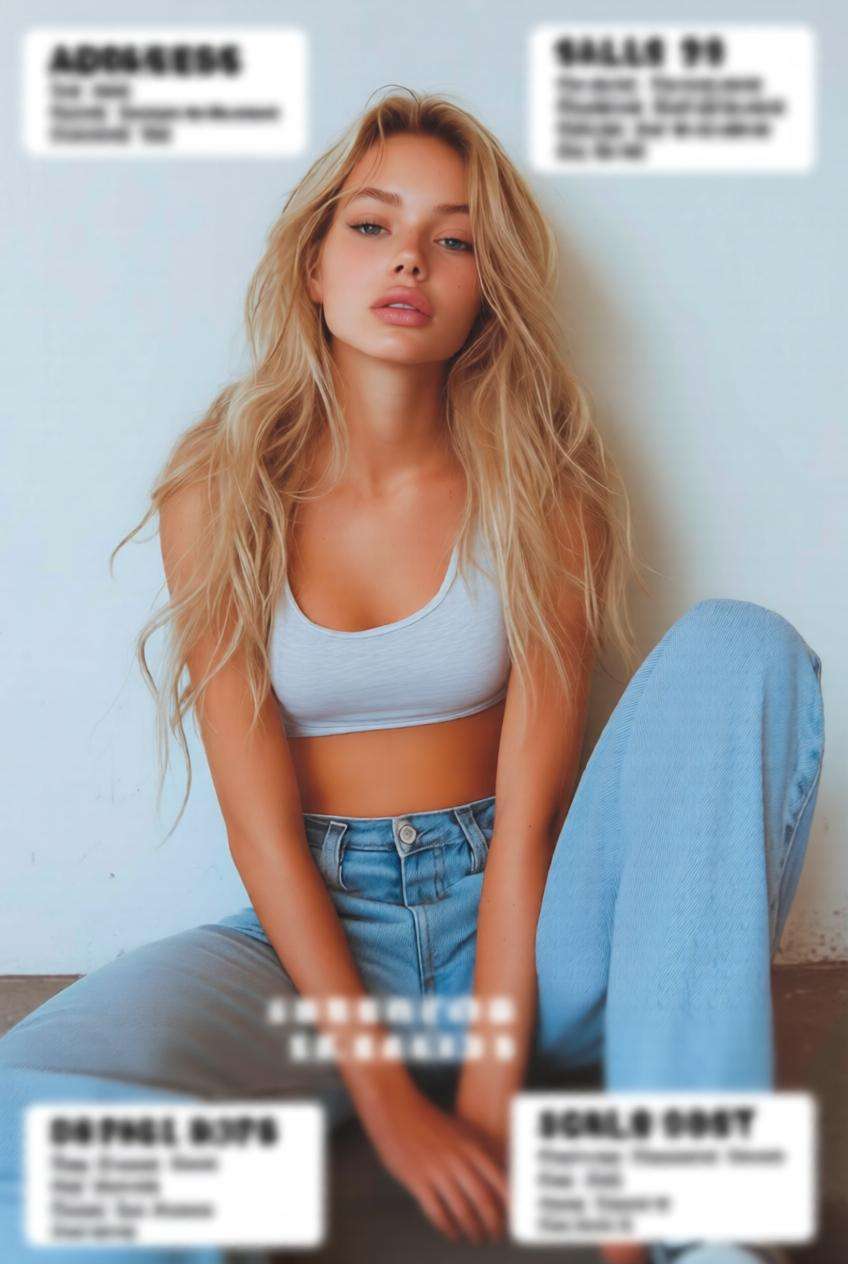
Blackout Document Details
Use the uploaded image as the subject and apply a blackout censor effect to confidential document details, labels, or account information. Keep paper texture, margins, and the overall layout clean so the image remains professional and easy to present.
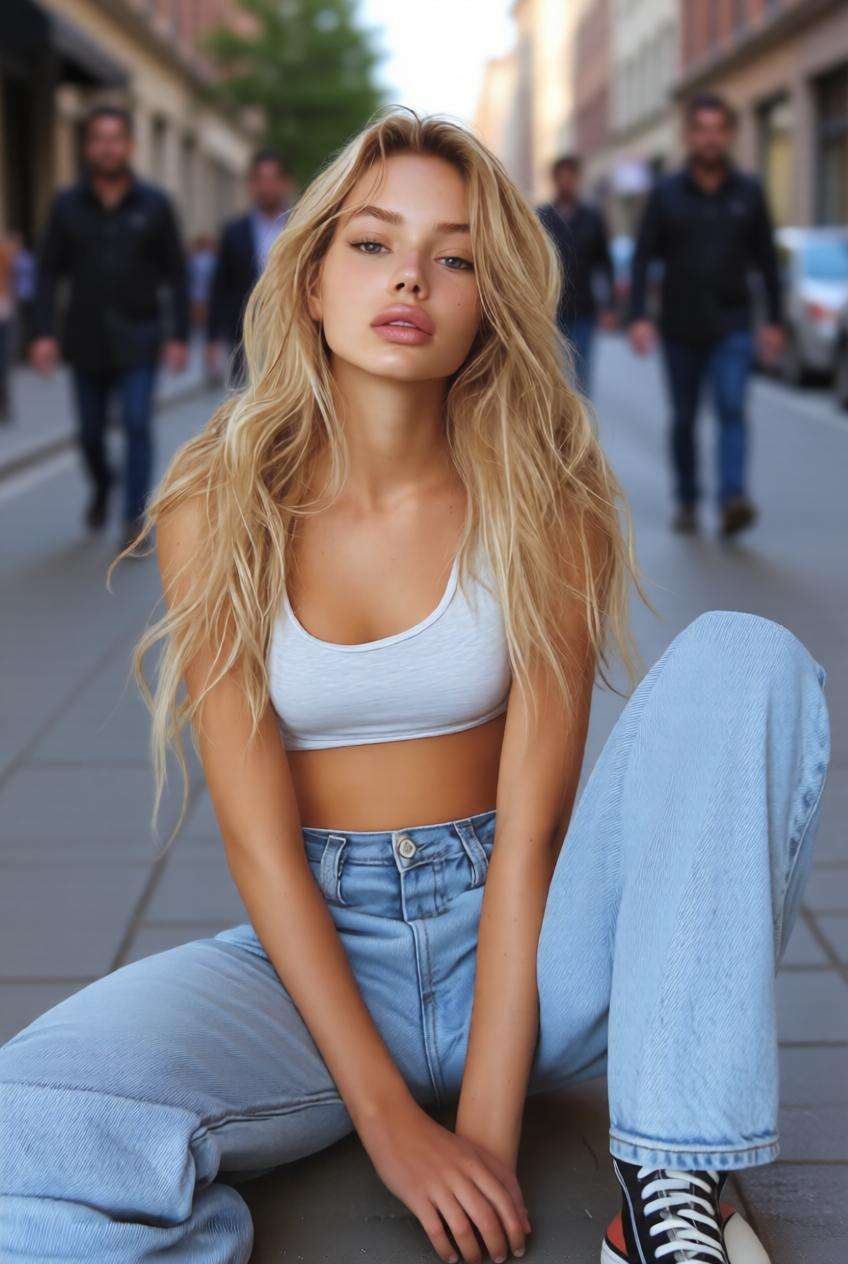
Blur Background Faces
Use the uploaded image as the subject and blur background people or bystanders while keeping the main subject crisp and clear. Preserve natural depth, lighting, and street atmosphere so the final image feels authentic and privacy-conscious.
Sensitive Area Pixelation
Use the uploaded image as the subject and pixelate the selected sensitive body area with clean mosaic censoring while preserving realistic skin tone, body proportions, lighting, and overall composition for a safe and polished final image.
Shipping Label Blur
Use the uploaded image as the subject and blur address labels, tracking numbers, or seller information while keeping the product itself sharp and attractive. The final image should feel clean, trustworthy, and ready for listings or support content.
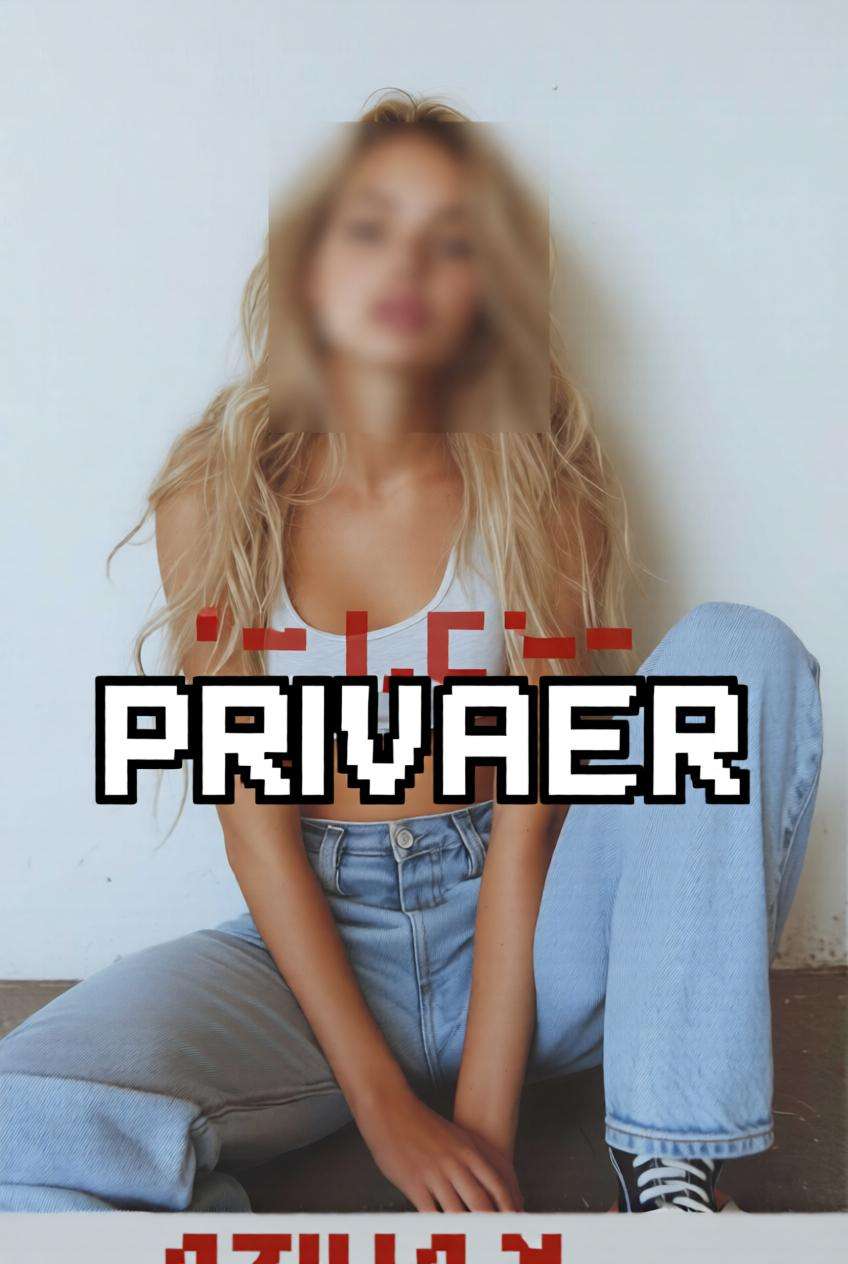
Mixed Privacy Censor
Use the uploaded image as the subject and combine face blur, text censoring, and object pixelation in one polished privacy edit. Preserve the story, colors, framing, and visual balance of the original image while ensuring all sensitive regions are securely hidden.
Why Users Need to Censor Images
Hide Faces and Protect Identity
Censor an image before posting it publicly by blurring faces, pixelating features, or adding a censor bar.
This is useful for creators, parents, journalists, and anyone sharing photos that include private individuals.
Blur Private Details in Screenshots
Hide names, account numbers, email addresses, and chat content before sharing screenshots online.
It helps you keep useful visual context while removing sensitive information that should stay private.
Censor Plates, Labels, and Documents
Use blur, mosaic, or blackout effects to hide license plates, shipping labels, house numbers, or document details.
One quick edit can make a photo much safer to publish, send, or present.
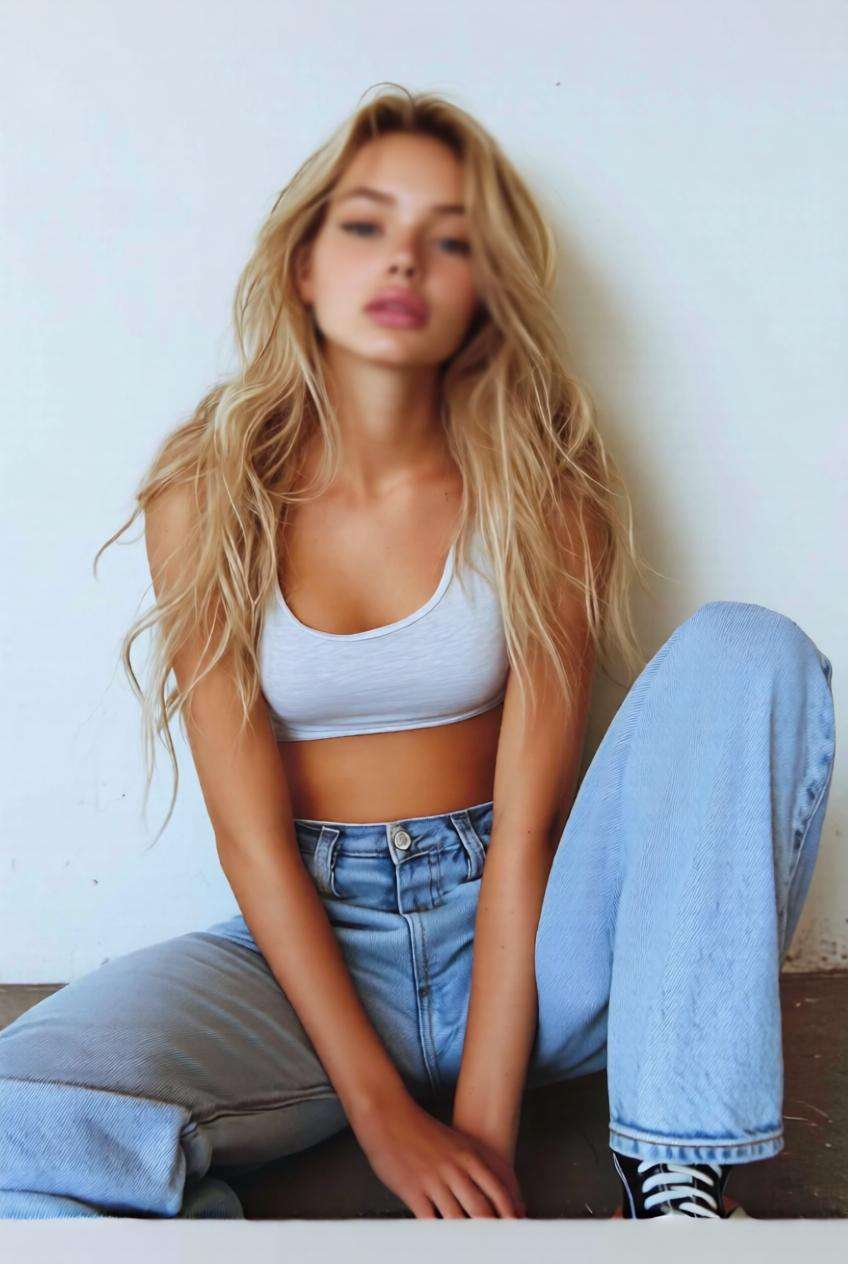
Choose the Censor Style That Fits
Different images need different privacy edits. You can blur for subtle protection, pixelate for a stronger effect, or use a blackout bar for a clear editorial look.
It’s a flexible way to make photos and screenshots safe without overediting the whole image.
How to Censor an Image Online
01
Step 1 – Open the Censor Image Tool
Go to Media.io in your browser and open the censor image tool.
No complicated software or manual editing experience is needed to get started.
02
Step 2 – Upload Your Image and Select the Area
Upload your photo or screenshot, then choose the part you want to hide.
You can censor faces, private text, license plates, labels, background people, or other sensitive details.
03
Step 3 – Generate and Download the Safe Version
Click Generate to apply blur, pixelation, or blackout censoring in seconds.
Download the edited result for social posts, work documents, marketplace images, or privacy-safe sharing.
What Users Say About Media.io Censor Image Tool
Maya
Social Media Manager
“Fast privacy edits”
I use it before posting behind-the-scenes photos. It makes it easy to hide faces and labels without ruining the whole image.
Daniel
Online Seller
“Perfect for screenshots”
I censored order details and customer info in seconds. The result looked clean enough to use in listings and support docs.
Ava
Freelance Writer
“Simple and reliable”
I often need to hide names and profile pictures in reference screenshots. This workflow is much faster than manual editing.
Frequently Asked Questions about Censor Image Tools
1. What is a censor image tool?
A censor image tool helps you hide sensitive parts of a photo or screenshot before sharing it. You can blur faces, pixelate private details, add a censor bar, or black out confidential content while keeping the rest of the image visible and usable.
2. Can I blur faces in a photo online?
Yes. With Media.io, you can blur faces in photos online to protect identity before posting or sharing an image. This is useful for public scenes, family photos, event content, street photography, or any image that includes people who should remain private.
3. Can I censor text or private information in screenshots?
Absolutely. You can hide names, email addresses, account details, message content, tracking numbers, and other sensitive text in screenshots. This makes it much safer to share support captures, educational materials, team references, or client-facing examples.
4. Which censor style should I use: blur, pixelate, or blackout?
Blur is a good choice when you want the edit to feel softer and more natural. Pixelation creates a stronger privacy effect and is commonly used for faces, plates, or sensitive body areas. Blackout bars work well for documents, screenshots, and editorial-style visuals where you want the hidden area to be very obvious.
5. Can I use Media.io to censor an image for free?
Yes. You can try censor image online workflows with Media.io to blur, pixelate, or hide sensitive areas in photos and screenshots quickly. It’s a practical option for privacy protection, social sharing, moderation prep, and visual cleanup.