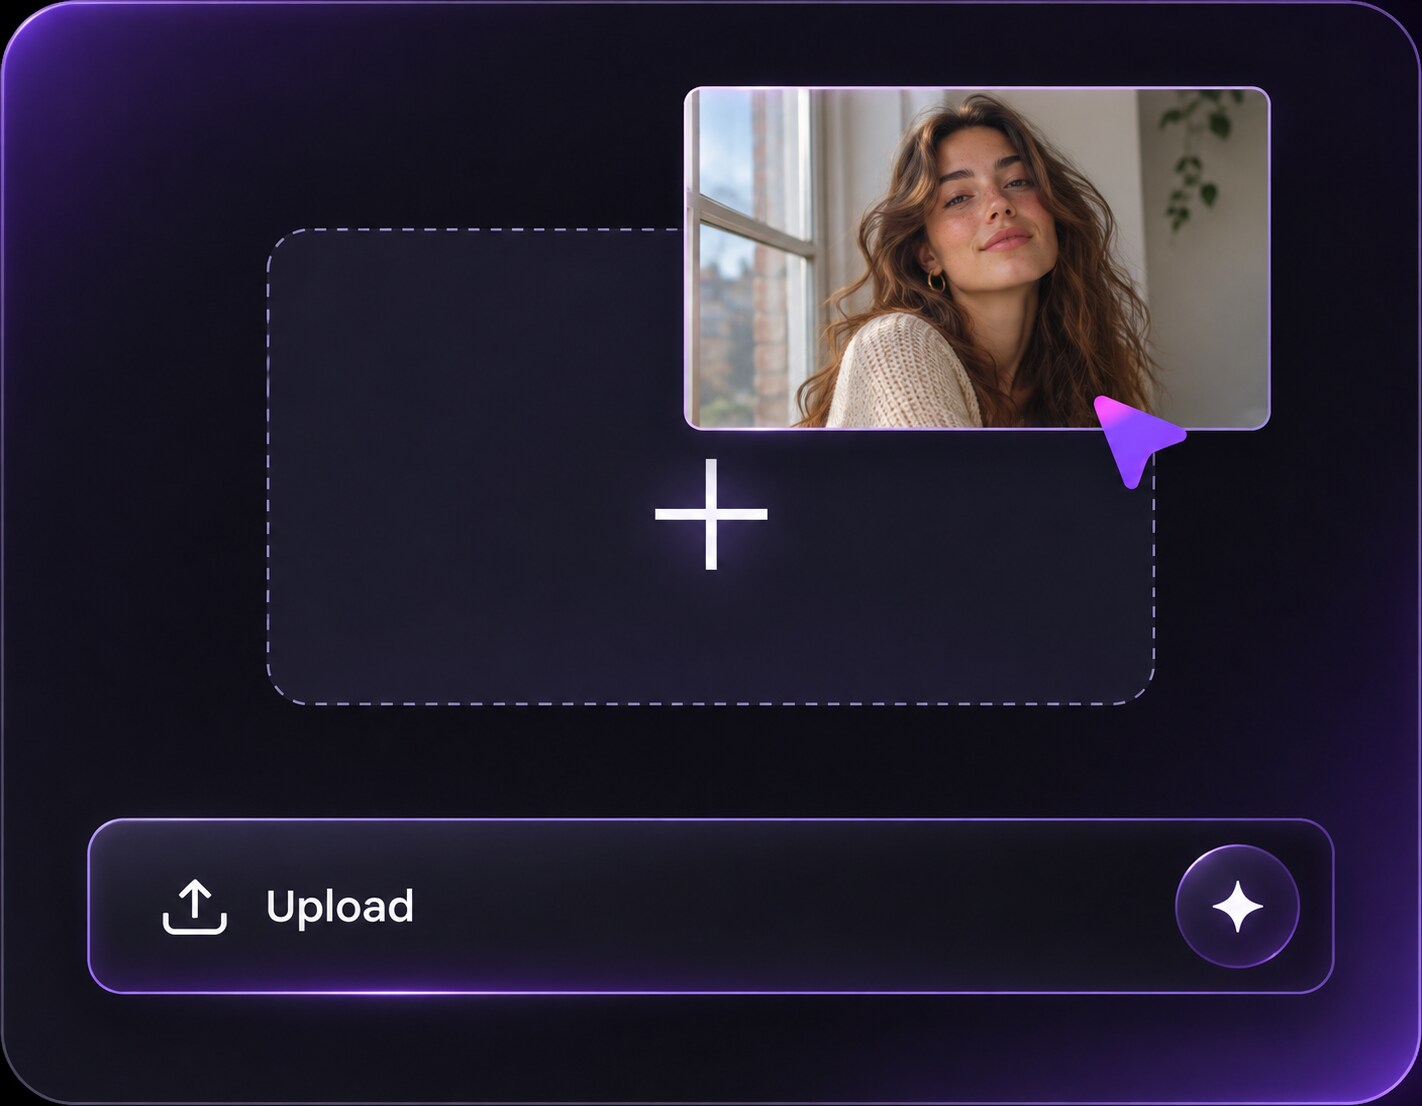
Click or drag to upload, or choose from My HistoryClick To UploadMy History
No ideas? Generate an image first >
Upload jpg, jpeg, png images up to 50 MB, with a minimum width/height of 300 px.
Try a Clear Skin Filter Online, Keep Real Texture
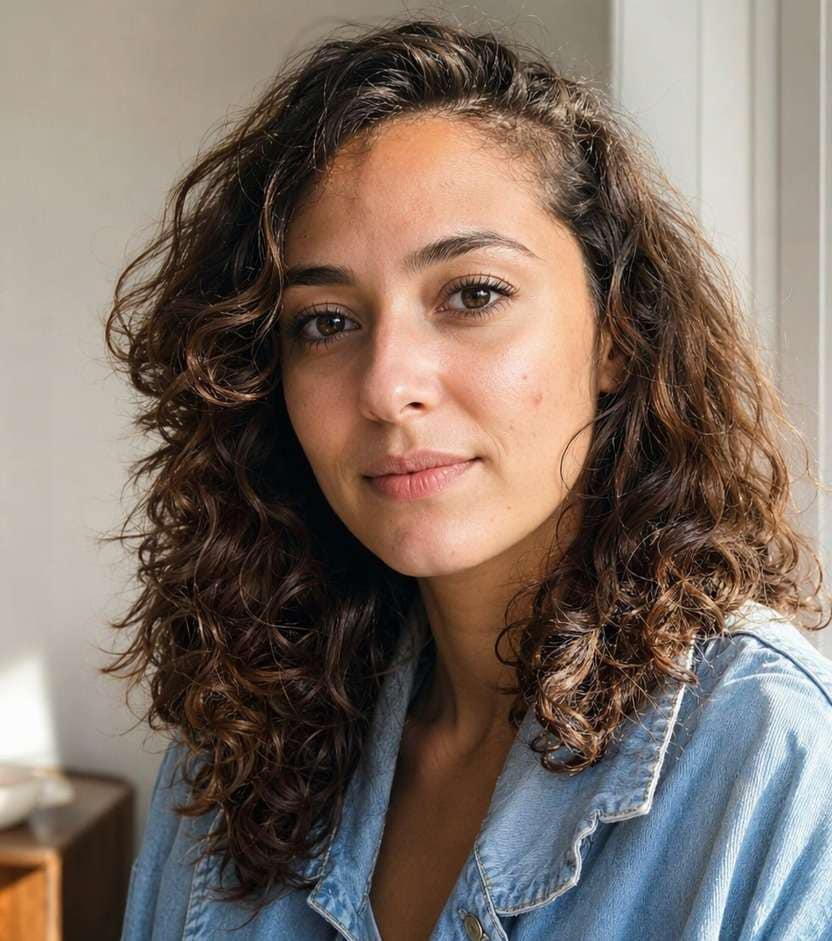
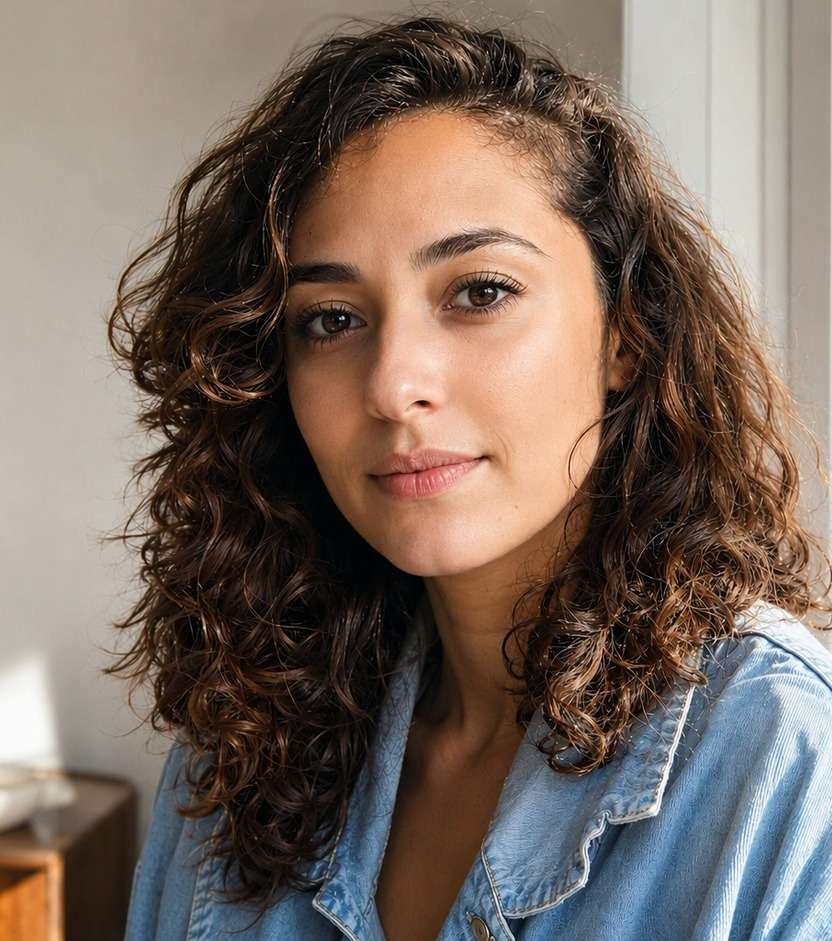
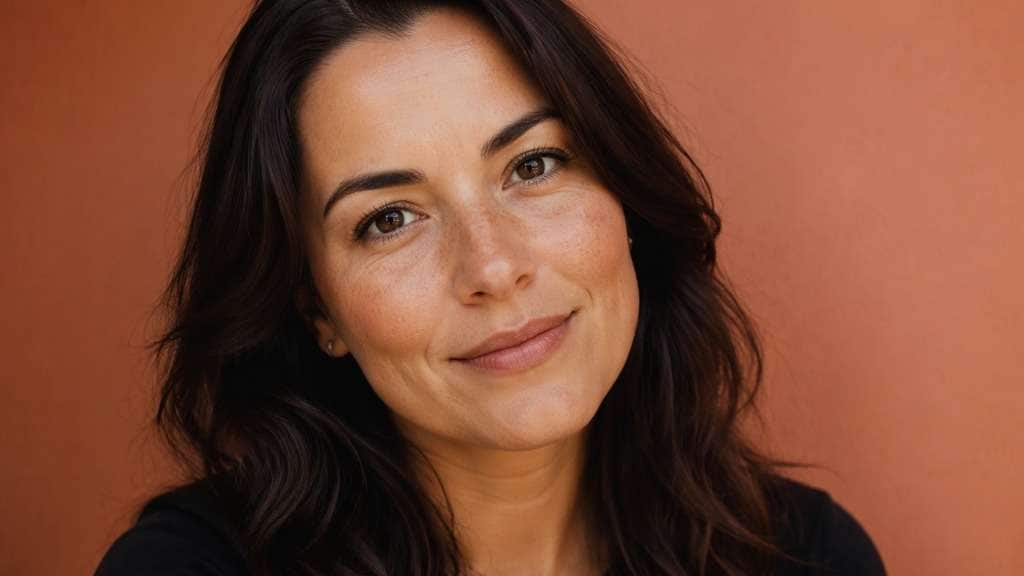
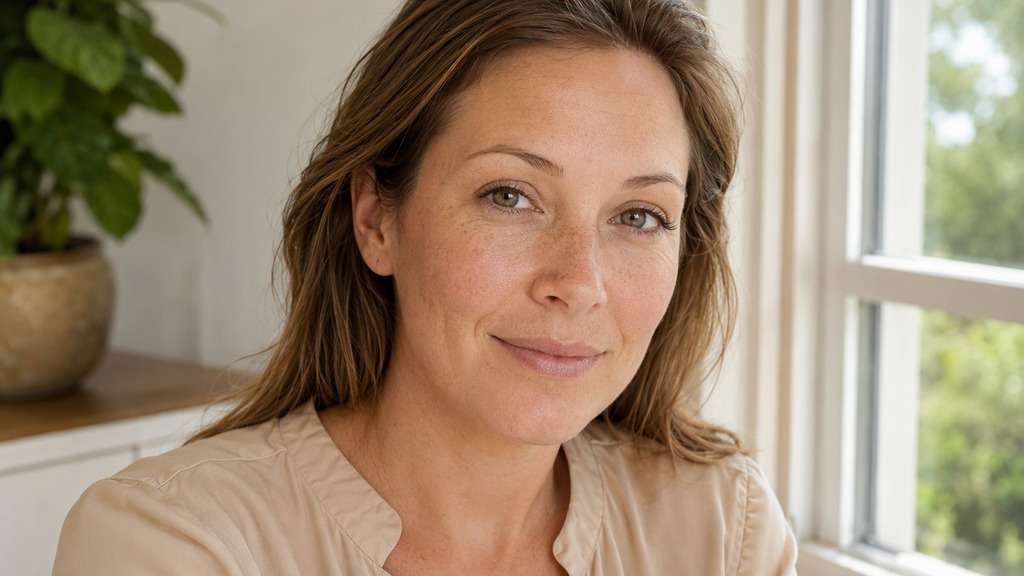
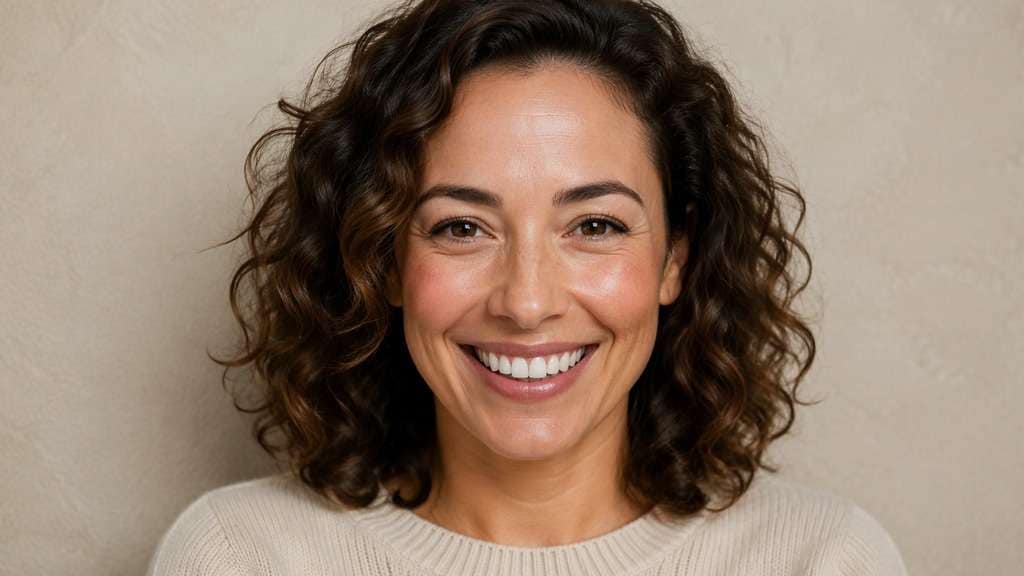
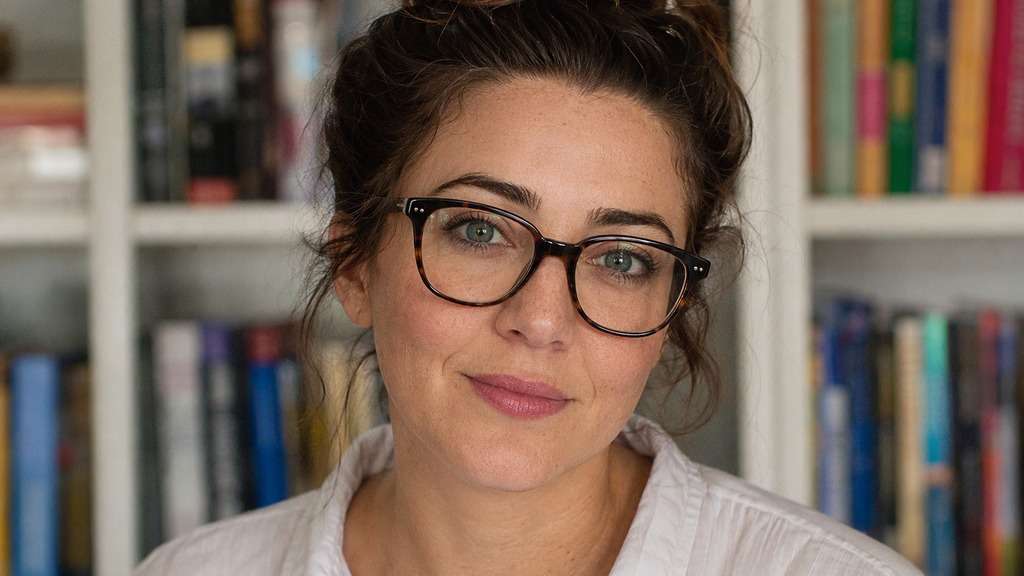
You want to post the portrait, but a temporary blemish catches your eye every time. A clear skin filter online can help you retouch the *photo*, reducing the visibility of a small spot or redness while keeping pores, freckles and natural color. Keep the change narrow so the face still looks like the person in the original picture.
Retouch the image, not the person: describe which visible spot or redness to soften and what texture to preserve.
Clear Skin Photo Prompts for Specific Retouch Tasks
A believable edit starts by naming the exact photographic issue rather than requesting completely flawless skin. Adjust one region and inspect the original texture.
Single Blemish Cleanup
Edit my uploaded reference photo: Soften the appearance of one small visible blemish on the cheek, blend it with surrounding skin and keep pores and freckles. Work from my uploaded portrait. Keep the same face geometry, natural skin tone, hair, clothes, facial expression, viewpoint and background. Preserve authentic texture; make only the described photographic correction.
Forehead Redness Balance
Edit my uploaded reference photo: Reduce patchy red color on the forehead in a window-lit portrait without lightening overall skin tone or erasing fine lines. Work from my uploaded portrait. Keep the same face geometry, natural skin tone, hair, clothes, facial expression, viewpoint and background. Preserve authentic texture; make only the described photographic correction.
Chin Spot Retouch
Edit my uploaded reference photo: Minimize a temporary chin spot in a close-up selfie while maintaining existing lip shape and natural texture around the mouth. Work from my uploaded portrait. Keep the same face geometry, natural skin tone, hair, clothes, facial expression, viewpoint and background. Preserve authentic texture; make only the described photographic correction.
Natural Graduation Portrait
Edit my uploaded reference photo: Gently soften a few obvious photo blemishes on an adult portrait, keep characteristic freckles, moles and real facial structure. Work from my uploaded portrait. Keep the same face geometry, natural skin tone, hair, clothes, facial expression, viewpoint and background. Preserve authentic texture; make only the described photographic correction.
Outdoor Portrait Color Balance
Edit my uploaded reference photo: Even out exaggerated red patches caused by strong outdoor sunlight, matching skin color to shaded facial areas. Work from my uploaded portrait. Keep the same face geometry, natural skin tone, hair, clothes, facial expression, viewpoint and background. Preserve authentic texture; make only the described photographic correction.
Cheek Texture Preservation
Edit my uploaded reference photo: Reduce a distracting surface spot on one cheek while preserving visible fine texture and highlight direction. Work from my uploaded portrait. Keep the same face geometry, natural skin tone, hair, clothes, facial expression, viewpoint and background. Preserve authentic texture; make only the described photographic correction.
Soft Studio Retouch
Edit my uploaded reference photo: Make restrained skin corrections under frontal portrait lighting while keeping natural pores, smile lines and overall exposure. Work from my uploaded portrait. Keep the same face geometry, natural skin tone, hair, clothes, facial expression, viewpoint and background. Preserve authentic texture; make only the described photographic correction.
Phone Camera Sharpness Check
Edit my uploaded reference photo: Retouch only conspicuous blemishes caused by harsh phone-camera sharpening, leaving the rest of the face detailed. Work from my uploaded portrait. Keep the same face geometry, natural skin tone, hair, clothes, facial expression, viewpoint and background. Preserve authentic texture; make only the described photographic correction.
Low-Light Redness Correction
Edit my uploaded reference photo: Reduce blotchy redness visible in warm indoor light without washing out natural skin color or changing lamp ambience. Work from my uploaded portrait. Keep the same face geometry, natural skin tone, hair, clothes, facial expression, viewpoint and background. Preserve authentic texture; make only the described photographic correction.
Freckle-Friendly Skin Edit
Edit my uploaded reference photo: Remove only temporary-looking spots that are explicitly identified while keeping all freckles, birthmarks and distinctive facial details. Work from my uploaded portrait. Keep the same face geometry, natural skin tone, hair, clothes, facial expression, viewpoint and background. Preserve authentic texture; make only the described photographic correction.
Retouch the Detail You Notice, Keep the Face You Know
Retain Pores and Natural Texture
Strong blur can turn skin into a flat surface. Ask for a small correction around the spot and preserve pores, fine lines, freckles and normal shadow transitions elsewhere on the face.
Target Redness Separately From Spots
A red patch under a warm lamp may be a lighting issue rather than a visible blemish. Ask to correct color first when that is the problem, and avoid using a full-face smoothing effect to fix one area.
Do Not Alter Skin Tone or Identity
A clear-skin photo edit should not lighten or change the person's underlying skin color. Specify natural tone and facial structure, then compare forehead, cheeks and neck for consistency after generation.
Check Difficult Edges Before Sharing
Retouches near the mouth, nostrils, eyebrows or facial hair are harder than a small cheek spot. Review those borders at full size and request a smaller localized adjustment if details become soft.
How to Use a Clear Skin Filter Online on a Photo
Start with a focused image and identify the one area you actually want to retouch.
Step 1
Upload the Photo for Retouching
Open Media.io AI Face Editor and upload the original portrait showing the skin detail you want to adjust.
Step 2
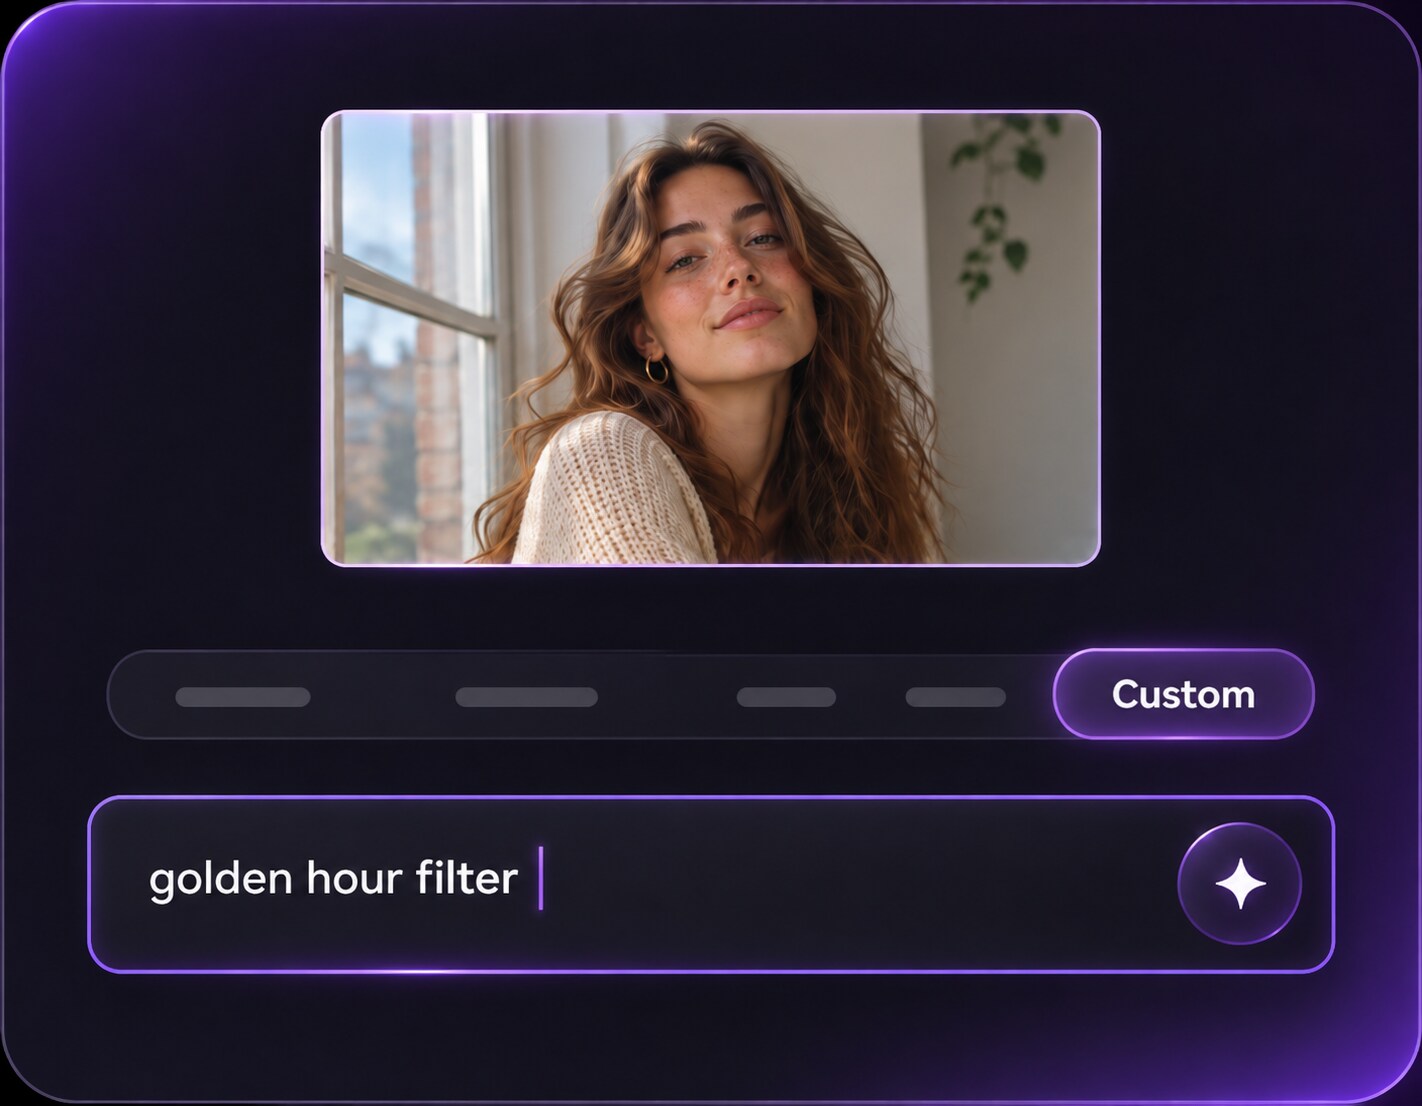
Describe Only the Skin Correction
Write a prompt for a specific spot or redness reduction while preserving freckles, pores and the original skin tone.
Step 3
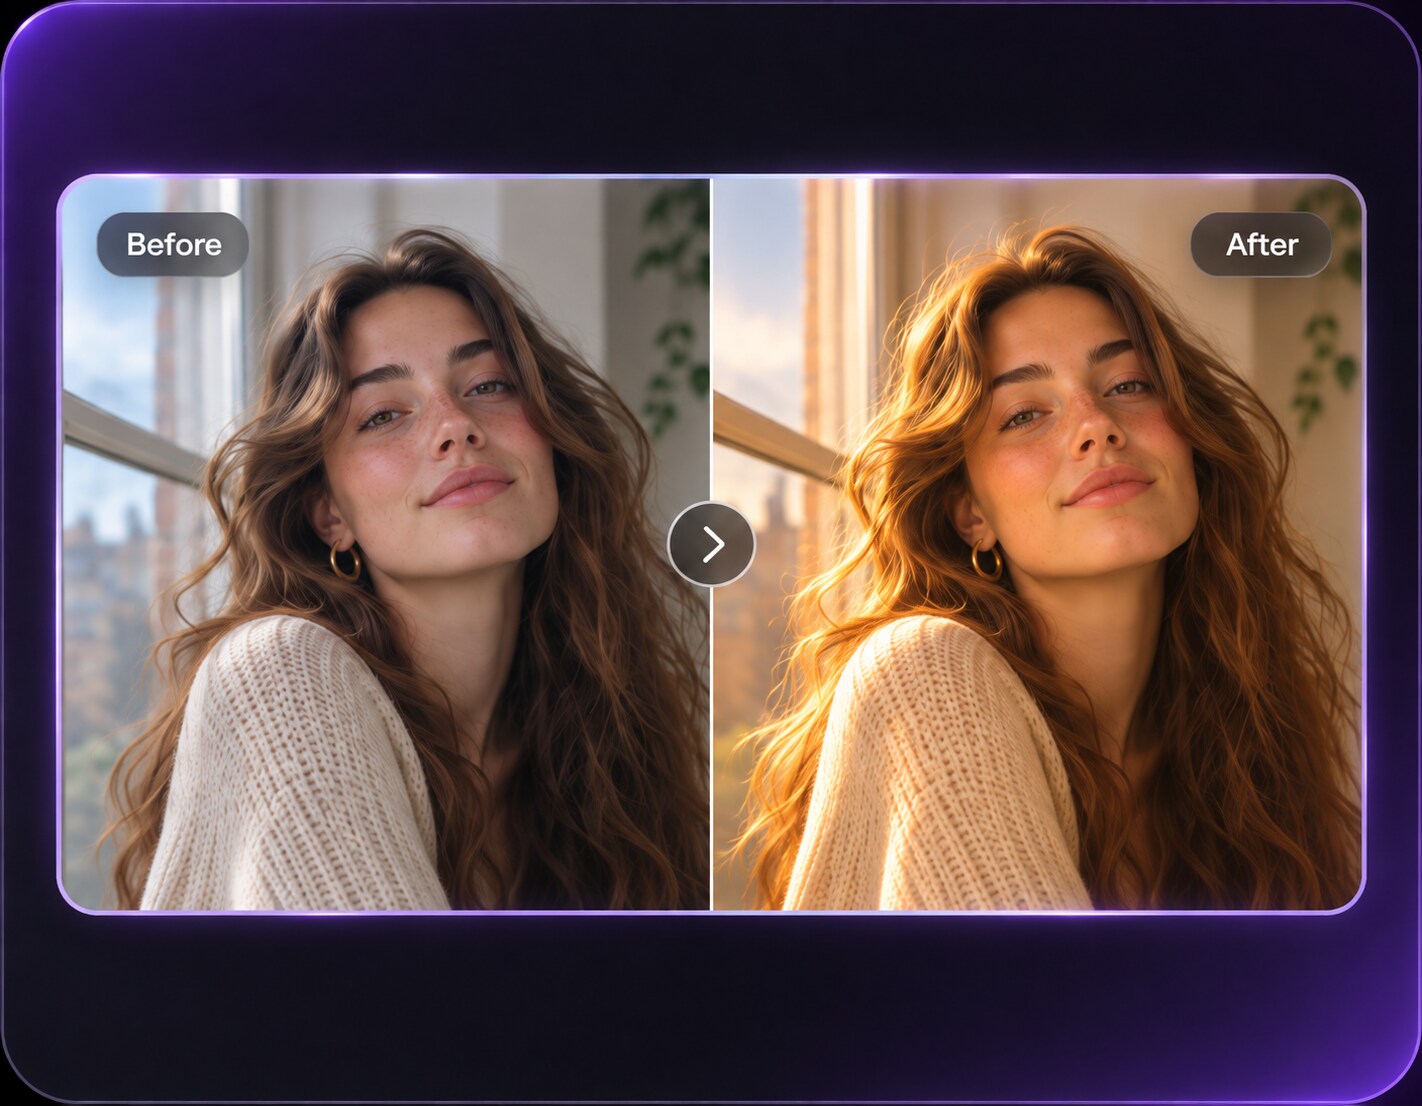
Generate and Compare Skin Texture
Click Generate and inspect the treated region and nearby edges at normal and enlarged viewing sizes.
This is a photograph-editing choice, not a diagnosis or a treatment for acne or another skin condition.
Keep a Favorite Graduation Photo
The smile, outfit and group are right, but one temporary cheek spot draws your attention. Soften just that area and protect existing freckles, teeth and background instead of replacing the whole portrait.
Make a LinkedIn Headshot Less Distracting
A close office photo may emphasize small blemishes through harsh sharpening. A restrained spot retouch can tidy the file while keeping the face, expression and natural texture credible for professional use.
Correct Unflattering Warm Light
An indoor selfie can exaggerate redness under orange bulbs. Ask for balanced color rather than generalized smoothing, so skin remains believable and the familiar restaurant lighting does not disappear.
Clear Skin Filter Online Photo Preview Checklist
Pores
Photo preview checklist
"Check pores before export" Pores should still show in corrected areas.
Original Skin Tone
Photo preview checklist
"Check original skin tone before export" Compare cheek and neck colors to catch any lightening.
Freckles
Photo preview checklist
"Check freckles before export" Keep real freckles and marks outside the stated edit.
Edge Detail
Photo preview checklist
"Check edge detail before export" Inspect mouth and eyebrow edges for excessive blur.
1. Does a clear skin filter remove acne in real life?
No. This tool changes how blemishes look in an image. It does not treat skin, diagnose acne or improve a medical condition.
2. Can I remove a spot without removing freckles?
Yes, name the specific spot and ask to preserve freckles and other identifying marks. Review the output because a broad smoothing request may blur details you intended to keep.
3. Will it change my skin color?
It should not be your goal for a natural retouch. Ask to keep the original underlying skin tone and check the face against the neck and surrounding skin after generation.
4. What is the difference between clear skin and an AI beauty filter?
Clear skin focuses on targeted visible spots, redness and texture balance. A broader beauty filter may also adjust lighting, contrast, eyes or makeup, so the two intents deserve different prompts.
5. Does it work for a low-resolution photo?
A sharp, well-lit source gives the editor more reliable skin detail. A small or blurry image may need separate enhancement and may lose texture after repeated edits.
6. Can I get a pore-free look?
You can request smoother skin in a creative portrait, but entirely removing pores often looks artificial. For a credible selfie or headshot, keep real texture visible.