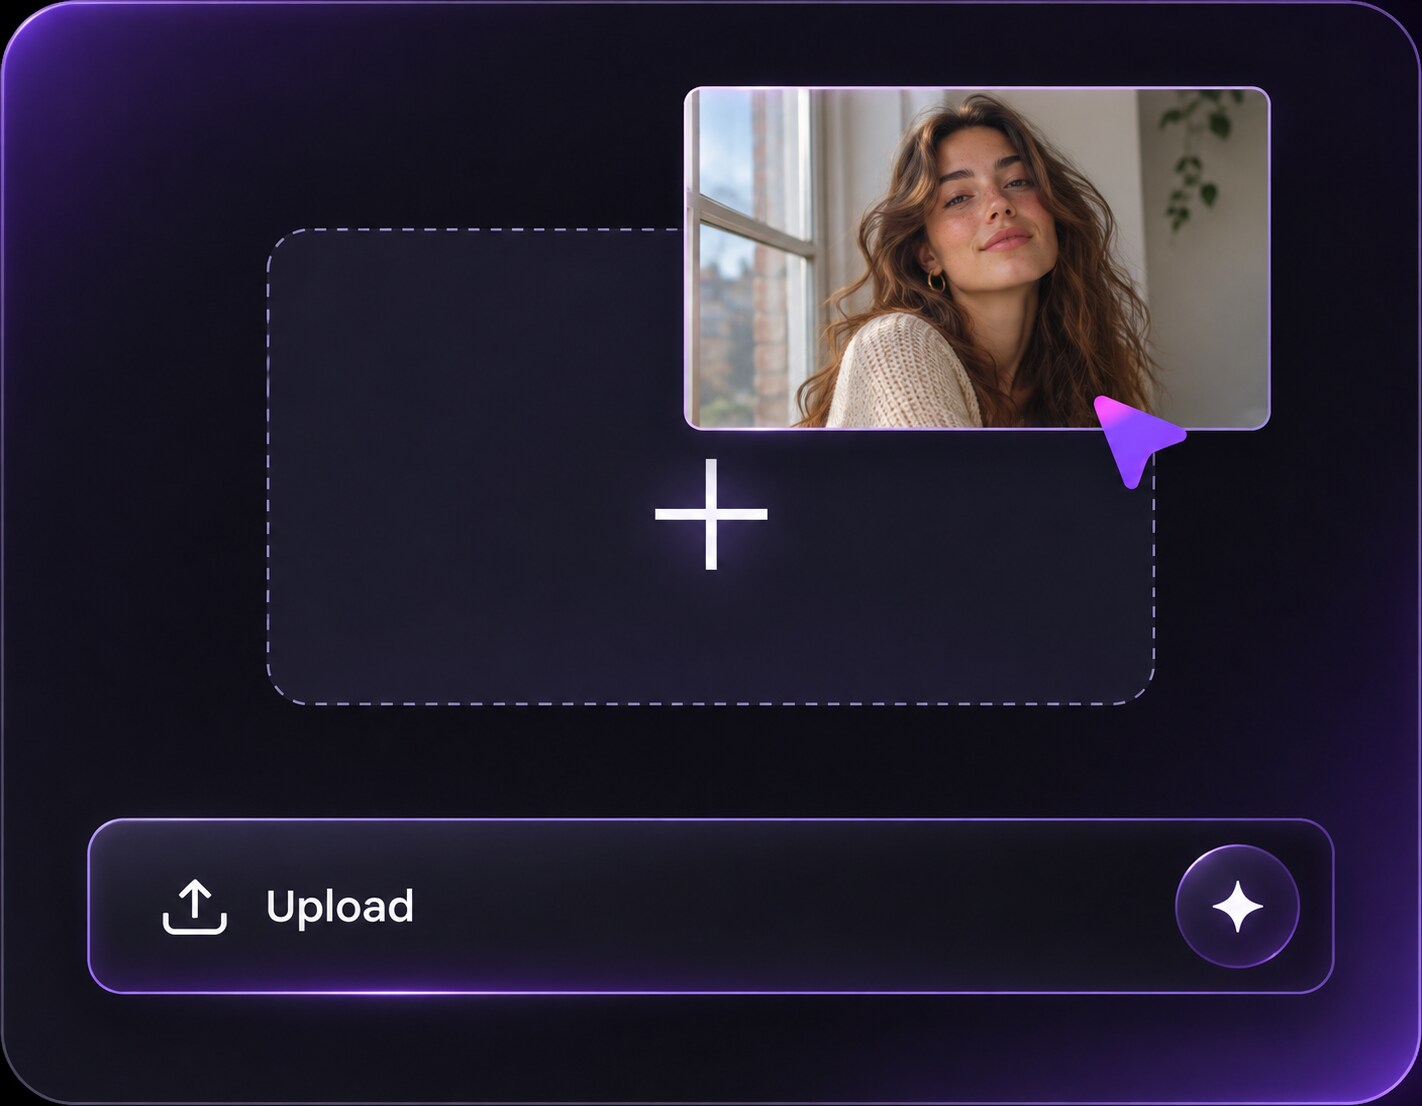
Klicken oder ziehen, um hochzuladen, oder wählen Sie aus Meine HistorieKlicken Sie zum HochladenMeine Historie
Keine Ideen? Erstellen Sie zuerst ein Bild. >
Laden Sie jpg-, jpeg- oder png-Bilder bis zu 50 MB hoch, mit einer Mindestbreite/-höhe von 300 px.
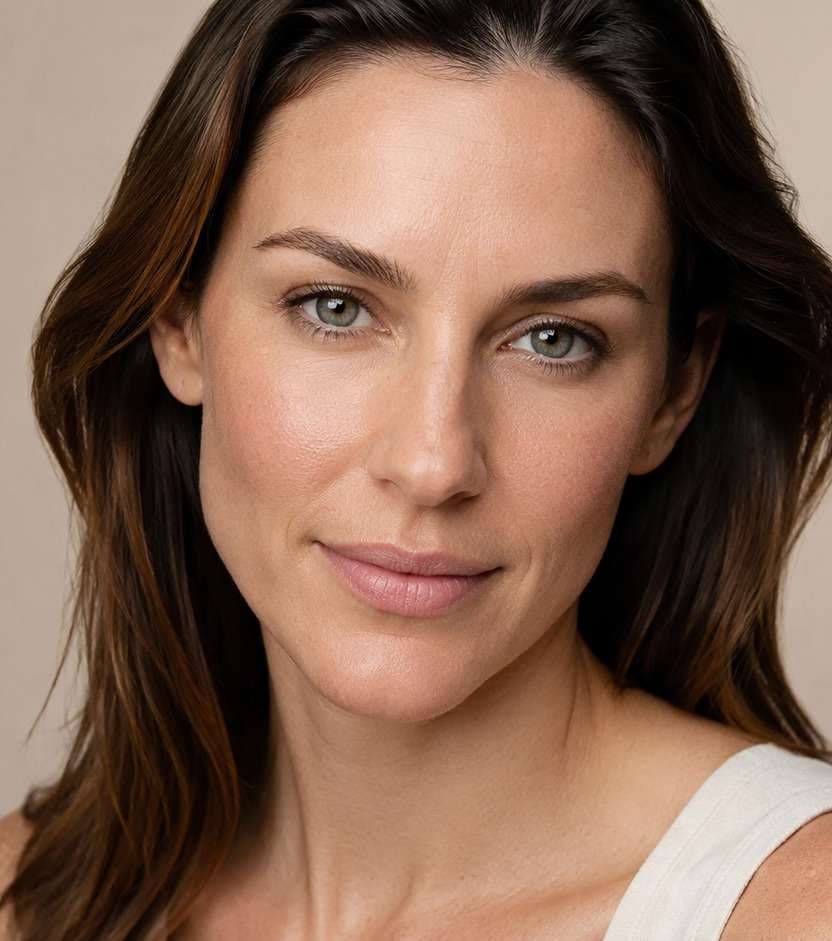
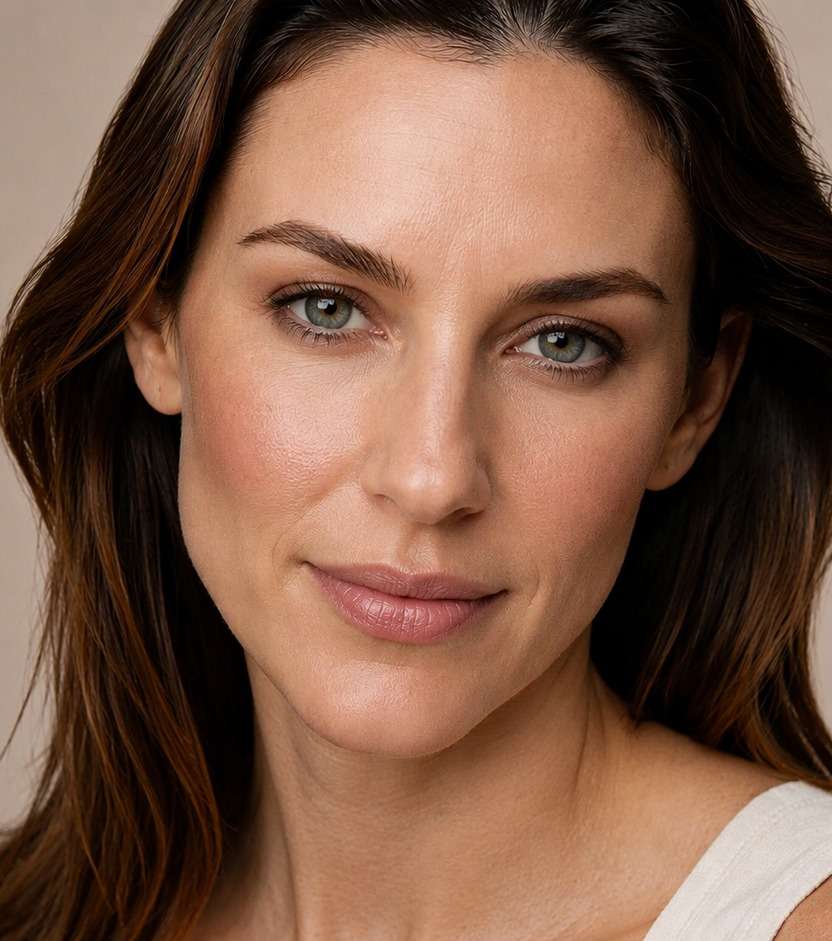
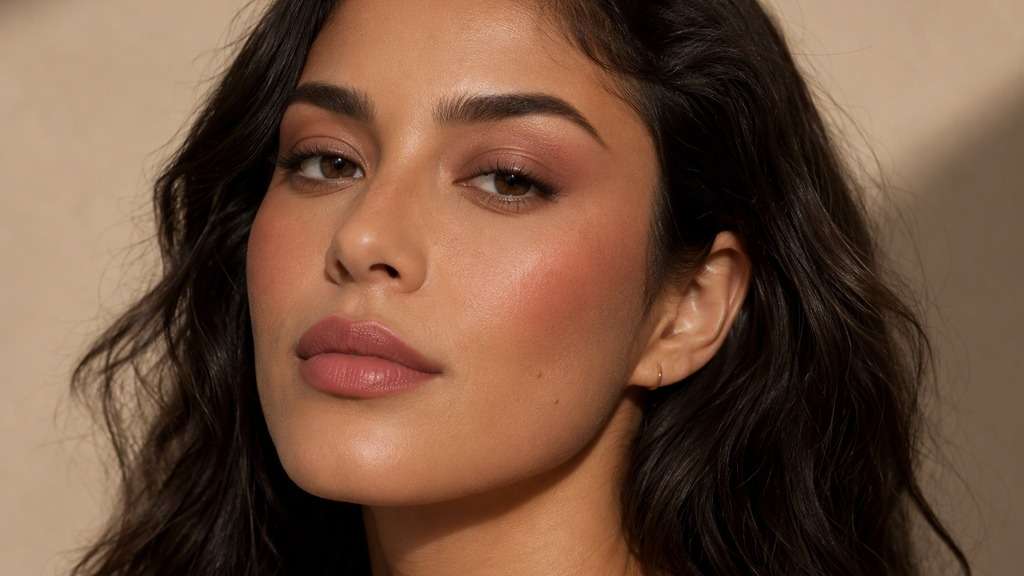
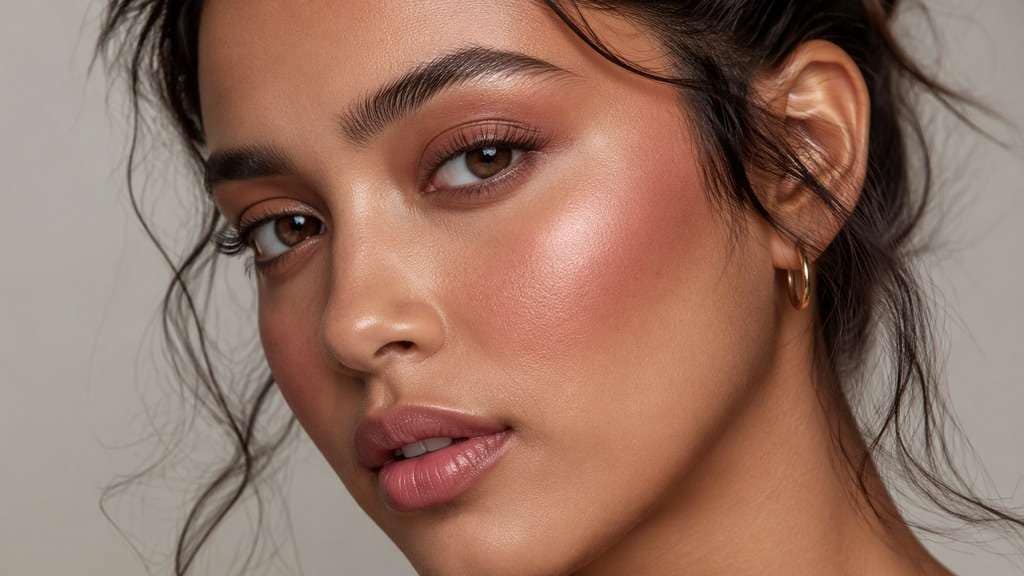
Velvet Skin Makeup Filter: See a Soft-Focus Finish
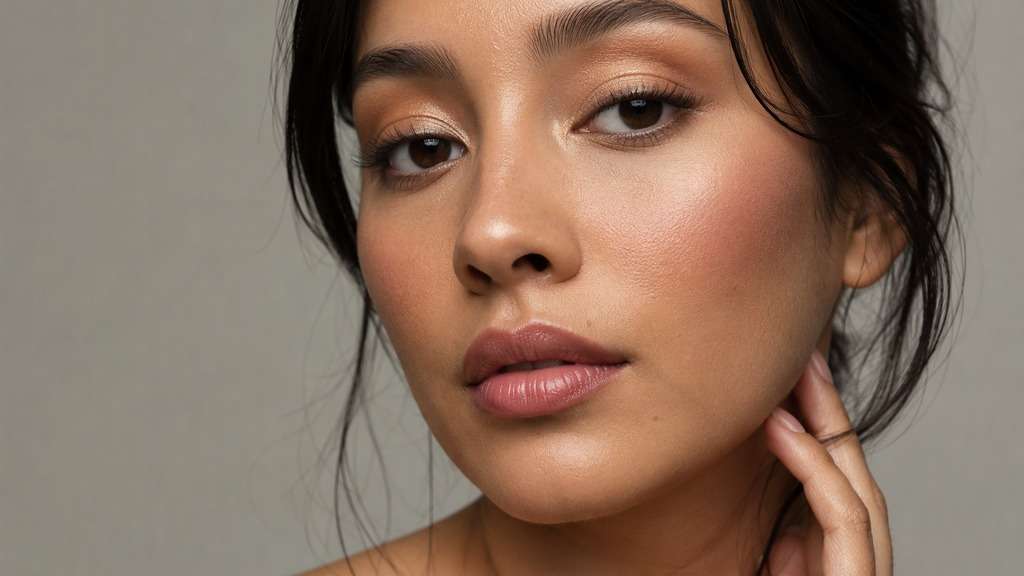
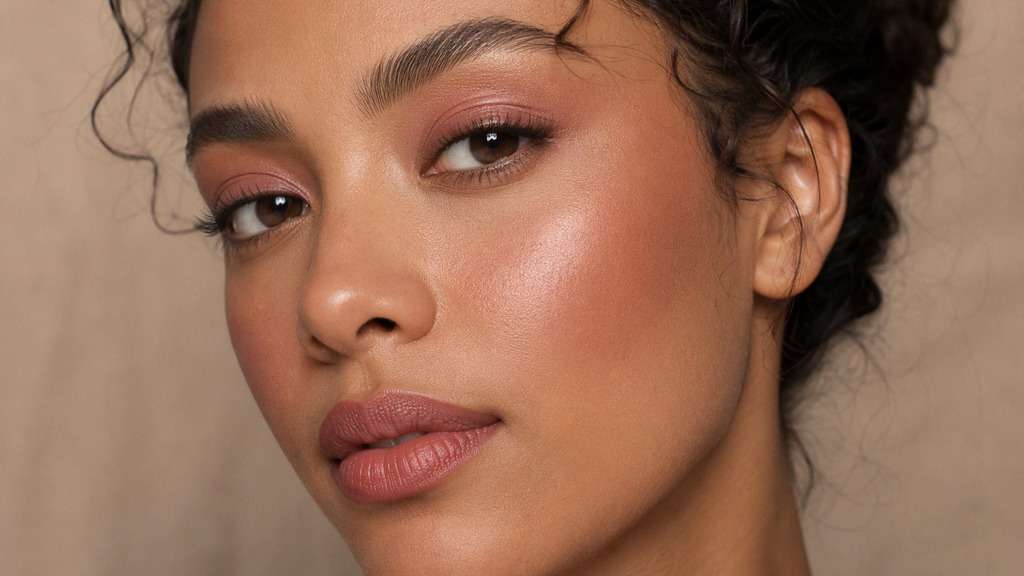
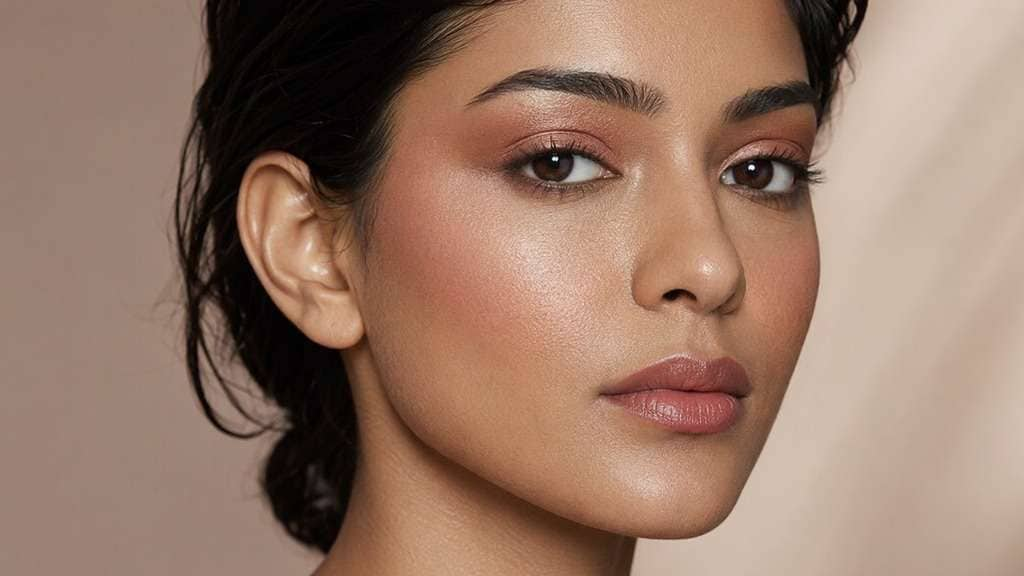
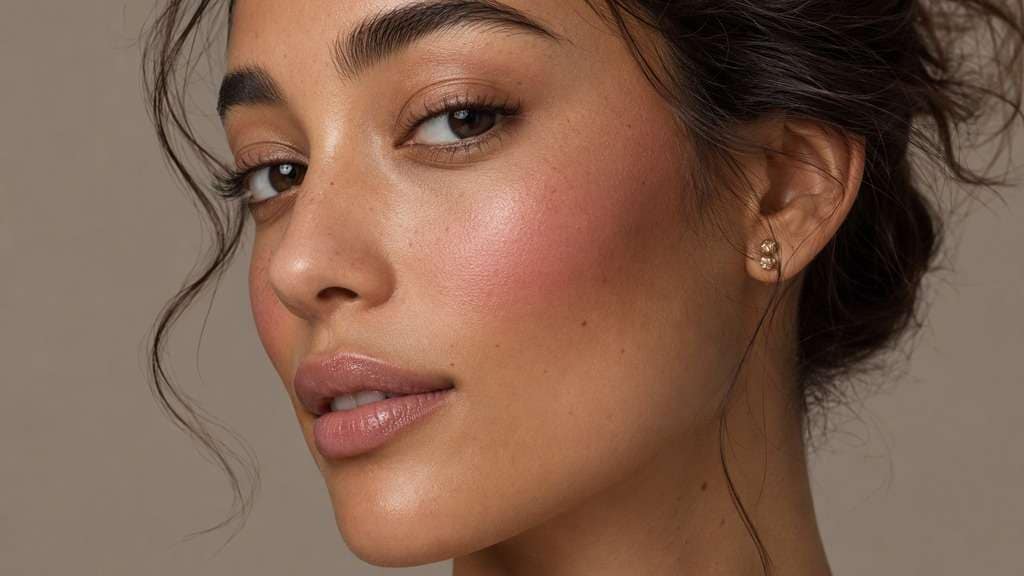
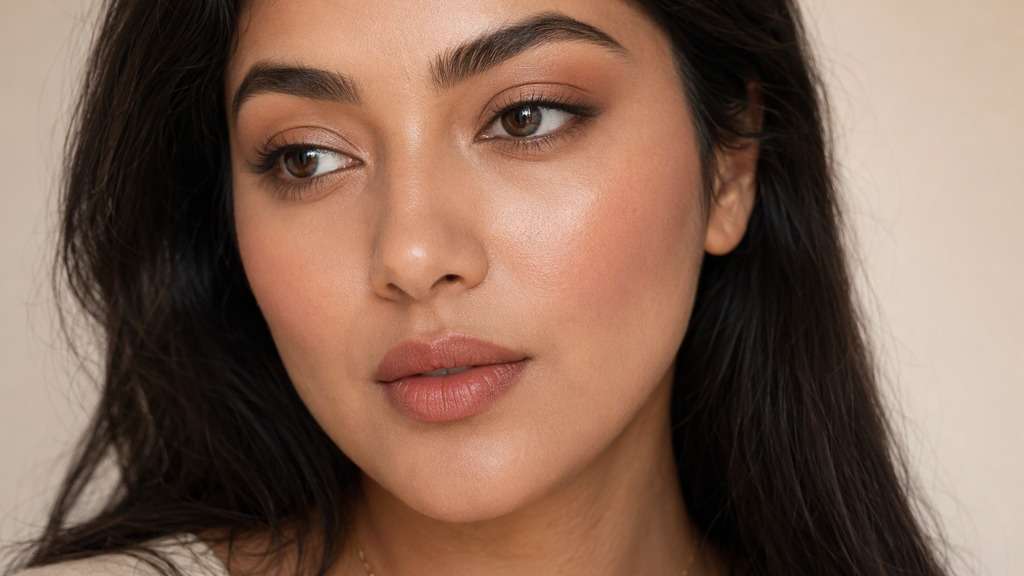
High-gloss complexion edits look slick on camera when you really want the softness of real powder. Use the velvet skin makeup filter concept to compare feather-soft velvet complexion with selective satin highlight, diffuse blush edges and visible fine skin texture against the same original selfie. Velvet skin lives between dew and powder, and should retain real pores rather than plastic smoothing. Start with a clear portrait and compare the edits against your own features. For a close-up beauty photo, choose the version that feels right with your actual lighting and outfit.
Use your original skin tone and keep the edit focused on makeup, especially soft focus velvet.
Velvet Skin Photo Makeup Prompts: 10 Looks to Try
Choose the type of velvet finish you want, from blurred blush edges to a softly powdered center with restrained cheek glow. Each prompt focuses on texture and sheen without removing the skin detail that makes a portrait believable.
Soft Focus Velvet
Use my uploaded photo to preview Soft Focus Velvet. Create a plush soft-focus complexion with diffused rose-beige cheeks and faint luminous high points, as if wearing a fine velvet-finish foundation. Keep my facial features, hairstyle, outfit and photo setting unchanged; let the cosmetic placement be the visible difference.
Velvet Cheek Diffusion
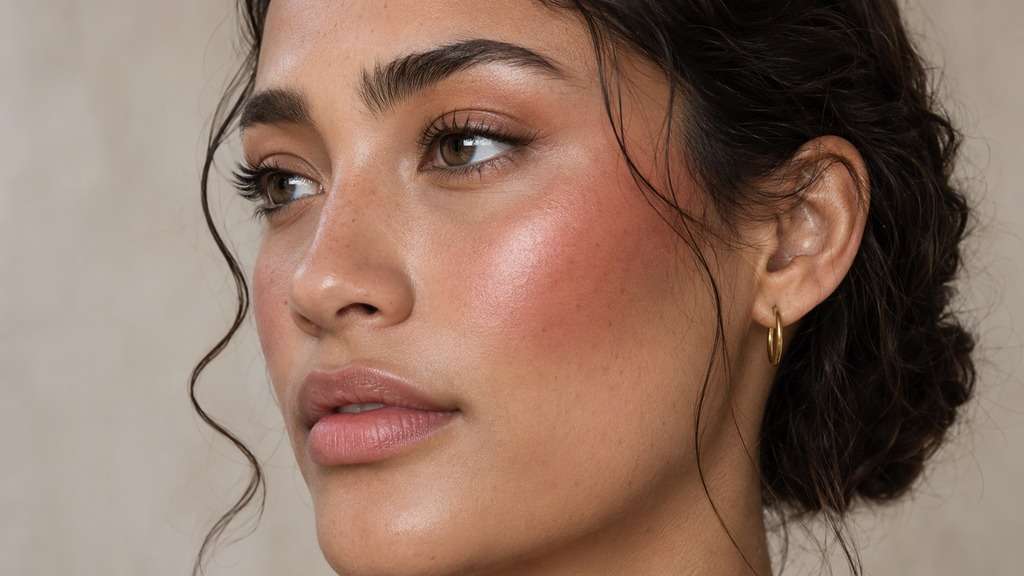
On my original portrait, test the Velvet Cheek Diffusion makeup direction. Diffuse dusty-rose blush into the cheek texture with feathered powder edges, without any sharp blush block or porcelain smoothing. Retain my original complexion and natural skin texture, along with my expression, camera angle and background.
Powdered Center Glow
Try Powdered Center Glow on my own photograph. Matte the forehead and nose while leaving a subtle velvet sheen at outer cheeks; use a restrained warm-nude mouth. Work on the same recognizable face, preserving the photo setting, hair and facial proportions.
Rose Velvet Skin
Edit the cosmetics in my uploaded portrait for Rose Velvet Skin. Pair rosewood blush with a smooth velvet complexion and muted pink satin lips; leave skin pores discernible at normal viewing distance. Keep the existing lighting, clothes and expression; this is a cosmetic try-on rather than a new portrait.
Deep Skin Velvet Light
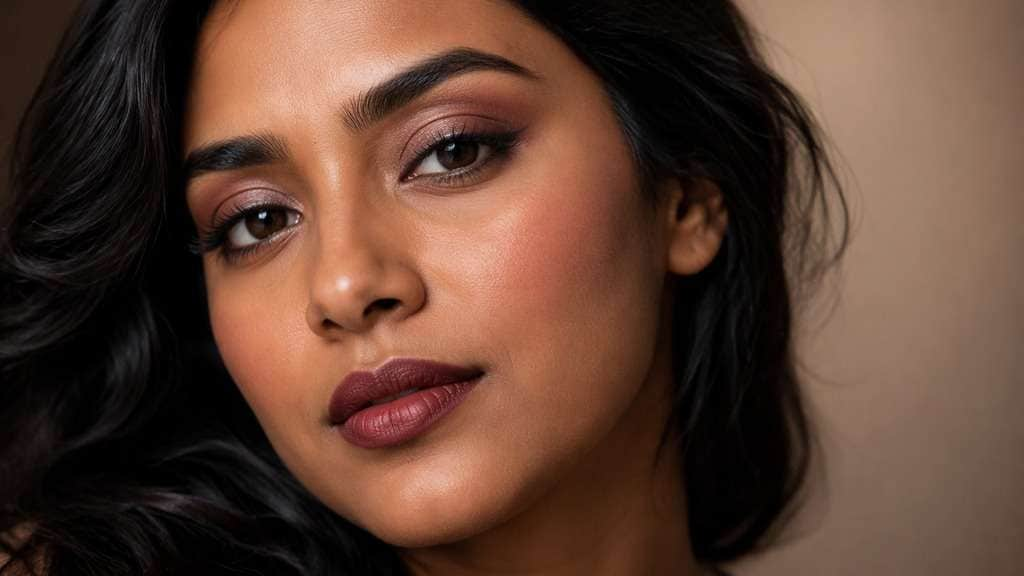
Show Deep Skin Velvet Light on my existing face and photograph. For an existing deeper complexion, use a warm velvet finish and visible berry-brown blush without creating pale grey powder residue. Preserve my skin-tone depth, hair, pose and surroundings, and show believable makeup edges.
Satin Velvet Cheek
For a makeup try-on of my photo, create Satin Velvet Cheek. Keep a faint satin glow above the cheekbone while making the center of the face softly matte, emphasizing dimensional velvet skin. Maintain the recognizable person, original skin color, accessories and picture composition.
Velvet No-Highlight
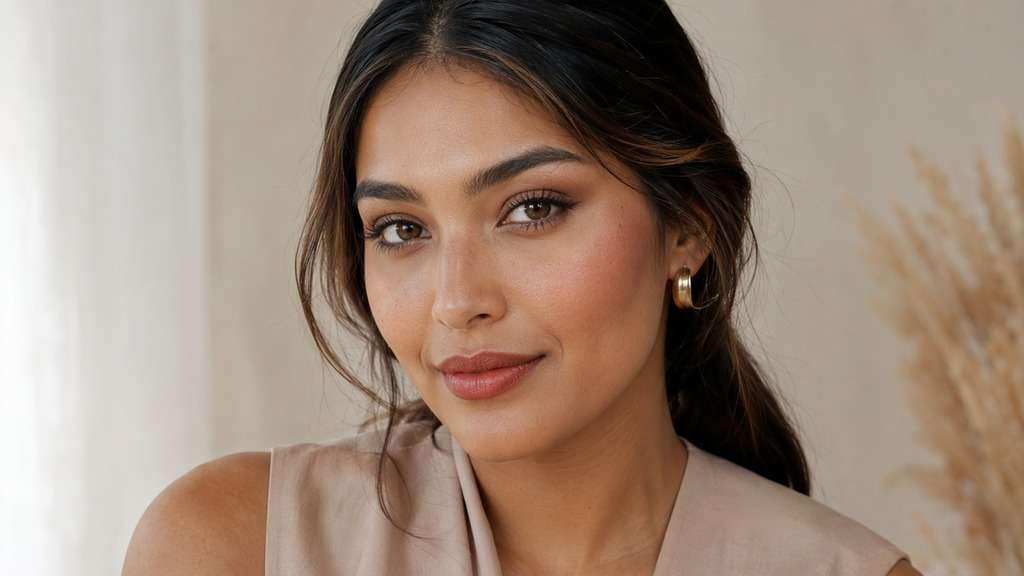
On this uploaded portrait, compare the Velvet No-Highlight finish. Use a powdered but breathable finish on the entire face with virtually no reflective highlighter, balanced by translucent lip balm. Show realistic eyes, lips and cheek texture while retaining the photographed face and setting.
Blended Velvet Blush
Apply the Blended Velvet Blush cosmetic concept to my original picture. Blur the perimeter of warm mauve blush into a soft velvet base so no hard edge is visible; keep eyelids neutral. Keep the original camera view and clothing, with natural skin texture visible beneath the makeup.
Office Velvet Finish
Preview Office Velvet Finish using my own face as the reference. Make an understated office makeup with matte T-zone, faint taupe lids and smooth rose-nude lips, leaving skin texture intact. Preserve my expression, facial shape and existing skin color; adjust only the described cosmetics.
Evening Velvet Portrait
Create the Evening Velvet Portrait makeup effect on my uploaded photo. For evening portraits, add a satin plum-rose lip and subtle cocoa eye definition over smooth velvet skin with controlled shine. Maintain my original hairstyle, complexion and background so I can judge this makeup on my own photo.
Compare Velvet Skin Makeup Before You Recreate It
See Soft Focus Velvet on Your Own Face
A velvet finish sits between powder and glow, with edges that seem diffused rather than smeared. For a close-up beauty photo, preview soft focus velvet with your original lighting and natural skin color visible. Pay attention to the specific cosmetic change, not whether a new background makes the result more flattering.
Compare Velvet Cheek Diffusion With Deep Skin Velvet Light
Cheek makeup should blend into the complexion instead of creating opaque opaque-looking blush circles. Switch from velvet cheek diffusion to deep skin velvet light on the same uploaded portrait. A side-by-side comparison makes the makeup decision clearer than judging two photographs with different angles or exposures.
When to Choose Satin Velvet Cheek
A little highlight at the cheek high point can preserve depth while the center of the face stays quiet. Try satin velvet cheek against your own eyes, cheeks and clothes before copying a celebrity reference. The photo should remain your picture, with edited cosmetics rather than altered facial anatomy.
Check the Balance of Office Velvet Finish
The reference photo should retain freckles or fine texture instead of re-illustrating flawless plastic skin. A soft indoor portrait can change how office velvet finish reads. Keep source-photo details and complexion depth intact while testing this choice. If the color starts to look painted on, reduce the strength of the cosmetic effect.
How to Try Velvet Skin Makeup on a Photo Online
Use the same clear portrait for every velvet skin test. Describe the makeup placement rather than asking for a new face; compare the edit with the original before keeping it as a visual reference.
Step 1
Upload Your Original Portrait
Open Media.io AI Face Editor and upload a clear portrait with visible eyes, cheeks and lips. For velvet skin, start with even lighting and avoid strong existing makeup that hides the intended change.
Step 2
Describe the Velvet Skin Makeup
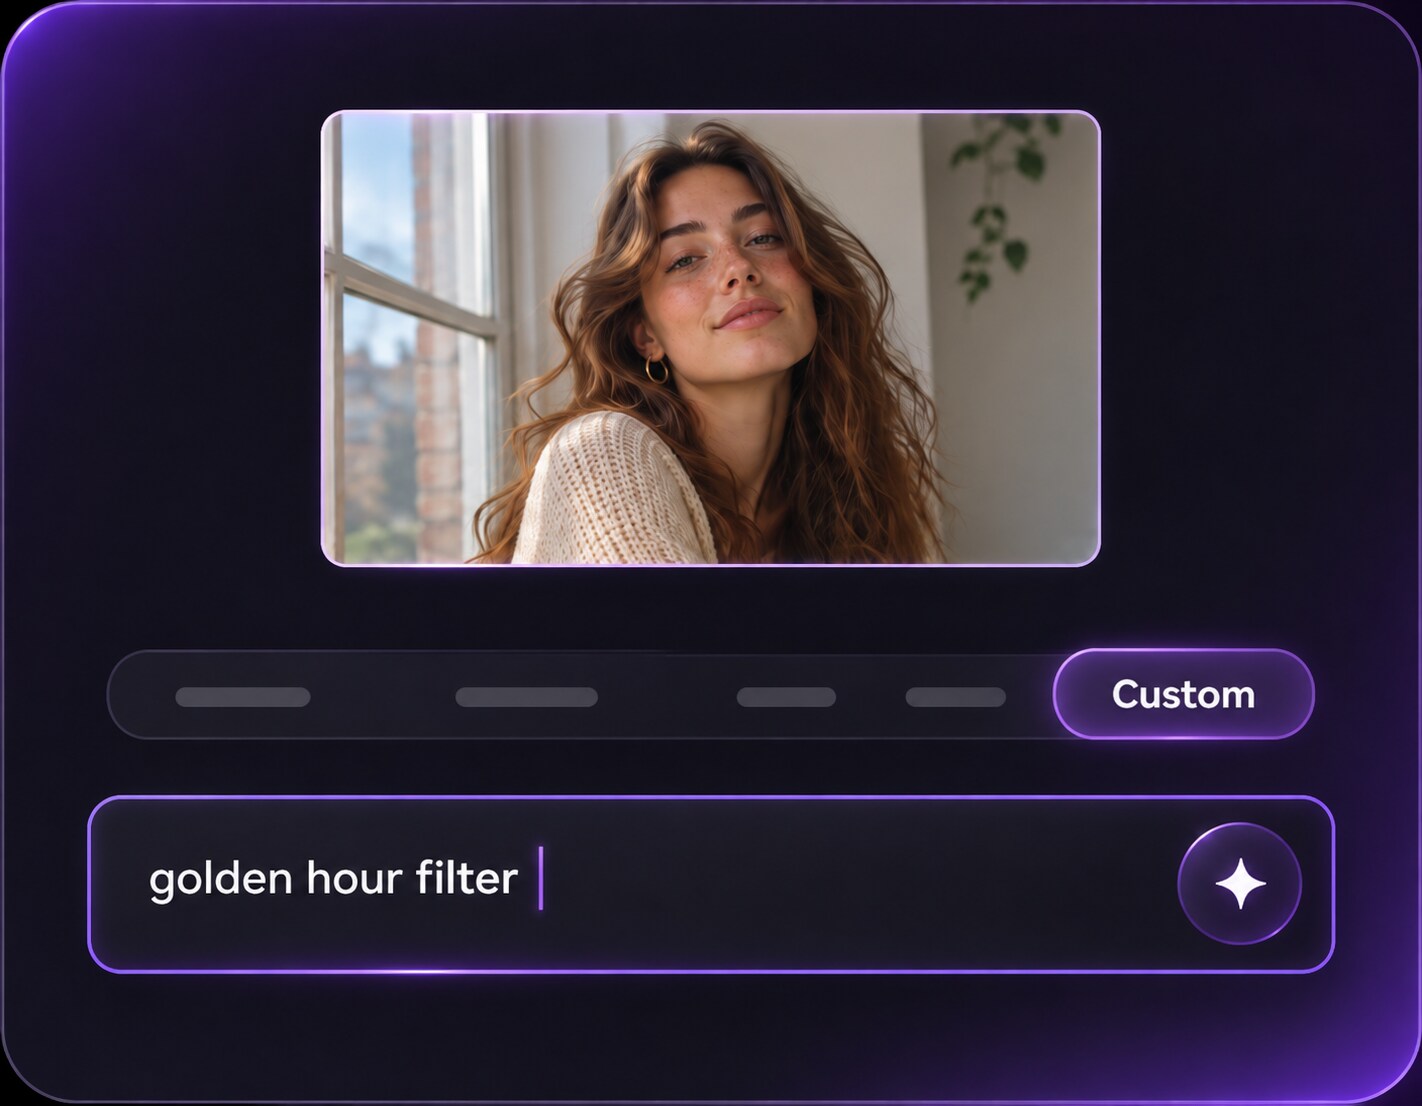
Enter a custom prompt for soft focus velvet or another velvet skin variation. Ask for feather-soft velvet complexion with selective satin highlight, diffuse blush edges and visible fine skin texture, and explicitly keep your skin tone, facial proportions, hair, clothing and background unchanged.
Step 3
Generate and Compare the Result
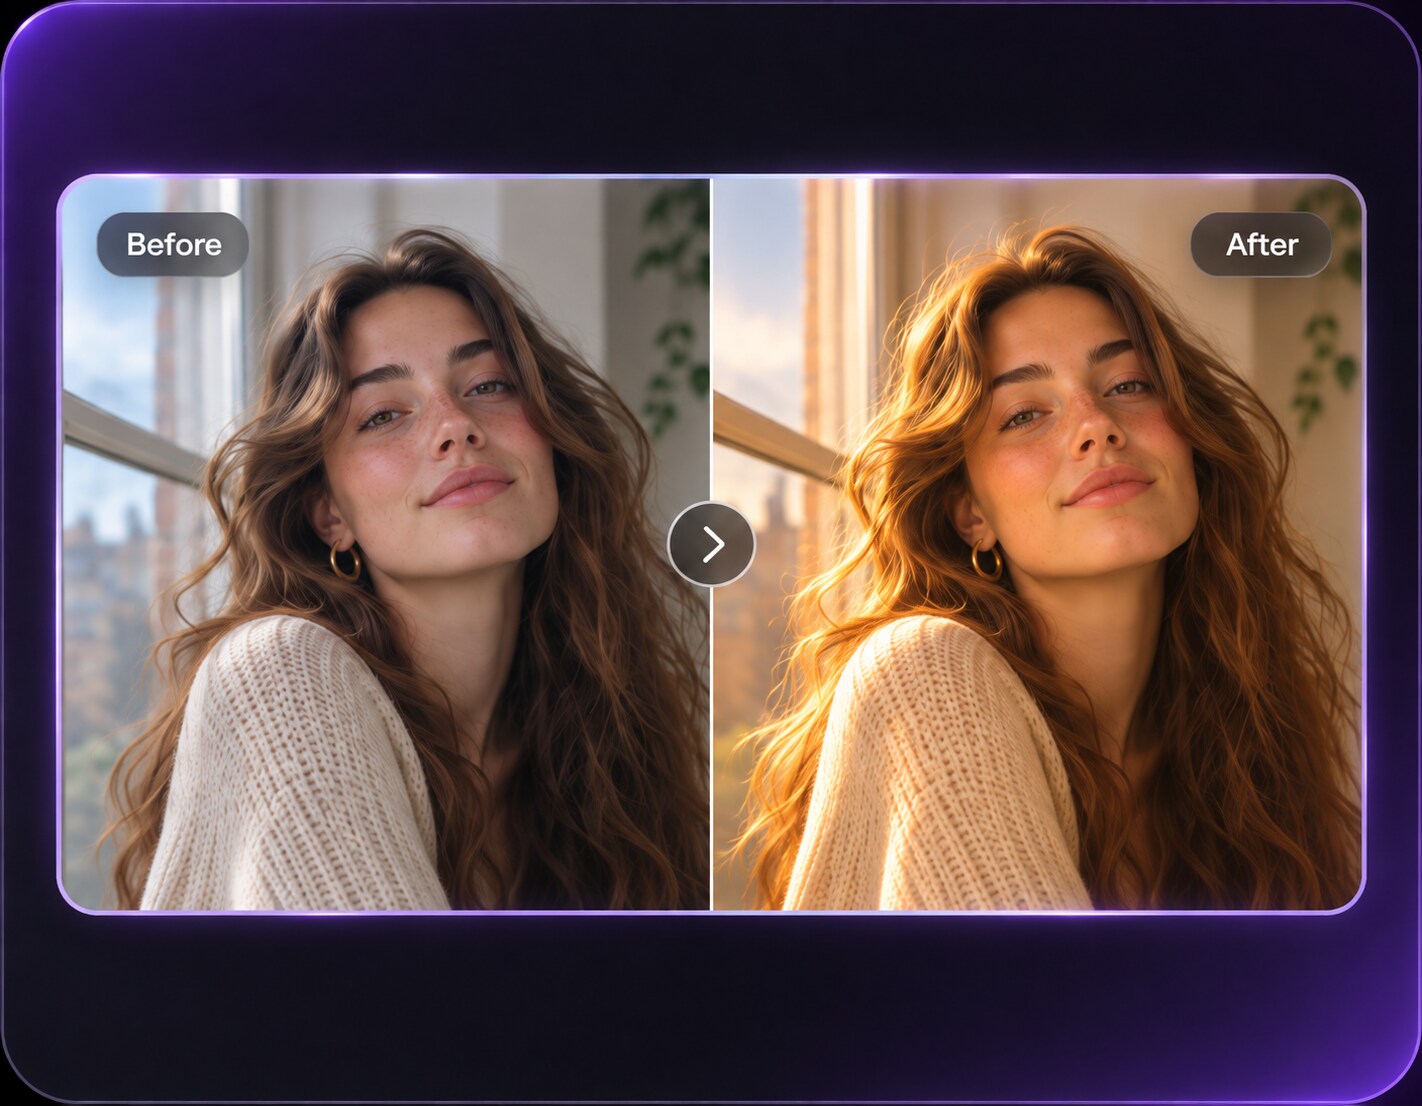
Click Generate and inspect the edited photo beside the original. Check the makeup placement and realistic edges; revise the prompt if velvet cheek diffusion feels too strong or the face changes.
Planning a close-up beauty photo, an editorial headshot or a soft indoor portrait? Pick the source portrait that matches your goal, then compare makeup placement on the same person. No costume, new hairstyle or replacement background is needed.
Test the Camera Look for Close-Up Beauty Photo
Start with the portrait you would actually use for a close-up beauty photo. A velvet finish sits between powder and glow, with edges that seem diffused rather than smeared. This matters more than choosing the strongest filter preview. Compare soft focus velvet and powdered center glow with the original photo in view, then keep the version that suits your features.
Build a Mood Board for Editorial Headshot
A editorial headshot can be built around rose velvet skin, not just a generic color mood board. Cheek makeup should blend into the complexion instead of creating opaque opaque-looking blush circles. Use the copy-ready prompt to communicate this design choice while keeping the existing wardrobe and image background.
Compare a Different Intensity for Soft Indoor Portrait
For a soft indoor portrait, compare velvet no-highlight with a more defined evening velvet portrait. A little highlight at the cheek high point can preserve depth while the center of the face stays quiet. An edited portrait can help you plan a look, but the real makeup will still depend on products, technique and lighting.
Makeup Photo Preview Checklist
Color Placement
Makeup preview checklist
"Check the eyes and cheeks" Does soft focus velvet follow believable eye and cheek placement without a flat filter overlay?
Real Skin Texture
Makeup preview checklist
"Look beyond the color" Keep pores, fine skin details and the original complexion readable rather than approving a plastic-smooth face.
Face and Hair
Makeup preview checklist
"Compare to the original" Check facial anatomy, expression, hair and jewelry for unintended edits before saving the picture.
Scene and Lighting
Makeup preview checklist
"Keep the photograph coherent" Make sure the makeup still works with the source light and the setting of your close-up beauty photo.
1. How would the velvet skin makeup filter change my photo?
The edit focuses on feather-soft velvet complexion with selective satin highlight, diffuse blush edges and visible fine skin texture. A velvet finish sits between powder and glow, with edges that seem diffused rather than smeared. For a useful comparison, try soft focus velvet and powdered center glow under the same lighting. The output should show a makeup choice, not a different face or outfit.
2. How is velvet skin different from all-over soft matte powder?
Velvet skin lives between dew and powder, and should retain real pores rather than plastic smoothing. For an easy visual test, keep the portrait constant and change only the lip, cheek or eye instructions. Look for actual makeup placement, depth and finish - not a change in skin tone or overall camera exposure.
3. Which portrait makes soft focus velvet easier to preview?
A clear three-quarter or front-facing portrait with visible lids, cheeks and lips works better than a face hidden by heavy existing makeup. Cheek makeup should blend into the complexion instead of creating opaque opaque-looking blush circles. For soft focus velvet, keep natural skin detail and enough room around the face to see where the color lands.
4. Can I adapt the look for a close-up beauty photo?
Yes, but treat the context as part of the styling decision. For a close-up beauty photo, start with velvet no-highlight and then try evening velvet portrait. A little highlight at the cheek high point can preserve depth while the center of the face stays quiet. Keep the original clothing and accessories so you are testing makeup, not a new photograph.
5. Will AI makeup editing preserve my original facial features?
The prompt can request the same recognizable face, skin tone, hair, expression and photo composition. AI results can still shift details, particularly near the eyelashes, lips and nose. Compare the generated result with your input and regenerate with a narrower request if anatomy changes.
6. Can a velvet skin preview replace a real makeup trial?
A virtual preview is an illustration of makeup choices, not a live product test. The reference photo should retain freckles or fine texture instead of re-illustrating flawless plastic skin. Use velvet cheek diffusion or office velvet finish to discuss colors and placement, then test actual product texture, comfort and wear under your event lighting.